Inleiding
This guide will take you through the process of replacing the front camera in an LG Optimus F60. This task should take about 7minutes to complete.
Wat je nodig hebt
-
-
Hold the phone in your hand and position the small plastic opening tool or your finger under the lip of the phone by the USB port.
-
Pry or lift up on the indent with the opening tool.
-
Remove the back panel.
 Vraag FixBot
-
-
-
Place the small plastic opening tool or your finger at the indentation at the base of the battery.
-
Pry upwards or lift with your finger and remove battery.
-
-
-
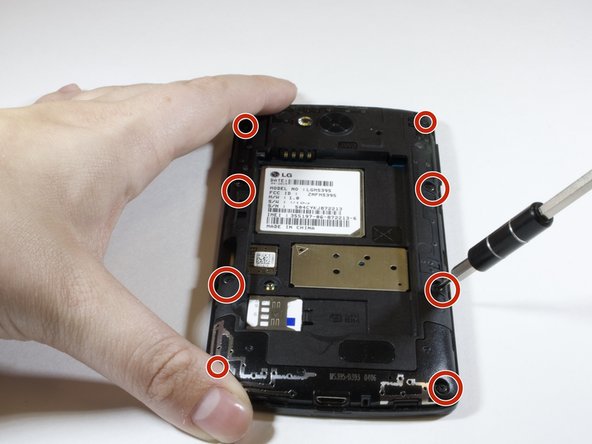
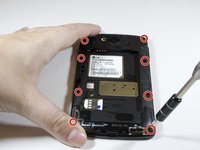
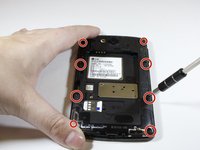
Use the phillips #000 Screwdriver to unscrew eight 4mm screws.
-
-
-
-
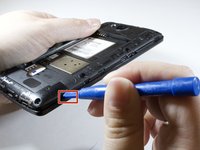
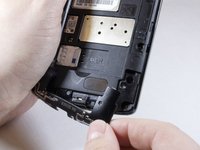
Insert the plastic opening tool in the indentation marked by the red square.
-
Pry the plastic opening tool upwards to release the lower back panel.
-
Remove the lower back panel from the device.
-
-
-
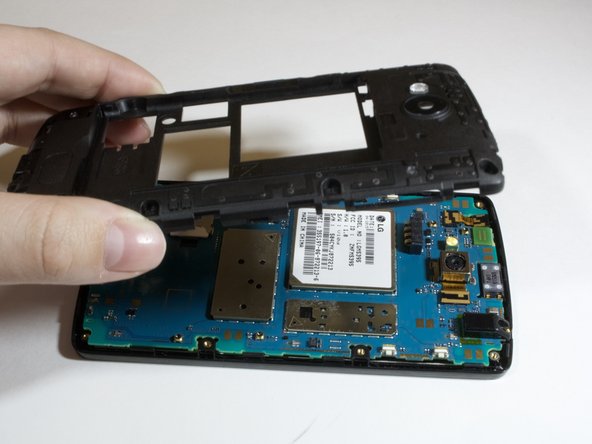
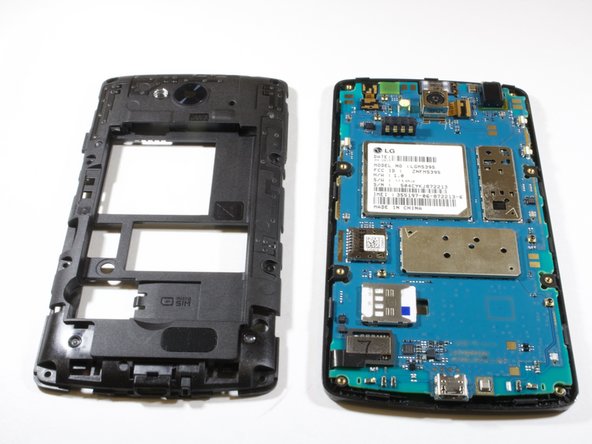
Continue moving plastic opening tool around device until back panel is loose enough to remove.
-
Remove the back panel
-
-
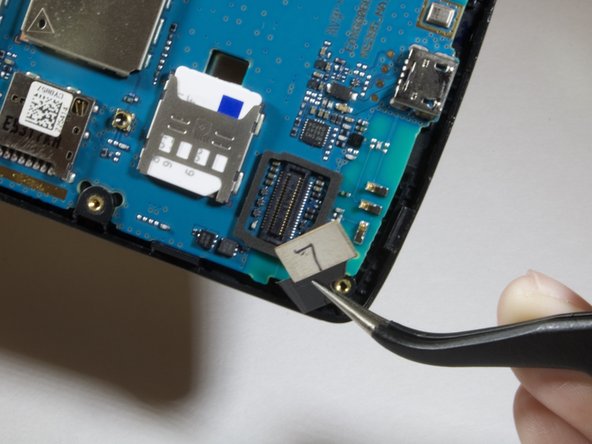
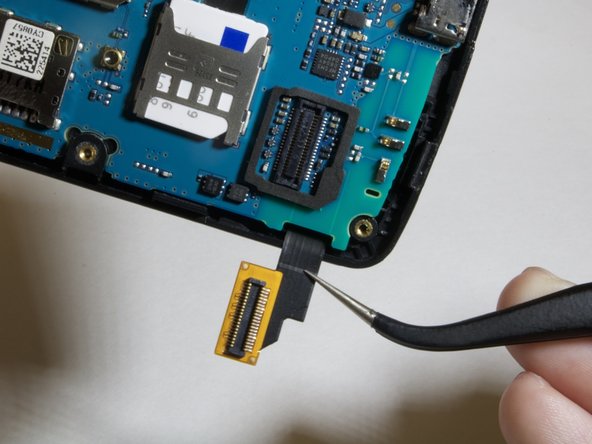
Gereedschap gebruikt in deze stap:Tweezers$4.99
-
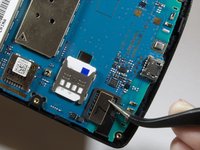
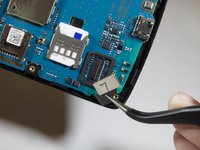
Locate the digitizer connection on the lower left hand side of the device.
-
Use the tweezers to lift up and gently remove the connector.
-
-
-
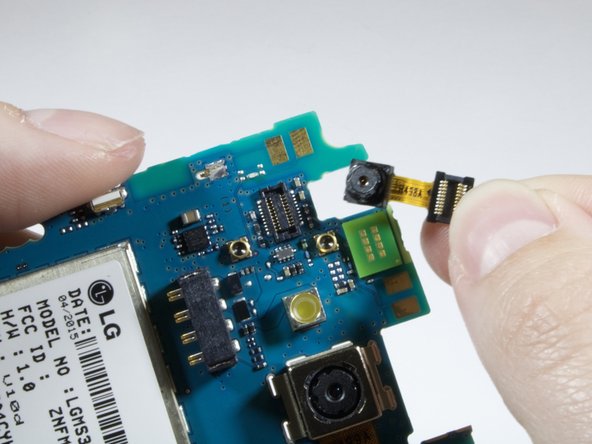
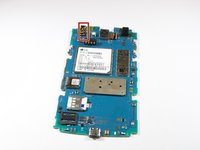
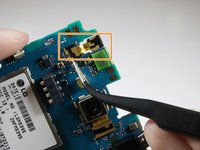
Locate the front camera on the upper left hand side of the device. The camera is marked in red.
-
Use the tweezers to remove the front camera from the connector marked in orange.
-
Remove and replace front camera.
-


To reassemble your device, follow these instructions in reverse order.
Team

Eastern Washington University, Team S3-G3, Rowley Spring 2018 Lid van Eastern Washington University, Team S3-G3, Rowley Spring 2018
EWU-ROWLEY-S18S3G3
6 Leden
14 handleidingen geschreven