Ga door naar hoofdinhoud
Word lid van de reparatiegemeenschap - Account aanmaken

Kodak PixPro AZ251 Back Cover Replacement

Wat je nodig hebt

    1. Kodak PixPro AZ251 Back Cover Replacement, Batteries: stap 1, afbeelding 1 van 2 Kodak PixPro AZ251 Back Cover Replacement, Batteries: stap 1, afbeelding 2 van 2
      • Slide switch to open lock position.

      Vraag FixBot

      Voeg opmerking toe

    2. Kodak PixPro AZ251 Back Cover Replacement: stap 2, afbeelding 1 van 2 Kodak PixPro AZ251 Back Cover Replacement: stap 2, afbeelding 2 van 2
      • Press down on the battery cover and slide outwards to open.

      Vraag FixBot

      Voeg opmerking toe

    3. Kodak PixPro AZ251 Back Cover Replacement: stap 3, afbeelding 1 van 1
      • Remove the batteries.

      Vraag FixBot

      Voeg opmerking toe

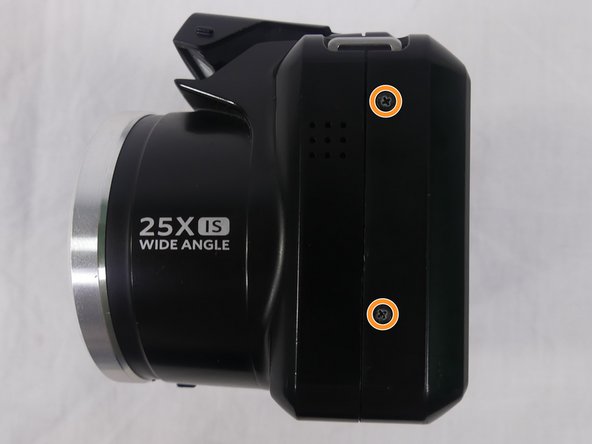
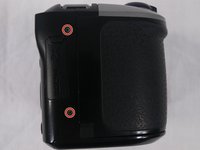
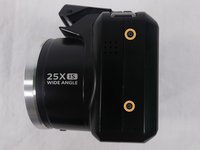
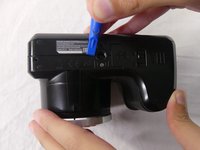
    1. Kodak PixPro AZ251 Back Cover Replacement, Back Cover: stap 4, afbeelding 1 van 3 Kodak PixPro AZ251 Back Cover Replacement, Back Cover: stap 4, afbeelding 2 van 3 Kodak PixPro AZ251 Back Cover Replacement, Back Cover: stap 4, afbeelding 3 van 3
      • Remove a total of four 5mm JIS #000 screws from around the camera:

      • Two screws from the right side.

      • Two screws from the left side.

      Vraag FixBot

      Voeg opmerking toe

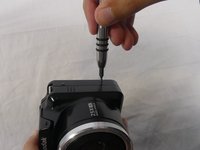
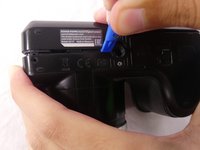
    2. Kodak PixPro AZ251 Back Cover Replacement: stap 5, afbeelding 1 van 1
      • Remove the single 5mm Phillips #00 screw from the bottom.

      Vraag FixBot

      Voeg opmerking toe

    3. Kodak PixPro AZ251 Back Cover Replacement: stap 6, afbeelding 1 van 2 Kodak PixPro AZ251 Back Cover Replacement: stap 6, afbeelding 2 van 2
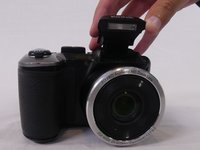
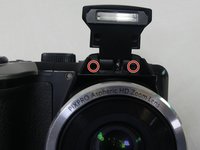
      • Open the flash module.

      • Remove the two 6mm JIS #00 screws found inside of the flash housing.

      Vraag FixBot

      Voeg opmerking toe

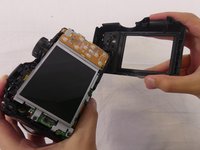
    4. Kodak PixPro AZ251 Back Cover Replacement: stap 7, afbeelding 1 van 3 Kodak PixPro AZ251 Back Cover Replacement: stap 7, afbeelding 2 van 3 Kodak PixPro AZ251 Back Cover Replacement: stap 7, afbeelding 3 van 3
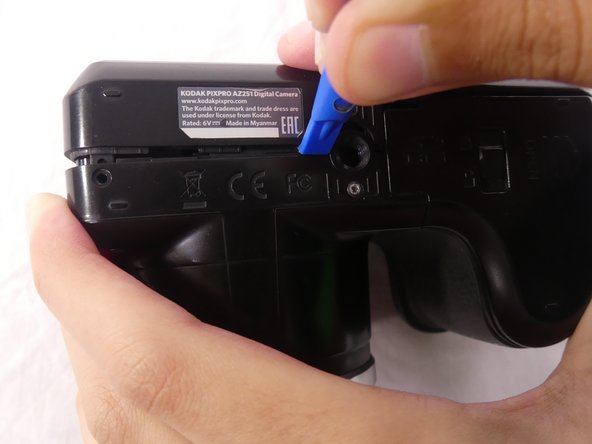
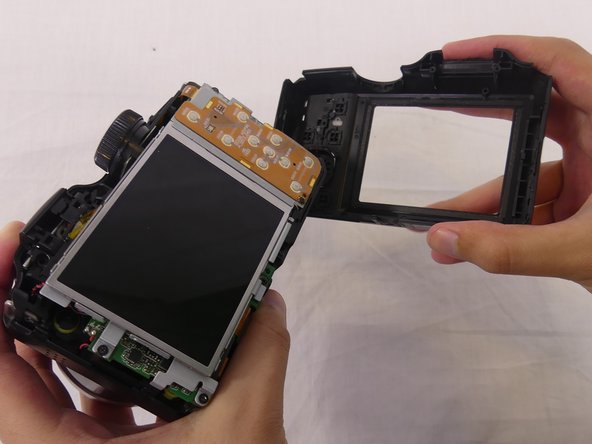
      • Use a plastic opening tool to pry apart both halves of the camera.

      • Remove the back panel.

      Vraag FixBot

      Voeg opmerking toe

Conclusie

To reassemble your device, follow these instructions in reverse order.

Annuleren: ik heb deze handleiding niet afgemaakt.

Één andere persoon heeft deze handleiding voltooid.

Luiza Oliveira

Lid sinds: 02/22/18

298 Reputatie

2 handleidingen geschreven

Team

USF Tampa, Team S1-G1, Cagle Spring 2018 Lid van USF Tampa, Team S1-G1, Cagle Spring 2018

USFT-CAGLE-S18S1G1

4 Leden

7 handleidingen geschreven

0Gids Commentaar

Voeg opmerking toe

Weergavestatistieken:

Afgelopen 24 uren: 0

Afgelopen 7 dagen: 6

Afgelopen 30 dagen: 36

Altijd: 1,200