Ga door naar hoofdinhoud
Word lid van de reparatiegemeenschap - Account aanmaken

Kindle Voyage Ambient Light Sensor Replacement

Wat je nodig hebt

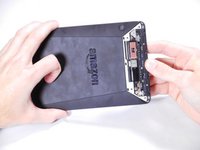
  1. Kindle Voyage Ambient Light Sensor Replacement, Back Panel: stap 1, afbeelding 1 van 2 Kindle Voyage Ambient Light Sensor Replacement, Back Panel: stap 1, afbeelding 2 van 2
    • Insert a plastic opening tool between the plastic panel shown on the device.

    • Use the tool to pry the plastic away from the device.

    • There will be adhesive holding this piece of plastic to the device. You may have to pull pretty hard to get it separated.

    Vraag FixBot
  2. Kindle Voyage Ambient Light Sensor Replacement: stap 2, afbeelding 1 van 1
    • Use an aluminum driver attached with a Phillips head size #00 to remove the four 3mm screws shown in the picture. For reassembly, note that the top two and bottom two screws are different sizes.

    Vraag FixBot
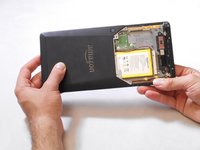
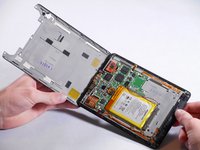
  3. Kindle Voyage Ambient Light Sensor Replacement: stap 3, afbeelding 1 van 3 Kindle Voyage Ambient Light Sensor Replacement: stap 3, afbeelding 2 van 3 Kindle Voyage Ambient Light Sensor Replacement: stap 3, afbeelding 3 van 3
    • Once the screws are removed, the back panel can slide off the device.

    Vraag FixBot
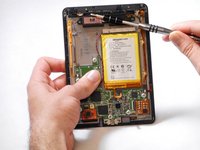
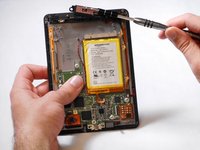
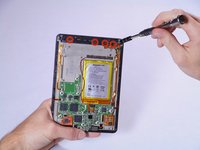
  4. Kindle Voyage Ambient Light Sensor Replacement: stap 4, afbeelding 1 van 2 Kindle Voyage Ambient Light Sensor Replacement: stap 4, afbeelding 2 van 2
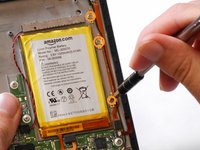
    • Remove the magnetic component with the magnetic head of the aluminum driver.

    Vraag FixBot
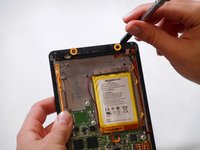
  5. Kindle Voyage Ambient Light Sensor Replacement, Wifi Antenna: stap 5, afbeelding 1 van 2 Kindle Voyage Ambient Light Sensor Replacement, Wifi Antenna: stap 5, afbeelding 2 van 2
    • Use an aluminum driver with Phillips head #00 to remove the four 3 mm screws shown in the picture.

    • Use the same driver to remove the two 2.5 mm screws.

    Vraag FixBot
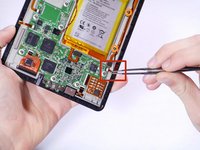
  6. Kindle Voyage Ambient Light Sensor Replacement: stap 6, afbeelding 1 van 3 Kindle Voyage Ambient Light Sensor Replacement: stap 6, afbeelding 2 van 3 Kindle Voyage Ambient Light Sensor Replacement: stap 6, afbeelding 3 van 3
    Gereedschap gebruikt in deze stap:
    Tweezers
    $4.99
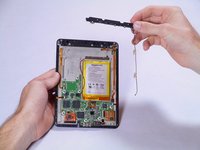
    • Using the tweezers, undo the attached clip.

    • Remove the three 3 mm screws holding down the rest of the antenna with an aluminum driver and the Phillips #00 head.

    • You should now be able to simply take the WiFi bar off of the device.

    Vraag FixBot
  7. Kindle Voyage Ambient Light Sensor Replacement, Ambient Light Sensor: stap 7, afbeelding 1 van 2 Kindle Voyage Ambient Light Sensor Replacement, Ambient Light Sensor: stap 7, afbeelding 2 van 2
    Gereedschap gebruikt in deze stap:
    Tweezers
    $4.99
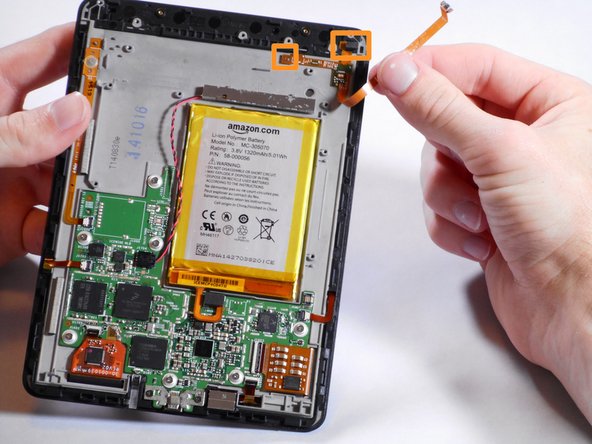
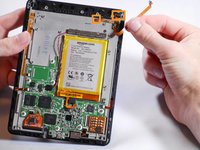
    • Gently remove the connector to the motherboard using tweezers.

    • Continue to carefully pull the rest of the connector from the adhesive connecting it to the Voyage.

    • Detach sensor from the top using fingers

    Vraag FixBot
Conclusie

To reassemble your device, follow these instructions in reverse order.

Één andere persoon heeft deze handleiding voltooid.

Sean Yap

Lid sinds: 01/22/15

1.508 Reputatie

6 handleidingen geschreven

Team

Cal Poly, Team 19-12, Maness Winter 2015 Lid van Cal Poly, Team 19-12, Maness Winter 2015

CPSU-MANESS-W15S19G12

5 Leden

13 handleidingen geschreven

1Gids Commentaar

If i do this wiithout putting the lightsensor back on, can i then use the kindle without light ?

Best regards

Lasse

Beck - Antwoord Deel

Voeg opmerking toe

Weergavestatistieken:

Afgelopen 24 uren: 4

Afgelopen 7 dagen: 9

Afgelopen 30 dagen: 76

Altijd: 3,028