Ga door naar hoofdinhoud
Word lid van de reparatiegemeenschap - Account aanmaken

Kindle Paperwhite 2nd Generation Motherboard Replacement

Wat je nodig hebt

  1. Kindle Paperwhite 2nd Generation Motherboard Replacement, Battery: stap 1, afbeelding 1 van 2 Kindle Paperwhite 2nd Generation Motherboard Replacement, Battery: stap 1, afbeelding 2 van 2
    • Insert plastic opening tool into the corners of the Paperwhite and slide around the edge perimeter to remove bezel.

    • Be sure to begin prying along the outer edges , these are the optimal points for removing the bezel.

    • Be careful and do not slide prying tool deeper than 3-4 mm under the side bezel or you could peel off screen protector film.

    Vraag FixBot

    Voeg opmerking toe

  2. Kindle Paperwhite 2nd Generation Motherboard Replacement: stap 2, afbeelding 1 van 2 Kindle Paperwhite 2nd Generation Motherboard Replacement: stap 2, afbeelding 2 van 2
    • Using a Screw Driver, Remove the eleven 3.2 mm Phillips 000 screws from corners of the mid-frame and from behind the black strip as shown.

    • Do not forget the screw in the middle of the black adhesive strip.

    Vraag FixBot

    Voeg opmerking toe

  3. Kindle Paperwhite 2nd Generation Motherboard Replacement: stap 3, afbeelding 1 van 1
    • Carefully remove the mid-frame from the back cover.

    Vraag FixBot

    Voeg opmerking toe

  4. Kindle Paperwhite 2nd Generation Motherboard Replacement: stap 4, afbeelding 1 van 2 Kindle Paperwhite 2nd Generation Motherboard Replacement: stap 4, afbeelding 2 van 2
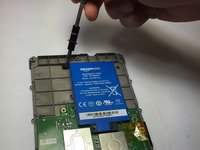
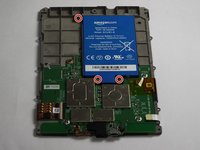
    • Use a screwdriver to remove the three 3.0 mm Phillips 000 screws that are holding the battery in place as shown.

    Vraag FixBot

    Voeg opmerking toe

  5. Kindle Paperwhite 2nd Generation Motherboard Replacement: stap 5, afbeelding 1 van 1
    • Carefully lift the battery and remove it from the device.

    Vraag FixBot

    Voeg opmerking toe

  6. Kindle Paperwhite 2nd Generation Motherboard Replacement, Motherboard: stap 6, afbeelding 1 van 2 Kindle Paperwhite 2nd Generation Motherboard Replacement, Motherboard: stap 6, afbeelding 2 van 2
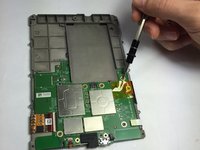
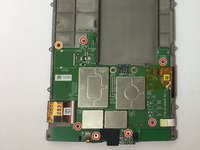
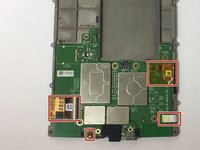
    • Use a screwdriver to remove the seven 3.0 mm Phillips 000 screws that are holding the motherboard in place as shown.

    • Don't lose the washer that is highlighted with an orange marker as shown. It is a necessary component to protect the screw.

    Vraag FixBot

    Voeg opmerking toe

  7. Kindle Paperwhite 2nd Generation Motherboard Replacement: stap 7, afbeelding 1 van 2 Kindle Paperwhite 2nd Generation Motherboard Replacement: stap 7, afbeelding 2 van 2
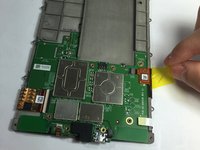
    • Gently disconnect the zif connectors.

    • Some of these connectors are very thin and fragile, handle with care!

    Vraag FixBot

    Voeg opmerking toe

  8. Kindle Paperwhite 2nd Generation Motherboard Replacement: stap 8, afbeelding 1 van 3 Kindle Paperwhite 2nd Generation Motherboard Replacement: stap 8, afbeelding 2 van 3 Kindle Paperwhite 2nd Generation Motherboard Replacement: stap 8, afbeelding 3 van 3
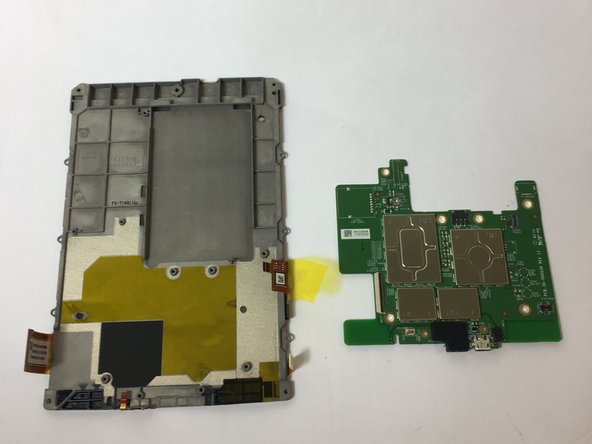
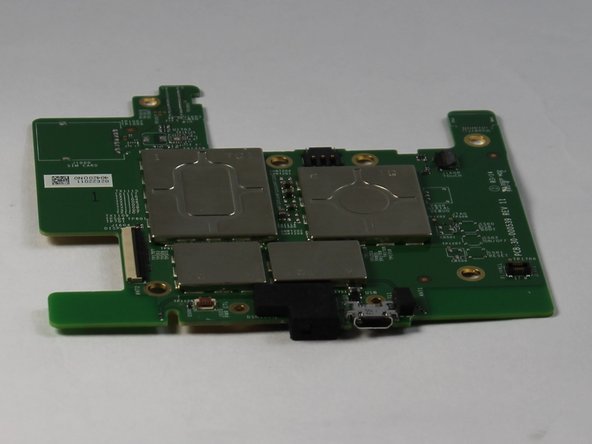
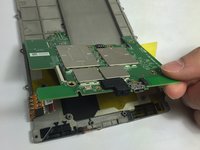
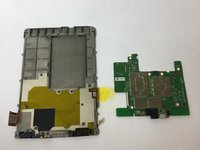
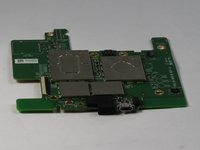
    • Gently remove the motherboard.

    Vraag FixBot

    Voeg opmerking toe

Conclusie

To reassemble your device, follow these instructions in reverse order.

Annuleren: ik heb deze handleiding niet afgemaakt.

3 andere personen hebben deze handleiding voltooid.

Tyler Davis

Lid sinds: 09/15/16

1.983 Reputatie

5 handleidingen geschreven

Team

USF Tampa, Team 11-2, Blackwell Fall 2016 Lid van USF Tampa, Team 11-2, Blackwell Fall 2016

USFT-BLACKWELL-F16S11G2

4 Leden

20 handleidingen geschreven

0Gids Commentaar

Voeg opmerking toe

Weergavestatistieken:

Afgelopen 24 uren: 1

Afgelopen 7 dagen: 14

Afgelopen 30 dagen: 82

Altijd: 4,782