Inleiding
This guide will show how to remove the battery from the Kindle Fire HD 6. You'll often need to remove the battery just to access and remove the motherboard. You might also need to remove the battery if it's damaged and needs to be replaced.
Wat je nodig hebt
-
-
-
Place the device face down on a clean cloth or another smooth surface.
-
Insert the plastic opening tool between the device’s front and back panels. You might need to wiggle the tool up and down to wedge it in the gap.
-
Maneuver the tool around the device until the back unclips from the front panel.
 Vraag FixBot
-
-
-
Carefully separate the back panel from the rest of the device internals.
-
-
-
-
-
Gereedschap gebruikt in deze stap:iOpener$14.95
-
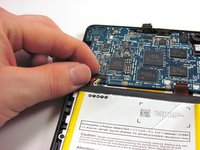
Gently pry the battery free from the adhesive holding it in place.
-
If you're having trouble working the battery free, warm it up with an iOpener or hair dryer to soften the adhesive, and then slide a credit card behind the battery to break up the adhesive.
-
-
-
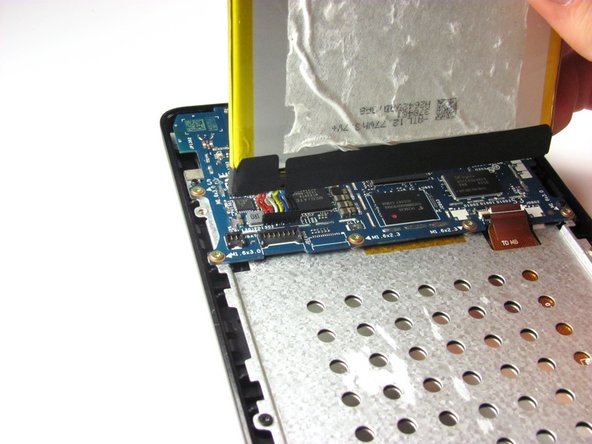
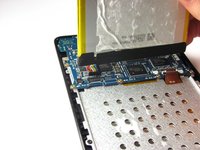
Remove the multi-colored connector that joins the battery and the motherboard by pulling it straight up.
-
Remove the battery.
-
-


To reassemble your device, follow these instructions in reverse order.
Annuleren: ik heb deze handleiding niet afgemaakt.
18 andere personen hebben deze handleiding voltooid.

Team

Cal Poly, Team 70-4, Forte Winter 2015 Lid van Cal Poly, Team 70-4, Forte Winter 2015
CPSU-FORTE-W15S70G4
4 Leden
12 handleidingen geschreven
2Gids Commentaar
Thank you it worked for me.
A bit nervous breaking it down, once I got the back plate off it was very simple, unplugged the battery, reconnected put it back together fired it up , great advice.
Thanks again
Regards
Terry
The battery removal step did not sufficiently warn about how hard the adhesive used for the battery was, and using the spudger ended up piercing the battery when I tried to pry the battery off.
