Inleiding
In this guide, you will replace the water sensor. This is necessary if the sensor is faulty and doesn't accurately read the amount of water in the Water Reservoir.
Wat je nodig hebt
-
-
-
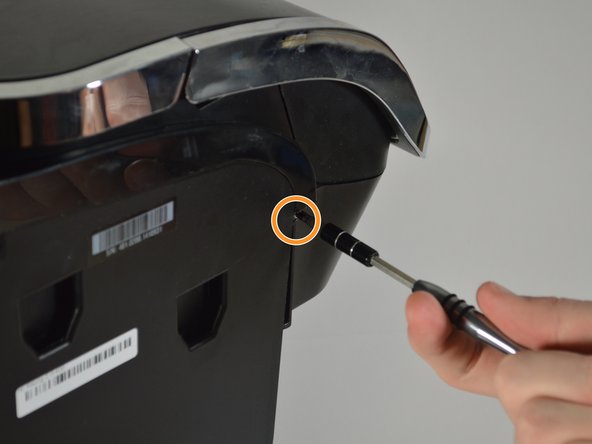
Use the Phillips #1 screwdriver to remove the 120mm screw located on the top left corner from the side of the brewer where the water reservoir was.
-
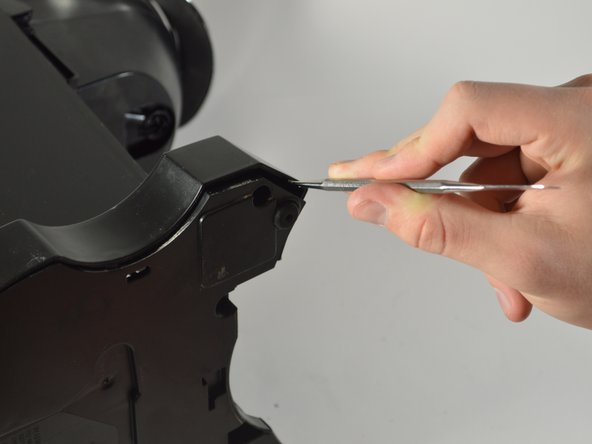
Use the Phillips #1 screwdriver to remove another 120mm screw located under the end of the empty slot running across the left side of the Keurig.
-
-
-
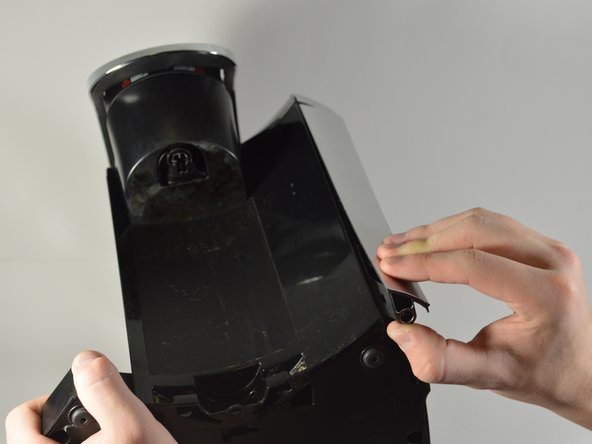
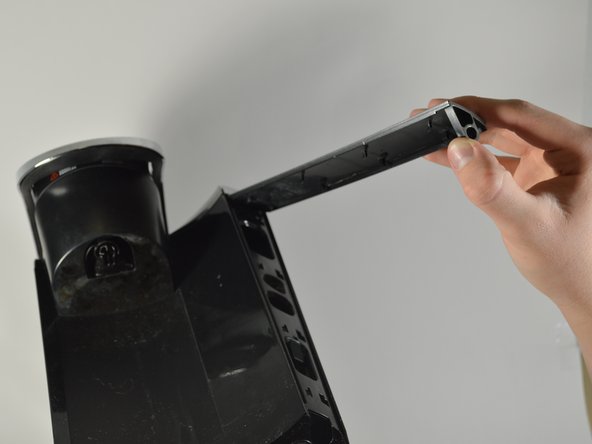
Reorient the brewer as shown in the picture.
-
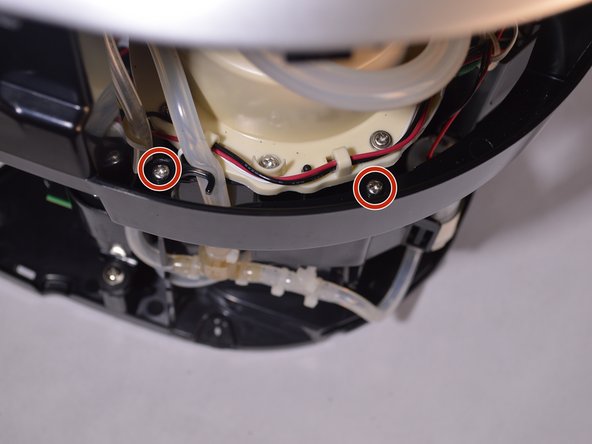
Locate the four 140mm screws holding the top frame of the Keurig in place. Remove these screws using the Phillips #1 screwdriver.
-
Two of the screws are on the inside of the frame close to the water heater.
-
The other two screws are located on the outside of the frame.
-
-
-
Remove the top of the framing that encases the circuit board.
-
Remove the wires that are connected to the top of the circuit board.
-
Pull out the multicolored wires by their bases.
-
The bundle with black wires and one red wire is connected to the very top of the circuit board. To remove these wires, squeeze in the white tabs as you pull them out.
-
-
-
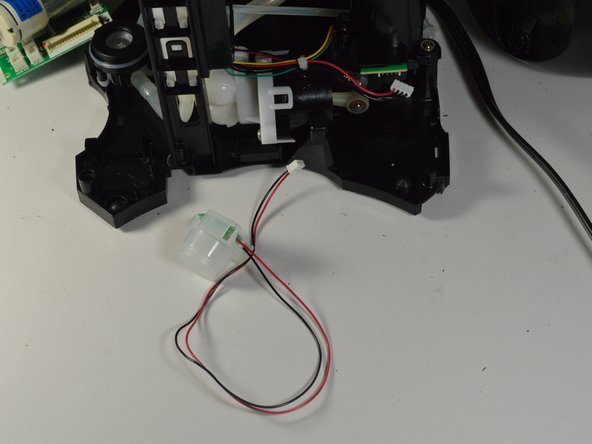
Pull out the white tab that has the wires that connect the Water Sensor to the water pump.
-


To reassemble your device, follow these instructions in reverse order.
To reassemble your device, follow these instructions in reverse order.
Annuleren: ik heb deze handleiding niet afgemaakt.
Één andere persoon heeft deze handleiding voltooid.
Team

Cal Poly, Team S24-G8, Maness Spring 2018 Lid van Cal Poly, Team S24-G8, Maness Spring 2018
CPSU-MANESS-S18S24G8
4 Leden
5 handleidingen geschreven
Één opmerking
Can I buy a replacement water sensor directly from you? If not, where can I buy one?