Deze vertaling is door een computer gegenereerd en is nog niet door iemand nagekeken. Spreek je deze taal? Bekijk het hier.
Inleiding
Het verwijderen van het moederbord geeft toegang tot de meeste interne onderdelen.
Wat je nodig hebt
-
-
-
Zorg ervoor dat het apparaat is uitgeschakeld voordat u begint met het demonteren van de luidspreker.
-
Verwijder de rand van de luidspreker met een jimmy of metalen spudger.
 Vraag FixBot
-
-
-
Gebruik de PH1-schroevendraaier om alle vijf de 6 mm lange schroeven uit het batterijdeksel te verwijderen.
-
Verwijder het batterijklepje en leg dit opzij.
-
-
-
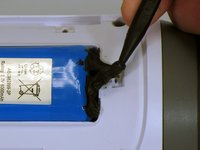
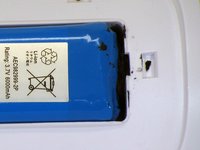
Gebruik een spudger om voorzichtig de vloeibare tape te verwijderen die de batterij in het batterijcompartiment vasthoudt.
-
-
-
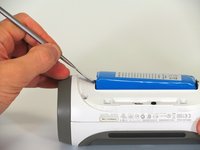
Gebruik een spudger om de batterij uit het apparaat te tillen.
-
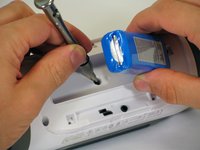
Til het uiteinde van de batterij dat geen draadaansluiting heeft op en verwijder de 16 mm PH2-schroef onder de batterij.
-
-
-
-
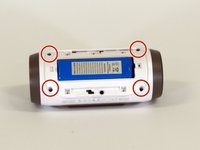
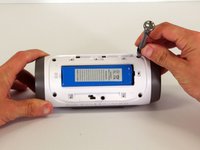
Verwijder de vier 16 mm-schroeven uit de witte plastic behuizing met behulp van de PH2-schroevendraaier.
-
-
-
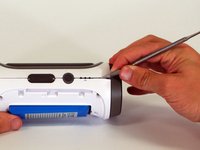
Begin in een hoek van het apparaat waar de behuizing en de zijkant samenkomen en gebruik een puntige metalen spudger om de achterkant van de luidspreker los te wrikken van de lijm die de naad bij elkaar houdt.
-
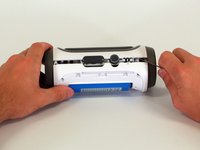
Schuif de metalen spudger langs de naad om de achterkant van de behuizing van de rest van de luidspreker te scheiden.
-
-
-
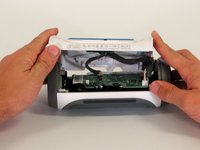
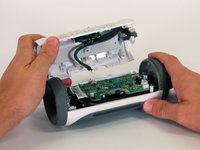
Zodra de achter behuizing open is, koppelt u de drie witte connectoren los van het moederbord.
-
Verwijder de bovenste behuizing.
-
-
-
-
-
Verwijder de 9 mm kruiskopschroef in de hoek van het moederbord.
-
-
-
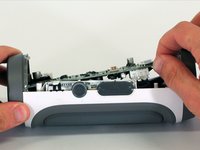
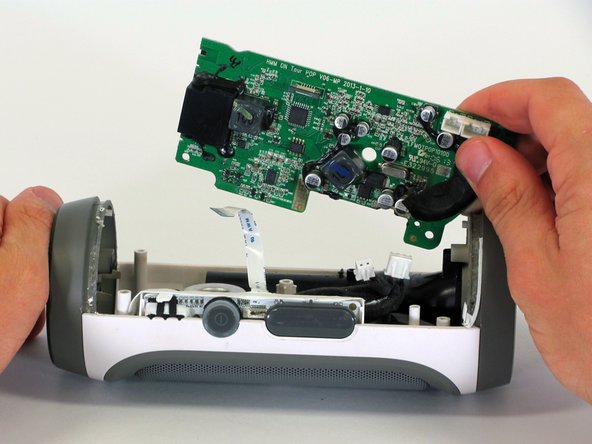
Verwijder het moederbord uit de behuizing door de hoek van de printplaat uit het apparaat te tillen.
-
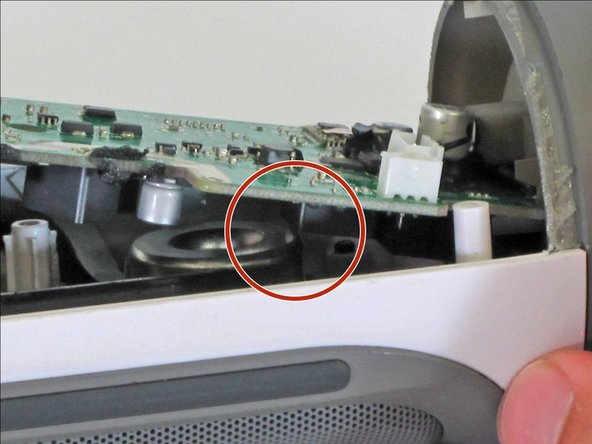
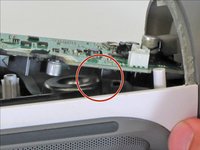
Als het moederbord niet loskomt, zorg er dan voor dat het vierkante onderdeel aan de onderkant van het moederbord vrijkomt van de rand van de luidspreker.
-
-
-
Koppel de twee witte (kabel)aansluitingen los van de onderkant van het moederbord.
-
-
-
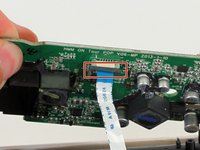
Trek de zwarte clip naar beneden die de lintkabel op zijn plaats houdt.
-
Trek de lintkabel uit de kabelaansluiting met behulp van de blauwe treklip.
-
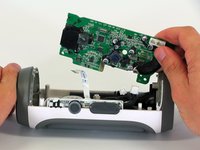
Verwijder het moederbord uit het apparaat.
-
-














Volg deze instructies in omgekeerde volgorde om uw apparaat weer in elkaar te zetten.
Annuleren: ik heb deze handleiding niet afgemaakt.
8 andere personen hebben deze handleiding voltooid.

Team

Cal Poly, Team 12-1, Lancaster Spring 2015 Lid van Cal Poly, Team 12-1, Lancaster Spring 2015
CPSU-LANCASTER-S15S12G1
5 Leden
96 handleidingen geschreven
16Gids Commentaar
Hello I have 3 jbl speakers I bought that work only if plugged to the wall and aux cable... other than that it doesn't work at all .. Bluetooth or even the buttons don't function
had same issue. fixed it by reconnecting the cable that conncts LEDs/ buttons
i have the same problem
hello can i ask if how many pins in the flex for power button i accidentally damage when i fixed it
