Inleiding
Over time, linocut gouges become dull from regular use. Dull blades can tear linoleum, cause uneven cuts, or even lead to hand strain and injuries.
This guide shows you how to safely sharpen and polish both U-shaped and V-shaped gouges using a 1000-grit whetstone and a slipstrop.
It’s designed for beginner printmakers who want smooth, precise carving results in about 20 minutes with basic tools. However, Linocut tools are very sharp. Always handle gouges with care and keep your hands behind the cutting edge while sharpening.
Wat je nodig hebt
-
-
Soak then set up Whetstone
-
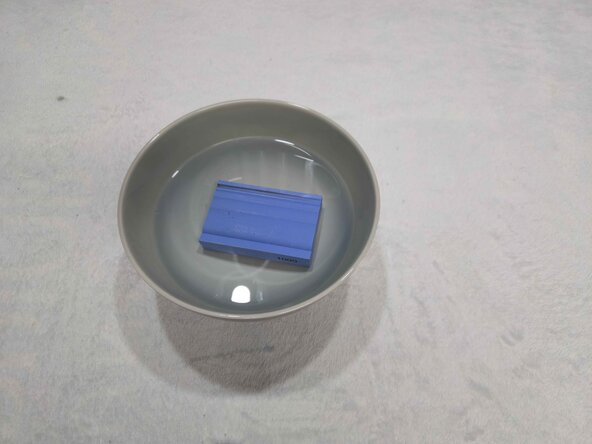
Submerge the whetstone in water for 5 to 10 minutes until air bubbles stop rising.
-
Place the whetstone on a rubber mat or holder so it stays still while sharpening.
-
Keep bowl of water nearby to re-wet the whetstone again if it dries.
 Vraag FixBot
-
-
-
Sharpen the U-Gouge
-
Place the gouge on the section of stone that matches its curve.
-
Hold the blade at about a 15-degree angle.
-
Move the tool back and forth lightly about 100 times while keeping even pressure.
-
Wet the whetstone again if it starts to feel dry or gritty.
-
-
-
Sharpen the V-Gouge
-
Use the flat side of the whetstone for V-shaped gouges.
-
Lay one side of the V flat against the stone so it’s fully flat.
-
Slide the tool back and forth 50 to 100 times using light, even pressure.
-
Turn the tool over and repeat on the opposite side.
-
Re-wet the stone whenever it starts to dry.
-
-
-
Clean and Dry the Tools
-
Rinse each blade in clean water to remove metal dust and residue.
-
Wipe dry completely with a soft towel.
-
-
-
-
Polish the U-Gouge
-
Find the matching curved section on the slipstrop.
-
Rub a small amount of polishing wax or compound onto that section.
-
Pull the blade backward five to six times, never push forward.
-
-
-
Remove the burrs for U-Gouge
-
Find the matching pointed section on the slipstrop.
-
Rub a small amount of polishing wax or compound onto that section.
-
Pull the blade backward five to six times, never push forward.
-
-
-
Polish the V-Gouge
-
Use the flat side of the slipstrop instead of a curved profile.
-
Add a light coat of wax or compound.
-
Pull each side of the V backward five to ten times. Do not push forward.
-
-
-
Remove the burrs for the V-Gouge
-
Find the matching pointed section on the slipstrop.
-
Rub a small amount of polishing wax or compound onto that section.
-
Pull backwards five to ten times. Do not push forward.
-
-
-
Test and Maintain
-
Test each gouge on a scrap piece of linoleum. It should glide smoothly and cut clean lines.
-


Your linocut gouges should now have a clean, sharp edge ready for smooth carving. Remember to strop your tools briefly after every few sessions to keep them sharp and safe to use. Regular maintenance will make future sharpening much faster and help prevent tool damage.

Team

Austin Community College, Team 98-3, Kapoor Fall 2025 Lid van Austin Community College, Team 98-3, Kapoor Fall 2025
AUSTINCC-KAPOOR-F25S98G3
1 Lid
1 handleiding geschreven