Inleiding
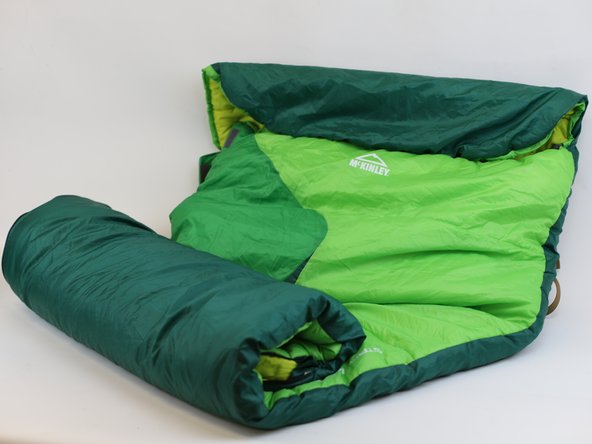
Sometimes, you're out there having the time of your life, enjoying an adventure, when suddenly, your sleeping bag suffers a tear. But don't worry! We’re here to support you with a simple solution that involves sewing the hole and rendering your bag 100% operational again!
For sleeping bags with a down feather filling, sewing the hole is not recommended as the content would still come out. If this is the case, check this guide on how to fix the problem using a fabric patch.
➡️Before you get started, please check the safety disclaimer at the bottom of the page.
Wat je nodig hebt
-
-
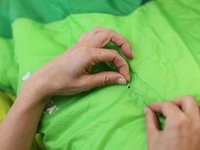
Fold both ends of the split and hold them together with a line of pins.
-
-
-
-
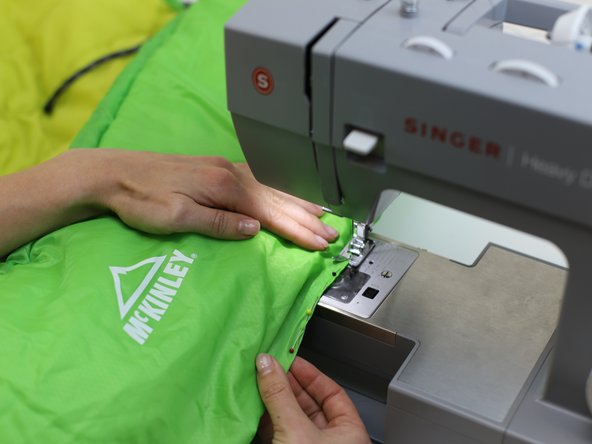
Hold the pinned area with your hands and gently position it on the sewing machine.
-
Tip: For tips on setting up the machine take a look at this iFixit guide.
-
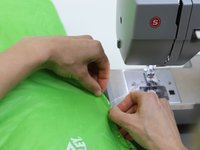
Start sewing and remove any pins in the way of the sewing route.
-
-
-
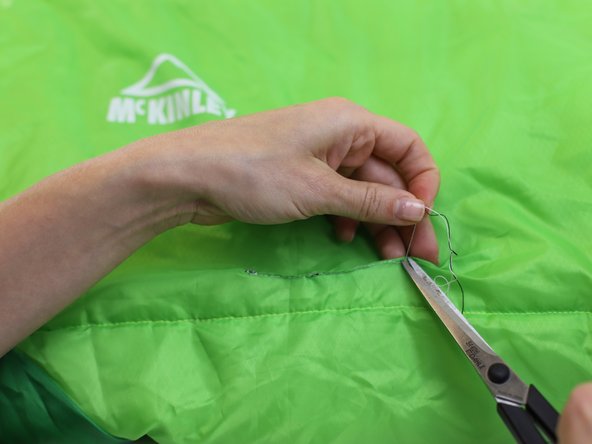
🛠️🏆👏 Congratulations! The repair is complete, and you're ready to go!
-


In need of another repair? Don't worry! Check out our other guides to find quick solutions for your favourite clothing, footwear and equipment!
----------------------------------------
🚨🛠️🩹 IMPORTANT SAFETY NOTICE:
The repair guides provided on this site are intended to help you repair products on your own. While we have put a lot of care into them, all repair work carries some risk:
- Safety Precautions: When repairing your product, take all necessary precautions to ensure your safety. Use appropriate tools and follow the instructions carefully.
- Product Condition: Once your product has been repaired, it may not meet original compliance guidelines anymore and could potentially have issues.
- Liability: We are not responsible for any damage or injury that may occur during the repair process or as a result of using a repaired product. You, as the repairer, assume all risks and responsibilities associated with the repair.
By using these repair guides, you fully acknowledge and accept the potential risks and responsibilities involved.

Team
