Inleiding
This is a tutorial guide from How2Tech about how to tear down the Galaxy S6 Edge Plus.
Wat je nodig hebt
Video overzicht
-
-
Power off the Galaxy S6 Edge Plus and remove the SIM card tray.
-
-
-
Heat up to soften the adhesive around the back cover.
-
Pull up a gap to insert the prying tool and a poker card.
-
Run the poker card and case opening tool around the edges to separate the back cover.
-
-
-
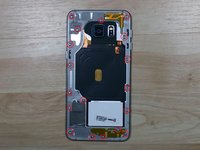
Undo the 18 screws in the rear housing.
-
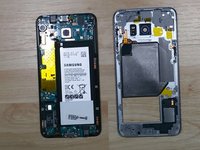
Pull up the rear housing from LCD assembly with frame.
-
-
-
-
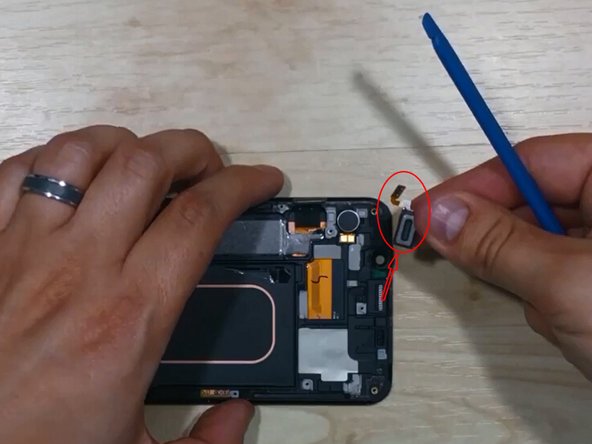
Pry up the screen flex connector, battery flex connector, ear speaker flex connector and proximity sensor flex connector.
-
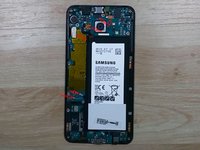
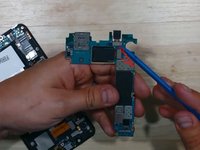
Pry up the motherboard and turn it upside down to release the connector behind.
-
Pry up the connectors on the motherboard to release the front facing and rear facing camera if necessary.
-
-
-
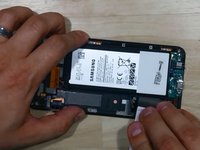
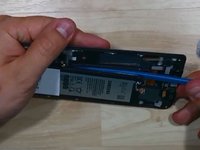
Pry up around the edges of battery as there're two main adhesive sticker underneath.
-
Insert the Spudger to pry up the adhesive.
-
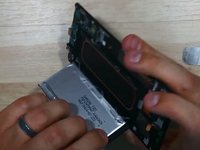
Tear the battery by hands.
Make sure that you don’t do it with metal tools, other wise you could scratch the other side of the screen and that will result in dead pixels
-
-
-
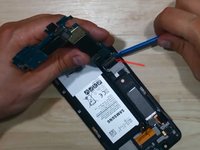
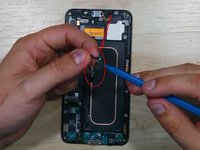
Pry up to release the proximity sensor module.
-
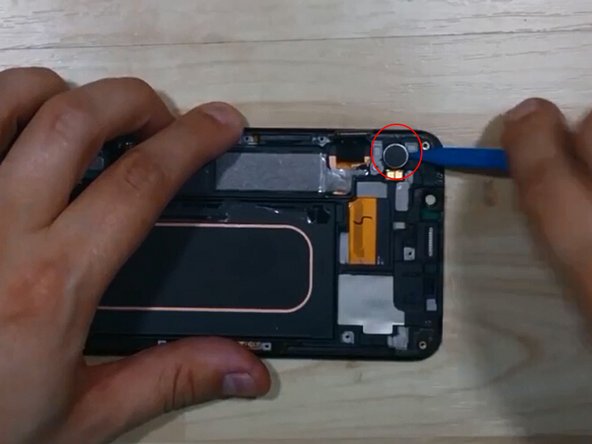
Pry up to release the ear speaker.
-
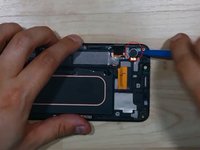
Pry up to release the vibrating motor.
-
-
-
As stated by the video, the charging port flex ribbon assembly cannot be removed until the front glass is torn down as it’s assembled with the navigator flex in between the glass and LCD.
-


17Gids Commentaar
Hi there.
Is this a good way to replace the frame around the camera? I dropped it and chipped it slightly and since the phone is less than 2 months old for me, it is kind of bothering me.
I guess my main concern is, once I do this, is it going to go back together as good as new? I'll probably only need to remove the back cover yeah?
Thanks in advance!
hello, you will need to remove the back cover glass b4 you replace the camera lens and holder. replace processing is simple a hot air gun will help a lot.
check here: https://www.amazon.com/dp/B01M3PL8E8
ggmall -
Every one of these I have seen has a lot of adhesive near the home button which makes the screen coming out much harder then any video or tutorial I have seen online showing.
Thank you Mandy for taking the time to make this video, this was very helpful
Awesome video Mandy. I have to replace front and back and this'll make it a cinch. Thanks so much.
if you have issues removing the rear case use a syringe or droplet and add alcohol around edges after heating rear case, use a tool to lift slightly and add more alcohol if needed, use playing card and slide around edge and applying small amounts of alcohol if needed until rear case is removed.
my s6 edge display flikkers quite often. should i remove and reconnect the display ribbon cable?
Hi there. In the part of the charging port, did I read that it cannot be replaced or it can? I know the Galaxy S6 you can't because of the LCD cable running underneath the digitizer but I have replaced the charging port on a S6 edge it's not attached to the LCD. Please correct if I read it wrong
The charging port can be replaced, the charge port has some coating holding it down that will need to be removed, i add some low melt de-solder and use a heat gun to remove the charge port then use my solder iron to install the new one.some lift or start to remove the bottom part of the screen enough to remove the buttons that wrap around to the screen and slide the new flex cable and port.
Oscar C -
It’s true that the charging port of the S6 Edge does not have a flex cable running between the glass and the LCD, but this teardown is for the S6 Edge Plus, which does have that flex cable.
Hi please can you show me me where there ram is built in please?
Juan Botes - Antwoord