Inleiding
This guide will show you how to replace the charging port for your Hover-1 Eclipse. The charging port is where the charging cable plugs into the board. You may need to replace the charging port if your hover board is not charging correctly and the charging cable has already been replaced and/or ruled out as the root of the issue. In order to carry out this replacement, a knowledge of screwdriver usage and unplugging cords is needed.
Wat je nodig hebt
-
-
-
Using a Phillips #1 Screwdriver, remove the four 11mm screws that surround the edge of the left side bottom shell piece.
-
Using a Phillips #1 Screwdriver, remove the four 13mm screws that surround the edge of the left side bottom shell piece.
-
Pull back and set aside the left bottom shell halve. This shell half is still wired to rest of the hoverboard.
 Vraag FixBot
-
-
-
-
Follow the wire back from the charging port to where it plugs into the board.
-
Unplug the wire from the board, and pull it through the ring you previously unscrewed from the charging port.
-
-
-
Pull the charging port and wire attached to it out through the front side of the port.
-
Take the plastic protector off of the charging port.
-
-


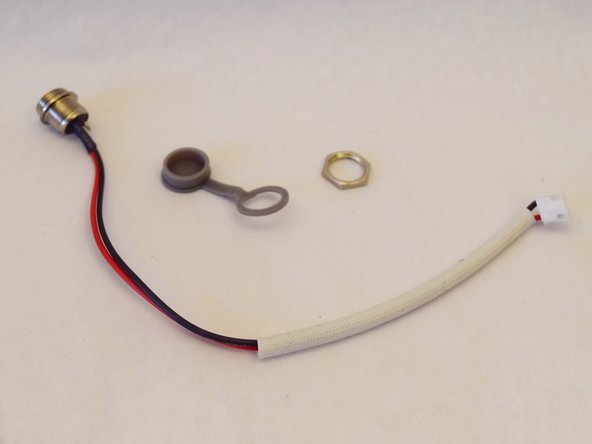
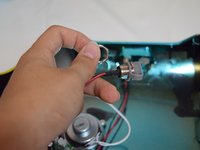
To reassemble your device, follow these instructions in reverse order.

Team

Cal Poly, Team S12-G4, Regan Fall 2019 Lid van Cal Poly, Team S12-G4, Regan Fall 2019
CPSU-REGAN-F19S12G4
4 Leden
5 handleidingen geschreven
