Ga door naar hoofdinhoud
Word lid van de reparatiegemeenschap - Account aanmaken

Hoover Power Path Pro Advanced Suction Motor Replacement

Wat je nodig hebt

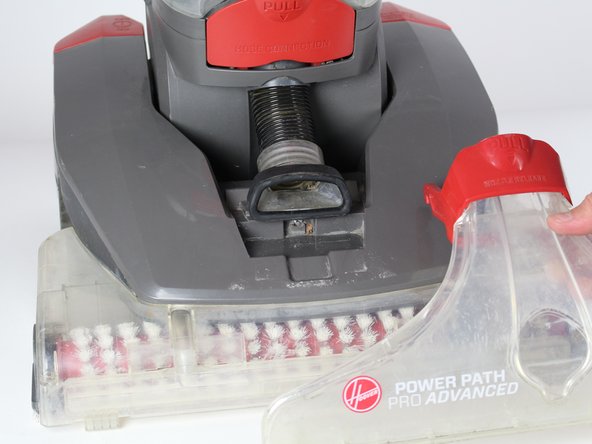
  1. Hoover Power Path Pro Advanced Suction Motor Replacement, Brush Roller: stap 1, afbeelding 1 van 2 Hoover Power Path Pro Advanced Suction Motor Replacement, Brush Roller: stap 1, afbeelding 2 van 2
    • Unplug the vacuum cleaner from the wall outlet before starting. Make sure the water tanks are empty.

    • Lay the cleaner down horizontally with its wheels closest to the floor.

    Vraag FixBot
  2. Hoover Power Path Pro Advanced Suction Motor Replacement: stap 2, afbeelding 1 van 2 Hoover Power Path Pro Advanced Suction Motor Replacement: stap 2, afbeelding 2 van 2
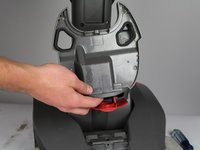
    • Hold the lower brush roll with both hands and pull outwards until it is detached.

    Vraag FixBot
  3. Hoover Power Path Pro Advanced Suction Motor Replacement: stap 3, afbeelding 1 van 1
    • Unscrew the 6 marked screws using a Phillips #2 head screwdriver.

    • Remove the brush roller.

    Vraag FixBot
  4. Hoover Power Path Pro Advanced Suction Motor Replacement, Belt: stap 4, afbeelding 1 van 1
    • Use a long #2 Philips head screwdriver to remove the 8 numbered screws on the bottom of the cleaner.

    Vraag FixBot
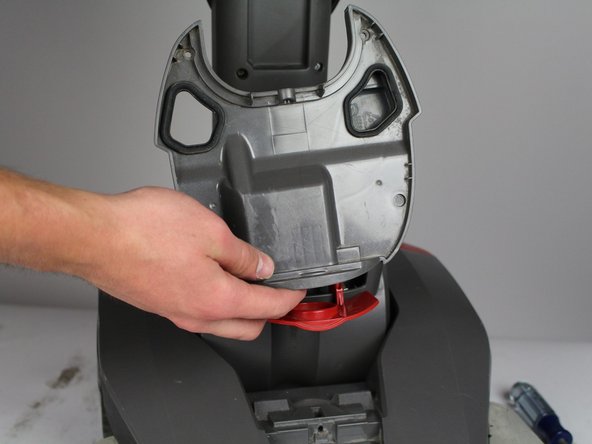
  5. Hoover Power Path Pro Advanced Suction Motor Replacement: stap 5, afbeelding 1 van 2 Hoover Power Path Pro Advanced Suction Motor Replacement: stap 5, afbeelding 2 van 2
    • Pull the red handle shown to remove the front suction unit from the cleaner.

    Vraag FixBot
  6. Hoover Power Path Pro Advanced Suction Motor Replacement: stap 6, afbeelding 1 van 1
    • Unscrew the Phillips #2 screw at the bottom of the hose.

    Vraag FixBot
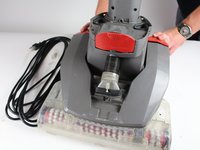
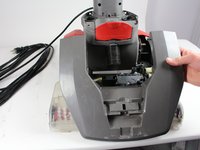
  7. Hoover Power Path Pro Advanced Suction Motor Replacement: stap 7, afbeelding 1 van 2 Hoover Power Path Pro Advanced Suction Motor Replacement: stap 7, afbeelding 2 van 2
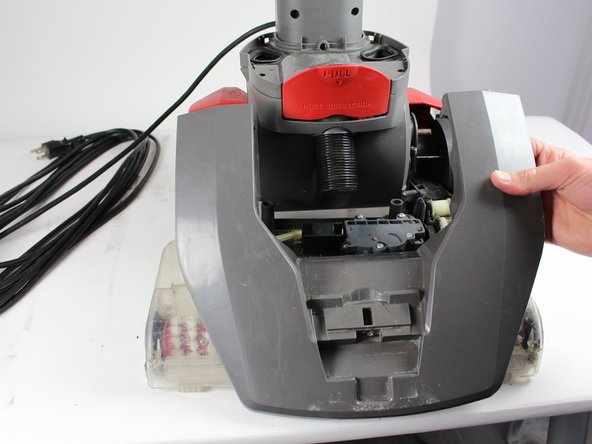
    • Push down on the handle release button. Pull and disconnect the edge of the top cover on the side of the handle release button.

    • Repeat the above step for the "On/Off" button.

    • When pulling the handle release button, make sure the top of the cleaner does not fall.

    Vraag FixBot
  8. Hoover Power Path Pro Advanced Suction Motor Replacement: stap 8, afbeelding 1 van 1
    • Gently grab the belt and pry it off from the rollers.

    Vraag FixBot
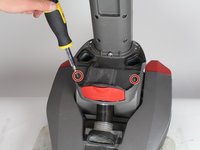
  9. Hoover Power Path Pro Advanced Suction Motor Replacement, Suction Motor: stap 9, afbeelding 1 van 2 Hoover Power Path Pro Advanced Suction Motor Replacement, Suction Motor: stap 9, afbeelding 2 van 2
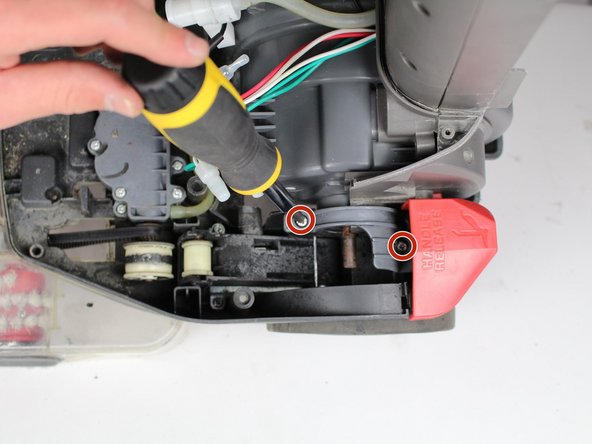
    • Unscrew two screws using Phillips #2 screwdriver.

    • Detach grey piece from vacuum.

    Vraag FixBot
  10. Hoover Power Path Pro Advanced Suction Motor Replacement: stap 10, afbeelding 1 van 2 Hoover Power Path Pro Advanced Suction Motor Replacement: stap 10, afbeelding 2 van 2
    • Unscrew four screws using a Phillips 2 screwdriver.

    Vraag FixBot
  11. Hoover Power Path Pro Advanced Suction Motor Replacement: stap 11, afbeelding 1 van 1
    • Pull out of base of vacuum.

    Vraag FixBot
  12. Hoover Power Path Pro Advanced Suction Motor Replacement: stap 12, afbeelding 1 van 1
    • Flip vacuum over and unscrew three screws with a Phillips #2 screwdriver.

    Vraag FixBot
  13. Hoover Power Path Pro Advanced Suction Motor Replacement: stap 13, afbeelding 1 van 1
    • Unscrew two screws with Phillips #2 screwdriver.

    Vraag FixBot
  14. Hoover Power Path Pro Advanced Suction Motor Replacement: stap 14, afbeelding 1 van 1
    • Detach motor and unscrew two screws with a Phillips #2 screwdriver.

    Vraag FixBot
  15. Hoover Power Path Pro Advanced Suction Motor Replacement: stap 15, afbeelding 1 van 2 Hoover Power Path Pro Advanced Suction Motor Replacement: stap 15, afbeelding 2 van 2
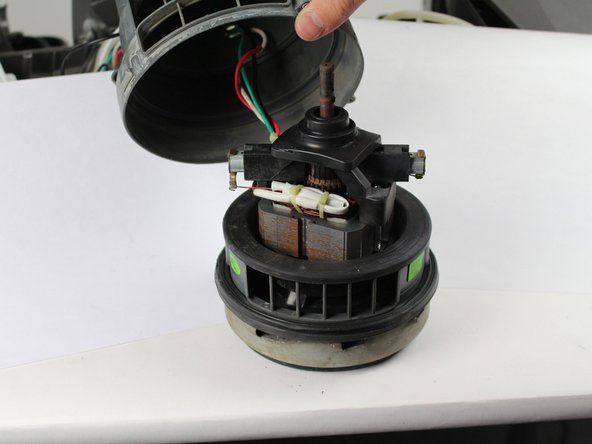
    • Pull the bottom section off.

    • Pull the cap off.

    Vraag FixBot
Conclusie

To reassemble your device, follow these instructions in reverse order.

4 andere personen hebben deze handleiding voltooid.

Team

Cal Poly, Team S16-G5, Banghart Winter 2018 Lid van Cal Poly, Team S16-G5, Banghart Winter 2018

CPSU-BANGHART-W18S16G5

5 Leden

15 handleidingen geschreven

1Gids Commentaar

What to do if the motor is still good but the cooling fan on the top of the armature has broken off?

Billy H. Deal Jr - Antwoord Deel

Voeg opmerking toe

Weergavestatistieken:

Afgelopen 24 uren: 0

Afgelopen 7 dagen: 8

Afgelopen 30 dagen: 64

Altijd: 2,813