Inleiding
The belt on the Hoover Power Path Pro Advanced allows the brush rolls to spin while the power is on. If the brush rolls are not spinning, then it is likely that the brush rolls need to be replaced.
Wat je nodig hebt
-
-
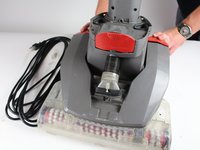
Lay the cleaner down horizontally with its wheels closest to the floor.
 Vraag FixBot
-
-
-
Hold the lower brush roll with both hands and pull outwards until it is detached.
-
-
-
Unscrew the 6 marked screws using a Phillips #2 head screwdriver.
-
Remove the brush roller.
-
-
-
-
Use a long #2 Philips head screwdriver to remove the 8 numbered screws on the bottom of the cleaner.
-
-
-
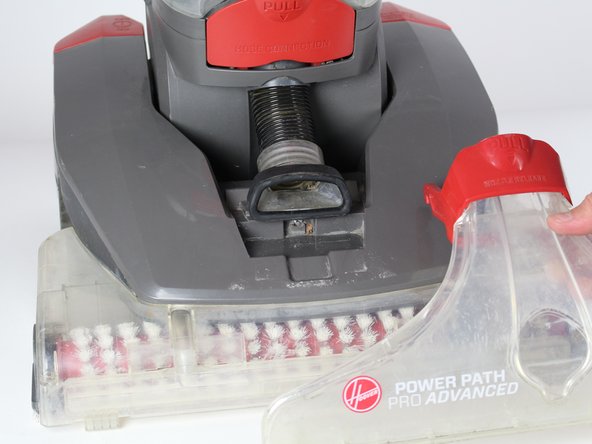
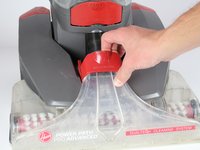
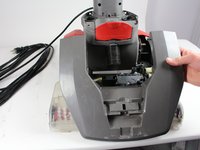
Pull the red handle shown to remove the front suction unit from the cleaner.
-
-
-
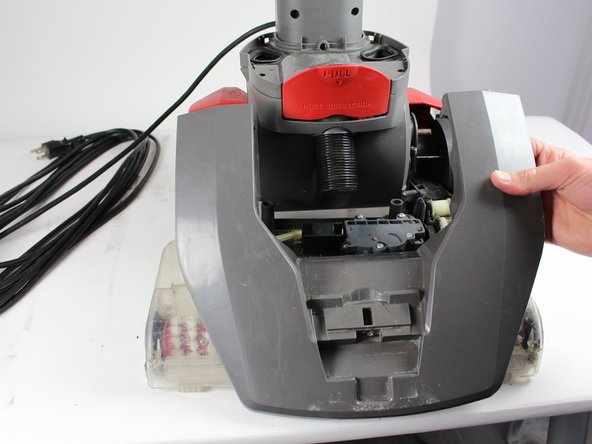
Push down on the handle release button. Pull and disconnect the edge of the top cover on the side of the handle release button.
-
Repeat the above step for the "On/Off" button.
-


To reassemble your device, follow these instructions in reverse order.
Annuleren: ik heb deze handleiding niet afgemaakt.
6 andere personen hebben deze handleiding voltooid.
Team

Cal Poly, Team S16-G5, Banghart Winter 2018 Lid van Cal Poly, Team S16-G5, Banghart Winter 2018
CPSU-BANGHART-W18S16G5
5 Leden
15 handleidingen geschreven
5Gids Commentaar
Who the heck made this so hard,
Day 5 and 4 people, I still can’t lift the top off to be able to replace belts. Is there a video
Just understand there are more screws to remove then what is described in these 8 steps. Once you removed ALL the screws then the plastic lid comes right off.
How the back do you put the too belts on and seeing how the bag came with two and both were wide what size is the one that goes around the roller the other one control the circle brushes this is one of the most difficult belt change I've bad and I'm counting on car to
There is only 8 screws you need to remove. The diagram makes it hard to know but there are two top ones Directly under the brush ! Once you get them out then comes off no problem at all.