Ga door naar hoofdinhoud
Word lid van de reparatiegemeenschap - Account aanmaken

Hitachi CP-X2010N Lens Replacement

Wat je nodig hebt

    1. Hitachi CP-X2010N Lens Replacement, Top Panel: stap 1, afbeelding 1 van 3 Hitachi CP-X2010N Lens Replacement, Top Panel: stap 1, afbeelding 2 van 3 Hitachi CP-X2010N Lens Replacement, Top Panel: stap 1, afbeelding 3 van 3
      • Flip the projector upside down to expose the screws on the underside.

      Vraag FixBot

      Voeg opmerking toe

    2. Hitachi CP-X2010N Lens Replacement: stap 2, afbeelding 1 van 3 Hitachi CP-X2010N Lens Replacement: stap 2, afbeelding 2 van 3 Hitachi CP-X2010N Lens Replacement: stap 2, afbeelding 3 van 3
      • Use a Phillips #2 screwdriver to remove eight black 14 mm screws holding the top panel to the main projector body.

      Vraag FixBot

      Voeg opmerking toe

    3. Hitachi CP-X2010N Lens Replacement: stap 3, afbeelding 1 van 1
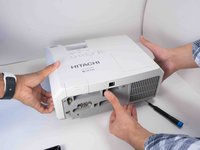
      • Flip projector right side up and orient it so you are facing the rear panel.

      Vraag FixBot

      Voeg opmerking toe

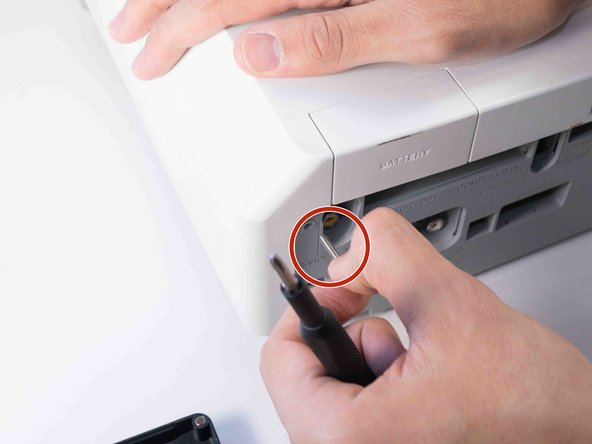
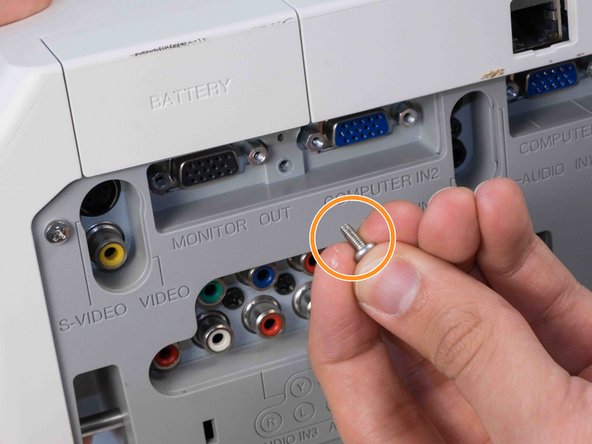
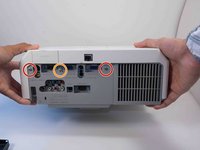
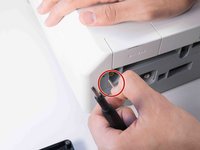
    4. Hitachi CP-X2010N Lens Replacement: stap 4, afbeelding 1 van 3 Hitachi CP-X2010N Lens Replacement: stap 4, afbeelding 2 van 3 Hitachi CP-X2010N Lens Replacement: stap 4, afbeelding 3 van 3
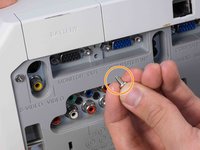
      • Use a Phillips #2 screwdriver to remove two silver 22 mm long screws.

      • Use a Phillips #2 screwdriver to remove the short silver 10 mm screw.

      Vraag FixBot

      Voeg opmerking toe

    5. Hitachi CP-X2010N Lens Replacement: stap 5, afbeelding 1 van 3 Hitachi CP-X2010N Lens Replacement: stap 5, afbeelding 2 van 3 Hitachi CP-X2010N Lens Replacement: stap 5, afbeelding 3 van 3
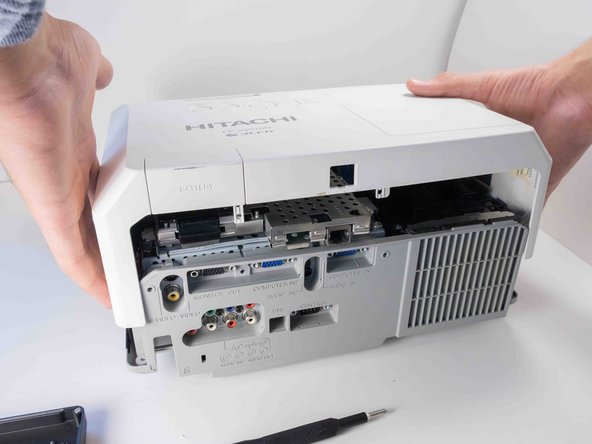
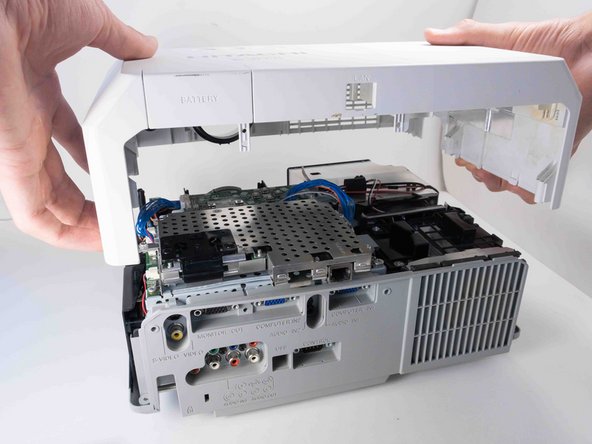
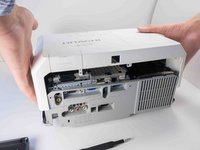
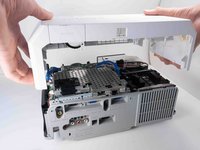
      • Carefully lift the top panel from the body of the projector, making sure it doesn't catch on anything.

      • Remove the panel from the body of the projector.

      Vraag FixBot

      Voeg opmerking toe

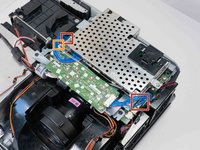
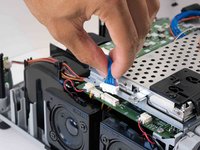
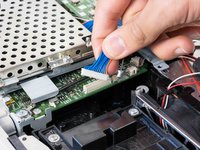
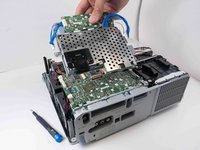
    1. Hitachi CP-X2010N Lens Replacement, Motherboard: stap 6, afbeelding 1 van 3 Hitachi CP-X2010N Lens Replacement, Motherboard: stap 6, afbeelding 2 van 3 Hitachi CP-X2010N Lens Replacement, Motherboard: stap 6, afbeelding 3 van 3
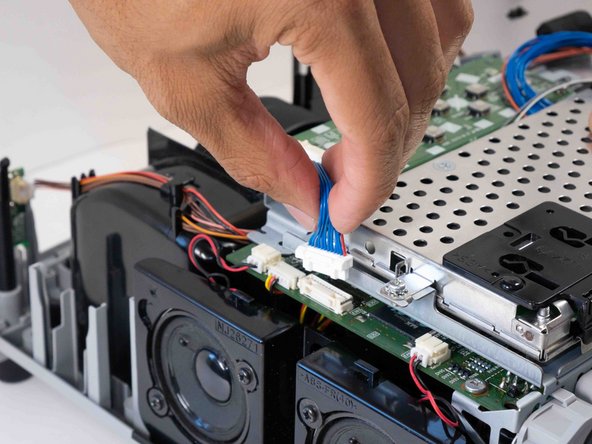
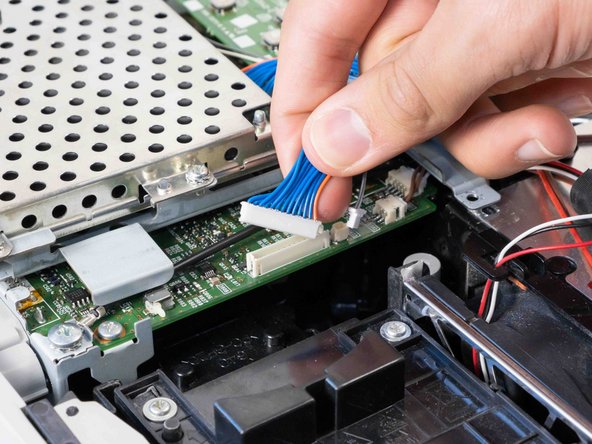
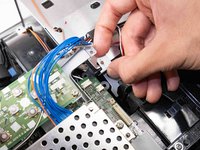
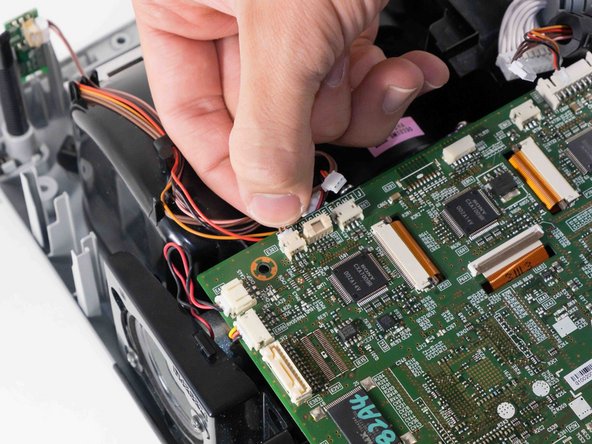
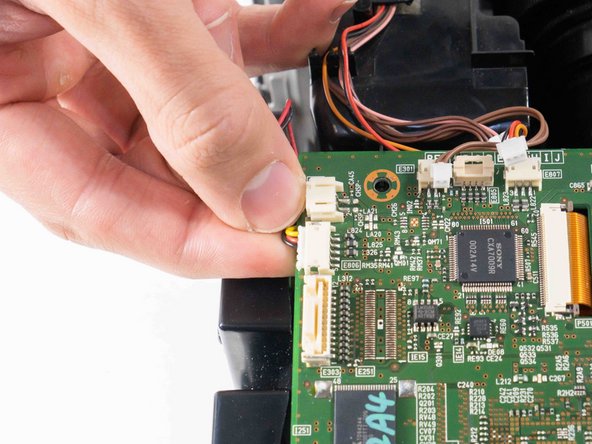
      • Carefully pinch the edges of the two blue connectors and pull upwards to remove them from the motherboard.

      • Carefully pinch and remove the small gray connector next to the blue wire opposite the speakers.

      Vraag FixBot

      Voeg opmerking toe

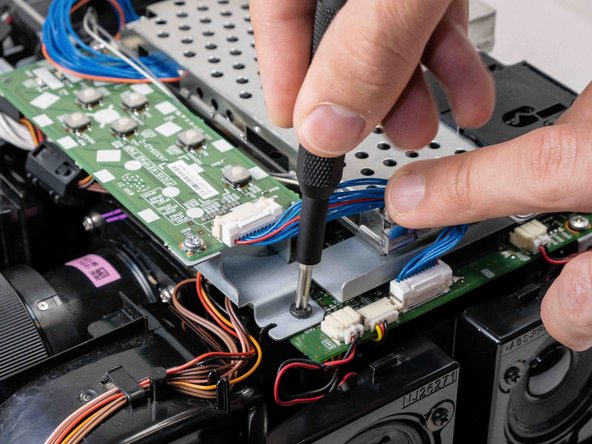
    2. Hitachi CP-X2010N Lens Replacement: stap 7, afbeelding 1 van 3 Hitachi CP-X2010N Lens Replacement: stap 7, afbeelding 2 van 3 Hitachi CP-X2010N Lens Replacement: stap 7, afbeelding 3 van 3
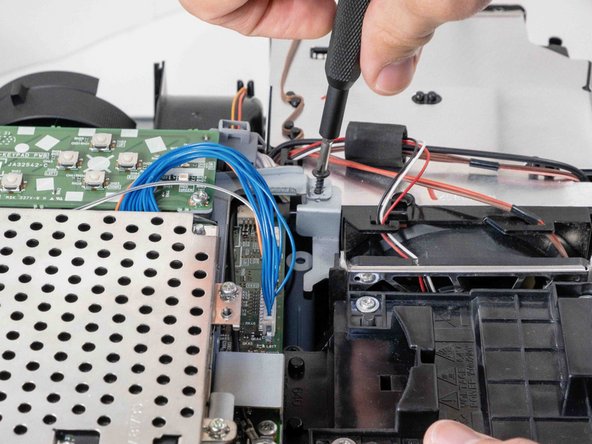
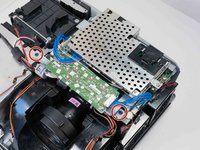
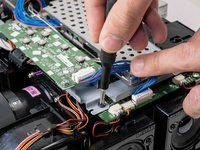
      • Use a Phillips #2 screwdriver to remove the two black 14 mm screws securing the button array.

      • Move the wires for better access to the screws if needed.

      Vraag FixBot

      Voeg opmerking toe

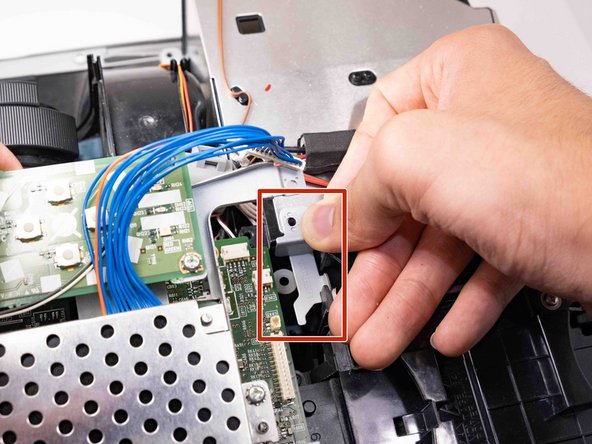
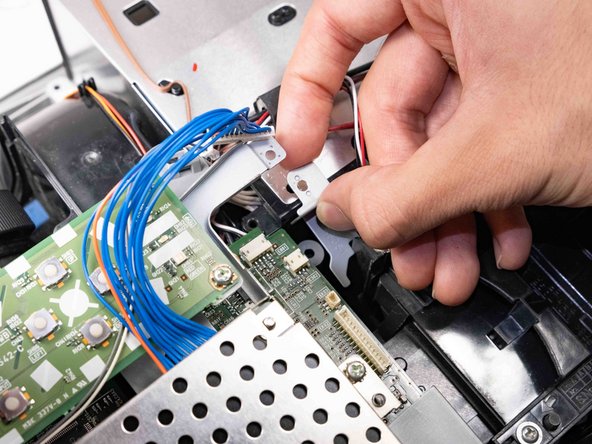
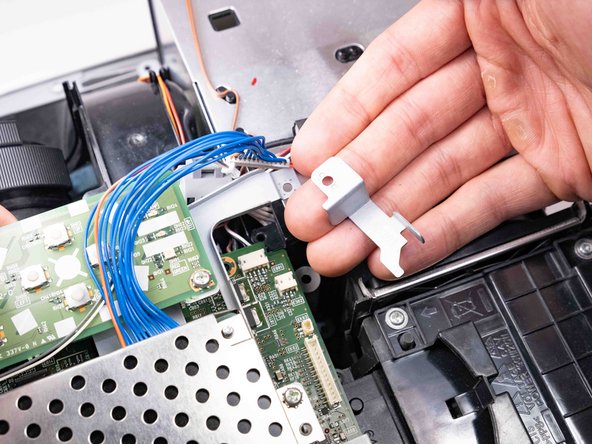
    3. Hitachi CP-X2010N Lens Replacement: stap 8, afbeelding 1 van 3 Hitachi CP-X2010N Lens Replacement: stap 8, afbeelding 2 van 3 Hitachi CP-X2010N Lens Replacement: stap 8, afbeelding 3 van 3
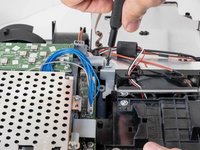
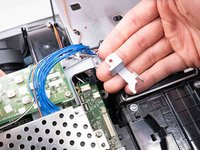
      • Remove the bracket that was being held by the screw.

      • Take a picture or memorize its orientation for easier reinstallation.

      Vraag FixBot

      Voeg opmerking toe

    4. Hitachi CP-X2010N Lens Replacement: stap 9, afbeelding 1 van 2 Hitachi CP-X2010N Lens Replacement: stap 9, afbeelding 2 van 2
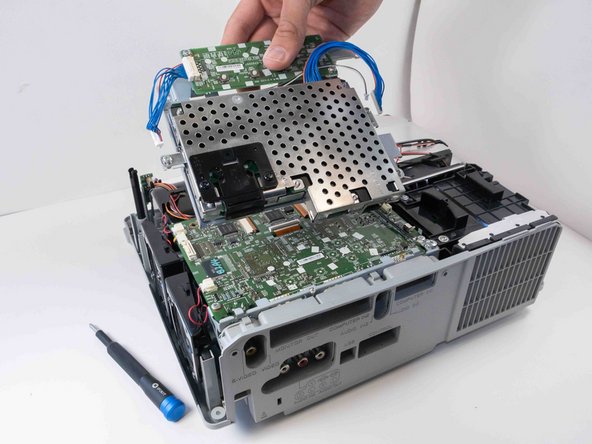
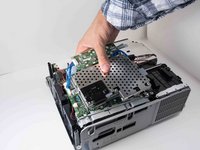
      • Pull the button array and network adapter out carefully.

      • Make sure all the wires connected to the array are unplugged.

      Vraag FixBot

      Voeg opmerking toe

    5. Hitachi CP-X2010N Lens Replacement: stap 10, afbeelding 1 van 2 Hitachi CP-X2010N Lens Replacement: stap 10, afbeelding 2 van 2
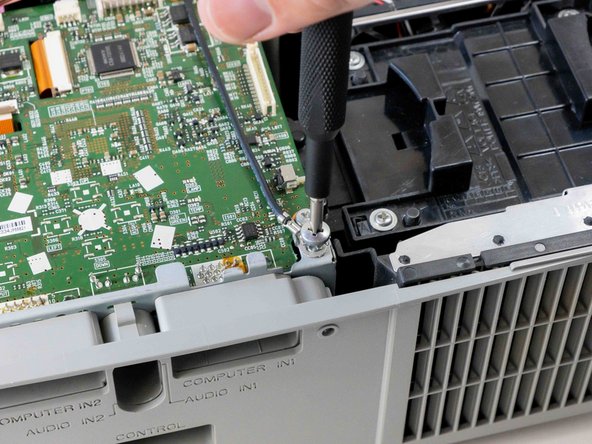
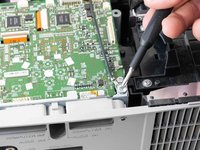
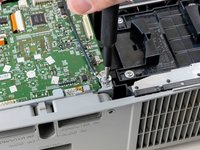
      • Use a Phillips #2 screwdriver to remove the silver 10 mm screw securing the ground wire.

      • Keep the screw and washer in an easily accessible place.

      Vraag FixBot

      Voeg opmerking toe

    6. Hitachi CP-X2010N Lens Replacement: stap 11, afbeelding 1 van 1
      • Use a Phillips #2 screwdriver to remove the black 14 mm screw securing the motherboard to the case.

      Vraag FixBot

      Voeg opmerking toe

    7. Hitachi CP-X2010N Lens Replacement: stap 12, afbeelding 1 van 3 Hitachi CP-X2010N Lens Replacement: stap 12, afbeelding 2 van 3 Hitachi CP-X2010N Lens Replacement: stap 12, afbeelding 3 van 3
      • Delicately pinch and pull off all the wired connections surrounding the outside of the motherboard.

      Vraag FixBot

      Voeg opmerking toe

    8. Hitachi CP-X2010N Lens Replacement: stap 13, afbeelding 1 van 3 Hitachi CP-X2010N Lens Replacement: stap 13, afbeelding 2 van 3 Hitachi CP-X2010N Lens Replacement: stap 13, afbeelding 3 van 3
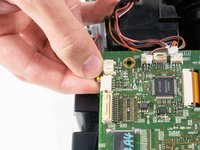
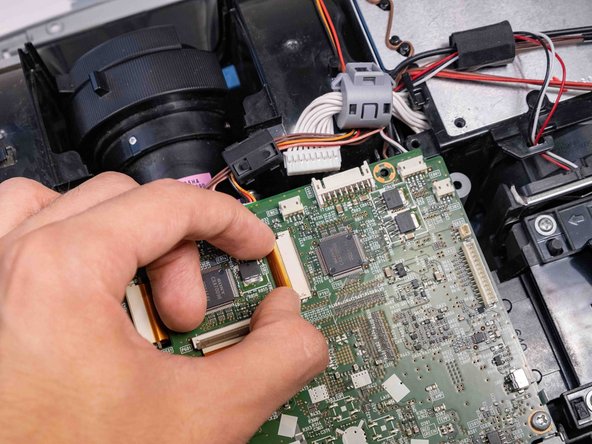
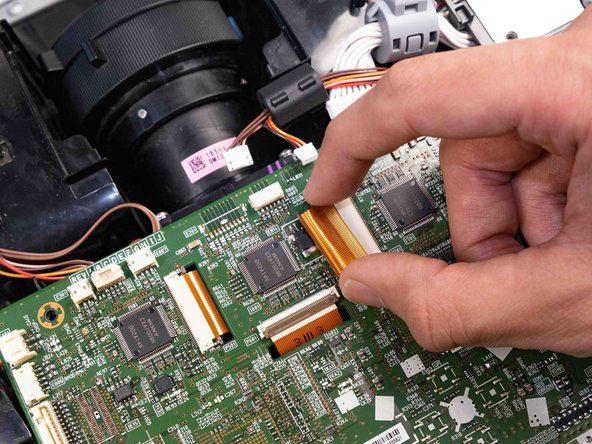
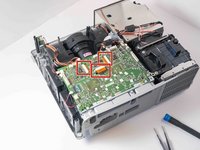
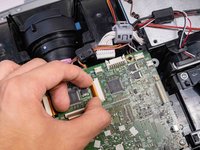
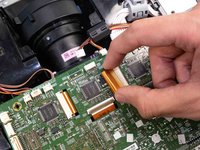
      • Use the tip of a spudger or your fingernail to flip up the small locking flap on the three orange cable locks. Then, you can safely pull the cables out.

      • Too much force could break the ribbon cable.

      Vraag FixBot

      Voeg opmerking toe

    9. Hitachi CP-X2010N Lens Replacement: stap 14, afbeelding 1 van 2 Hitachi CP-X2010N Lens Replacement: stap 14, afbeelding 2 van 2
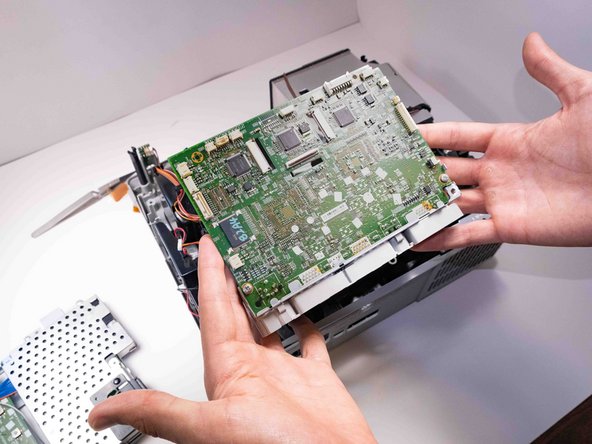
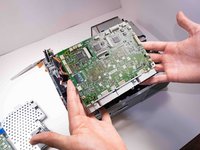
      • Lift the motherboard out from the projector carefully so that it doesn't catch on any other components.

      Vraag FixBot

      Voeg opmerking toe

    1. Hitachi CP-X2010N Lens Replacement, Lens: stap 15, afbeelding 1 van 3 Hitachi CP-X2010N Lens Replacement, Lens: stap 15, afbeelding 2 van 3 Hitachi CP-X2010N Lens Replacement, Lens: stap 15, afbeelding 3 van 3
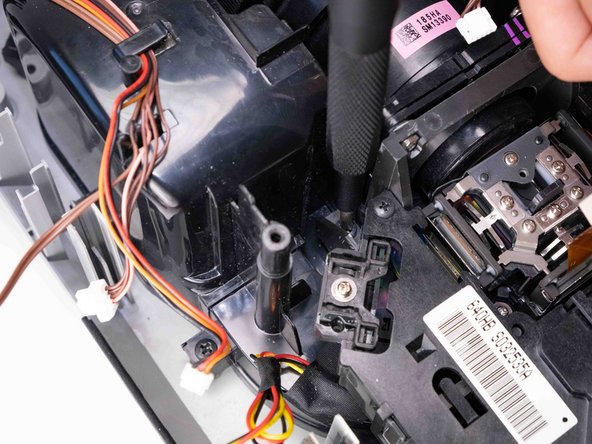
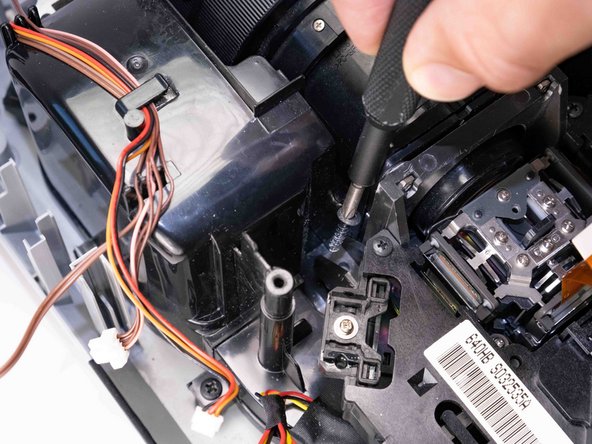
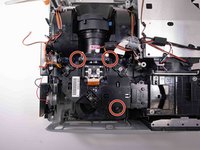
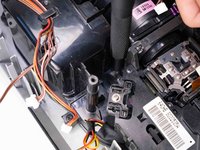
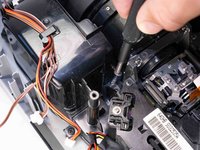
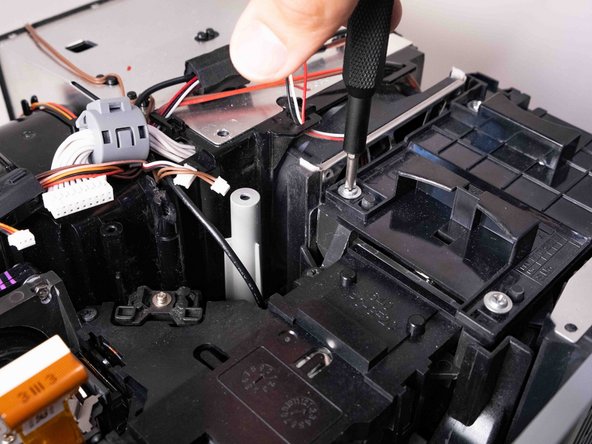
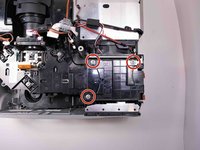
      • Use a Phillips #2 screwdriver to remove the three black 14 mm screws holding down the projector housing.

      Vraag FixBot

      Voeg opmerking toe

    2. Hitachi CP-X2010N Lens Replacement: stap 16, afbeelding 1 van 2 Hitachi CP-X2010N Lens Replacement: stap 16, afbeelding 2 van 2
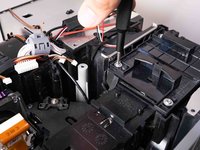
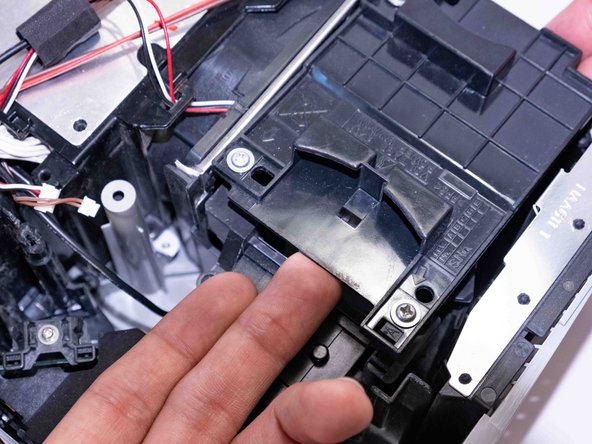
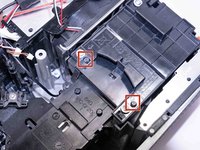
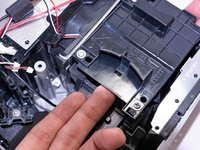
      • Loosen the three silver Phillips #2 screws that secure the lamp housing.

      • The screws are captive and do not need to be removed from the lamp housing.

      Vraag FixBot

      Voeg opmerking toe

    3. Hitachi CP-X2010N Lens Replacement: stap 17, afbeelding 1 van 2 Hitachi CP-X2010N Lens Replacement: stap 17, afbeelding 2 van 2
      • Work the projector housing loose from the two pins on the lamp housing.

      Vraag FixBot

      Voeg opmerking toe

    4. Hitachi CP-X2010N Lens Replacement: stap 18, afbeelding 1 van 3 Hitachi CP-X2010N Lens Replacement: stap 18, afbeelding 2 van 3 Hitachi CP-X2010N Lens Replacement: stap 18, afbeelding 3 van 3
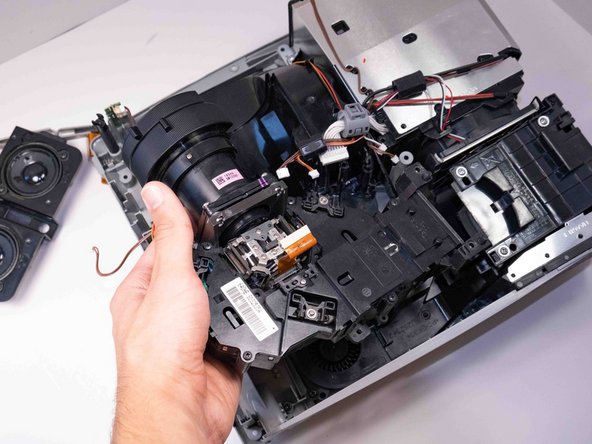
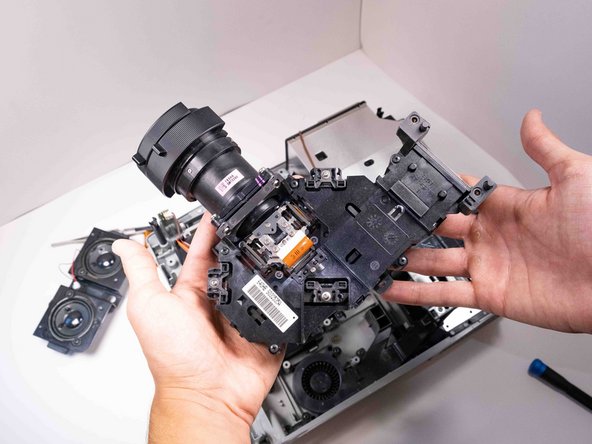
      • Lift the projector housing up from the left side and remove it from the case.

      Vraag FixBot

      Voeg opmerking toe

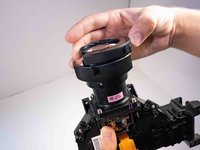
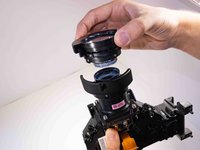
    5. Hitachi CP-X2010N Lens Replacement: stap 19, afbeelding 1 van 3 Hitachi CP-X2010N Lens Replacement: stap 19, afbeelding 2 van 3 Hitachi CP-X2010N Lens Replacement: stap 19, afbeelding 3 van 3
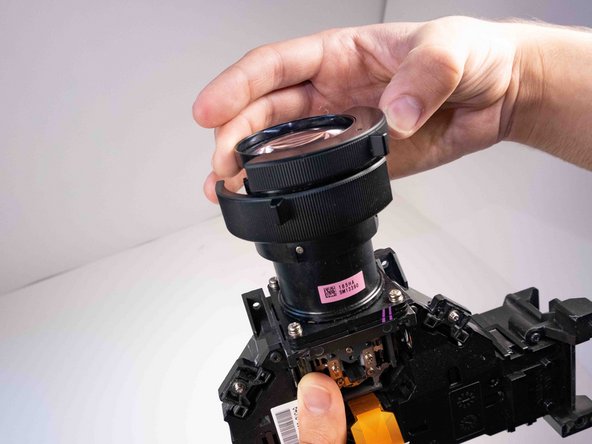
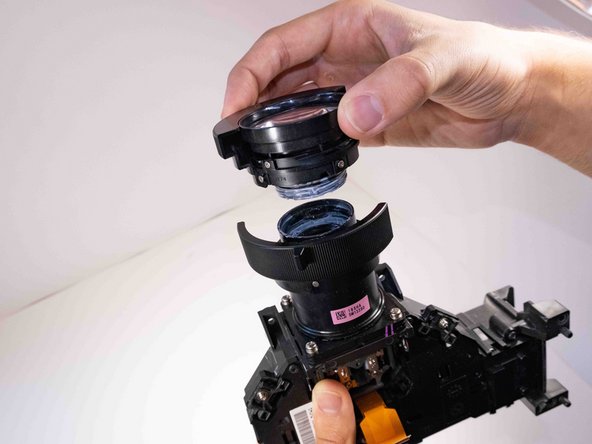
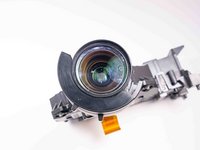
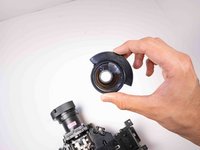
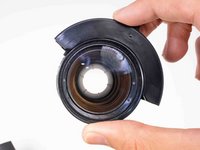
      • Turn the front lens element counterclockwise and lift it off the projector housing.

      • The front element will have lubricant on the inside shaft. Take care not to rub any of it off.

      Vraag FixBot

      Voeg opmerking toe

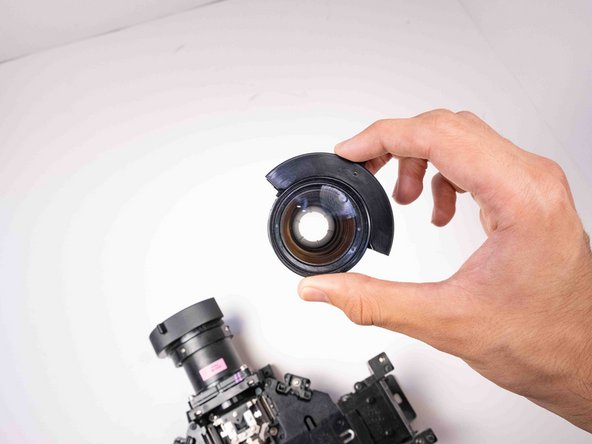
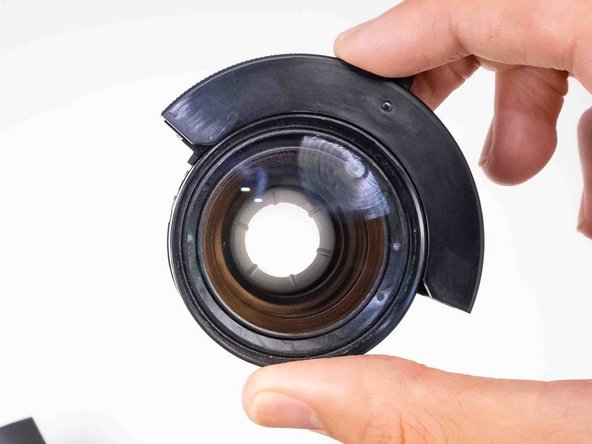
    6. Hitachi CP-X2010N Lens Replacement: stap 20, afbeelding 1 van 3 Hitachi CP-X2010N Lens Replacement: stap 20, afbeelding 2 van 3 Hitachi CP-X2010N Lens Replacement: stap 20, afbeelding 3 van 3
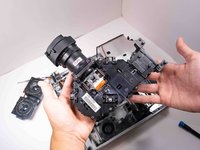
      • Inspect all glass elements for debris or damage.

      • Clean or replace the lens as needed.

      Vraag FixBot

      Voeg opmerking toe

Conclusie

To reassemble your device, follow these instructions in reverse order.

Annuleren: ik heb deze handleiding niet afgemaakt.

4 andere personen hebben deze handleiding voltooid.

Chance Kidd

Lid sinds: 09/20/22

1.184 Reputatie

6 handleidingen geschreven

Team

0Gids Commentaar

Voeg opmerking toe

Weergavestatistieken:

Afgelopen 24 uren: 0

Afgelopen 7 dagen: 3

Afgelopen 30 dagen: 15

Altijd: 410