Inleiding
If the speakers of your Hannspree Hannspad SN1AT71 have failed, you don’t need to get a new one. Follow this guide and it will be good as new. The speakers are a key component in your computer so this guide gives you step by step instructions on how to fix your speakers. When the sound coming out of your speakers becomes distorted or your speakers fail completely it is time to replace your speakers.
The speakers allow the sound to come from the computer to allow you to hear what is being said. This can be from a zoom meeting, a how to video or Netflix. Having speakers in your computer allows you to hear and respond to what is happening.
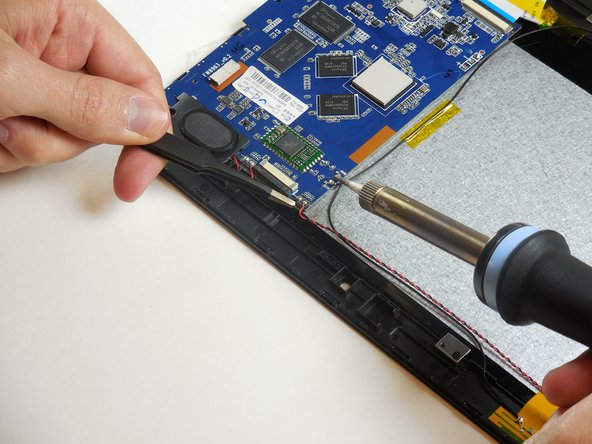
Be sure to unplug and power off your device prior to beginning your repair. You will be with this guide. If you are unfamiliar with solder/desoldering please check out our How to Solder and Desolder Connections guide.
Wat je nodig hebt
-
-
-
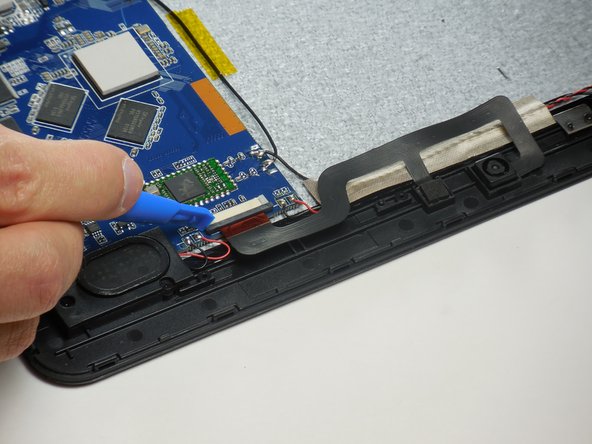
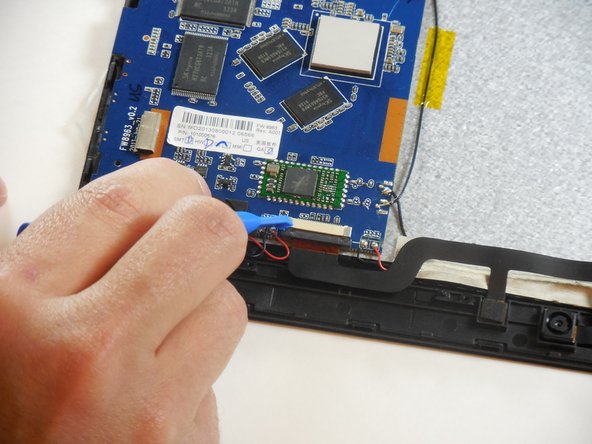
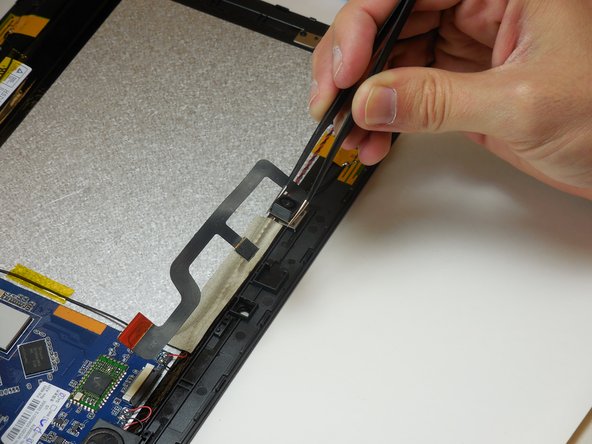
Identify the ribbon connecter attached to the camera and where it connects to the circuit board.
-
The two cameras are connected with one ribbon cable.
-
Zero insertion force connector.
-
-
-
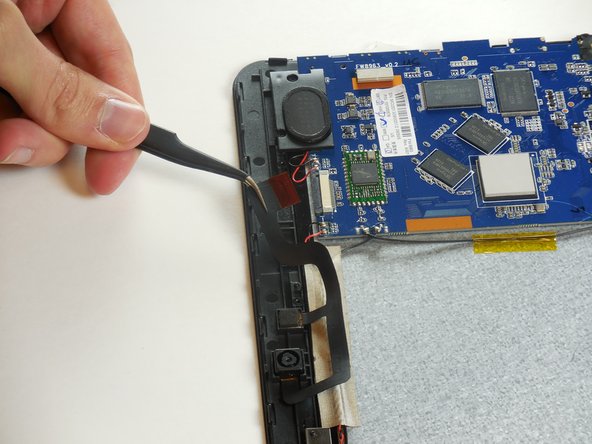
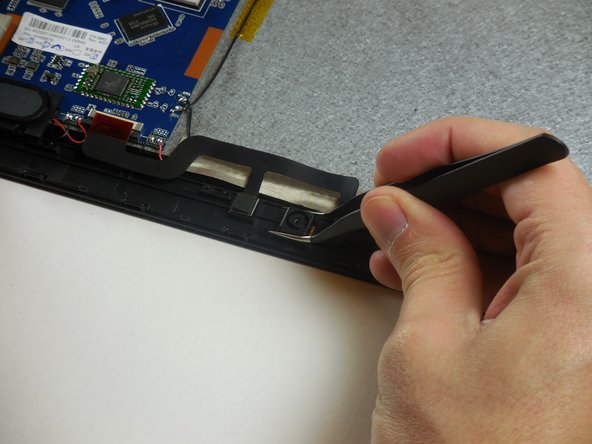
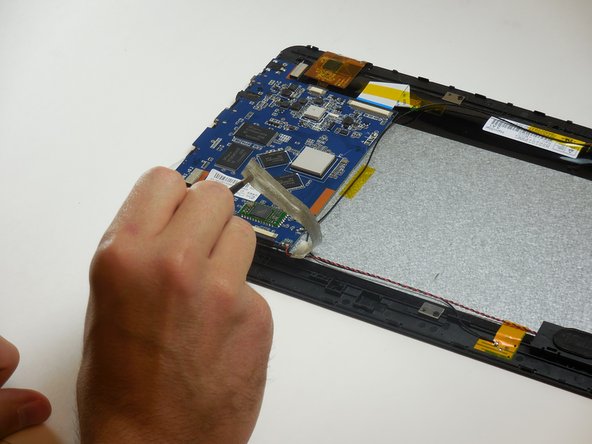
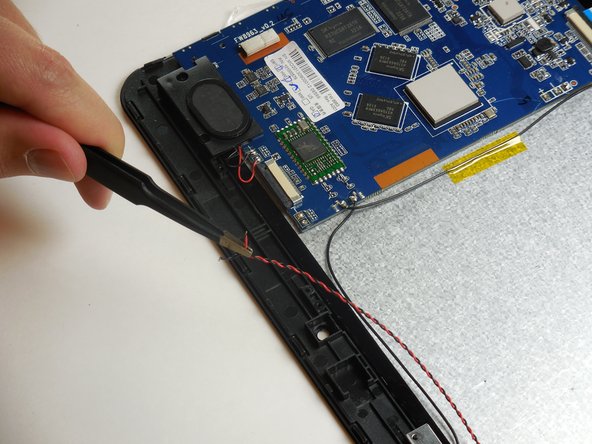
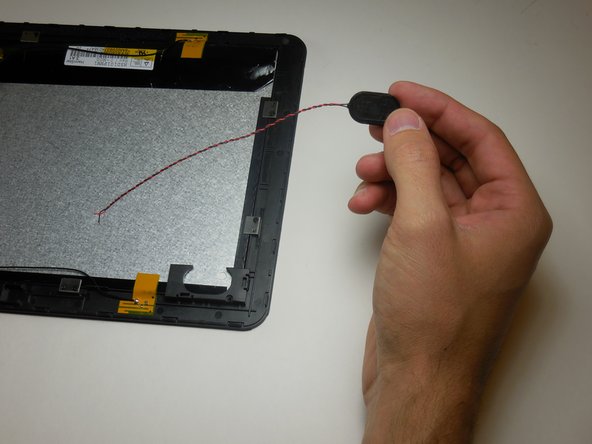
Identify the speakers.
-
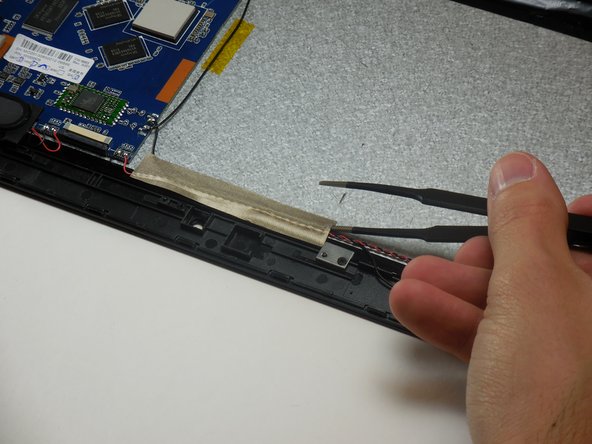
Use a pair of tweezers to peel the adhesive tape holding the speaker wires down.
-


To reassemble your device, follow these instructions in reverse order.
To reassemble your device, follow these instructions in reverse order.
Annuleren: ik heb deze handleiding niet afgemaakt.
Één andere persoon heeft deze handleiding voltooid.
Team

Colorado Springs, Team 9-4, Panko Spring 2015 Lid van Colorado Springs, Team 9-4, Panko Spring 2015
UCCS-PANKO-S15S9G4
3 Leden
10 handleidingen geschreven