Ga door naar hoofdinhoud

HTC Thunderbolt LCD/Screen Replacement

Wat je nodig hebt

  1. HTC Thunderbolt LCD/Screen Replacement, Rear Panel: stap 1, afbeelding 1 van 1
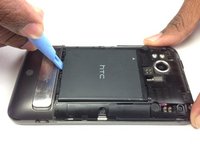
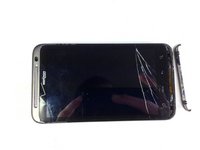
    • Insert the plastic opening tool into the top of the Thunderbolt near the power button.

    • Gently pry up on the rear panel around the edges until it is loose.

  2. HTC Thunderbolt LCD/Screen Replacement: stap 2, afbeelding 1 van 1
    • Lift and remove the rear panel.

  3. HTC Thunderbolt LCD/Screen Replacement, Battery: stap 3, afbeelding 1 van 2 HTC Thunderbolt LCD/Screen Replacement, Battery: stap 3, afbeelding 2 van 2
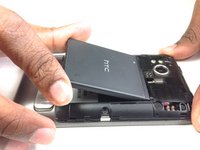
    • Using the plastic opening tool, lift up the battery from the bottom near the kickstand.

    • Remove the battery from the inner frame.

  4. HTC Thunderbolt LCD/Screen Replacement, MicroSD Card: stap 4, afbeelding 1 van 2 HTC Thunderbolt LCD/Screen Replacement, MicroSD Card: stap 4, afbeelding 2 van 2
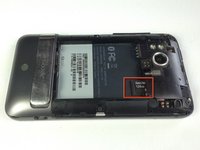
    • Use your finger to push the MicroSD card in towards the top of the phone, allowing it to be released from the casing.

  5. HTC Thunderbolt LCD/Screen Replacement: stap 5, afbeelding 1 van 1
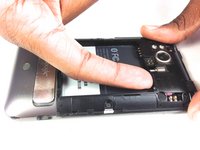
    • Use tweezers to grab onto the MicroSD card and carefully remove it from the casing.

  6. HTC Thunderbolt LCD/Screen Replacement, Rear Frame: stap 6, afbeelding 1 van 1
    • Remove the six Phillips screws from the perimeter of the rear frame.

    • By removing the screw with the "void" sticker on it, your Thunderbolt will no longer be covered under warranty.

  7. HTC Thunderbolt LCD/Screen Replacement: stap 7, afbeelding 1 van 2 HTC Thunderbolt LCD/Screen Replacement: stap 7, afbeelding 2 van 2
    • Insert the plastic opening tool into the bottom of the phone underneath the soft keys.

    • Gently pry up on the plastic cover by sliding the plastic opening tool across the bottom of the phone.

    • Remove the plastic cover.

    • The plastic cover will have adhesive on it making it difficult to remove.

  8. HTC Thunderbolt LCD/Screen Replacement: stap 8, afbeelding 1 van 1
    • Remove the two Phillips screws where the plastic cover was.

  9. HTC Thunderbolt LCD/Screen Replacement: stap 9, afbeelding 1 van 2 HTC Thunderbolt LCD/Screen Replacement: stap 9, afbeelding 2 van 2
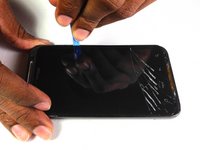
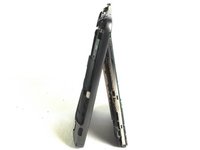
    • Insert the plastic opening tool in between the screen and the frame on the side of the phone.

    • Slowly slide the the plastic opening tool along the side of the phone until the screen begins to separate from the frame.

    • Do the same for the opposite side of the phone.

  10. HTC Thunderbolt LCD/Screen Replacement: stap 10, afbeelding 1 van 3 HTC Thunderbolt LCD/Screen Replacement: stap 10, afbeelding 2 van 3 HTC Thunderbolt LCD/Screen Replacement: stap 10, afbeelding 3 van 3
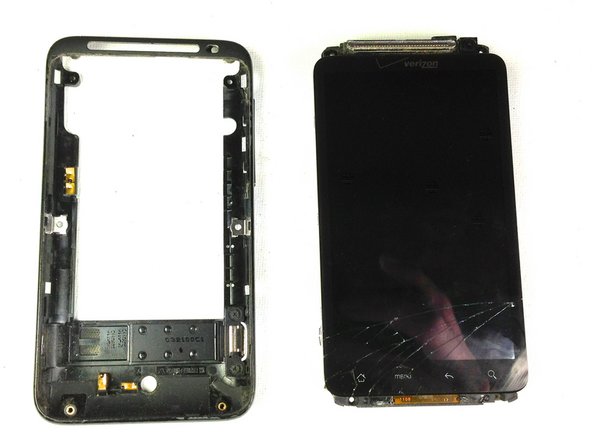
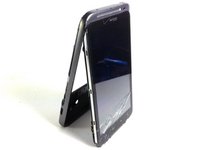
    • Carefully separate the screen and phone from the rear frame, starting from the bottom.

    • Gently pull down on the phone and screen to fully separate it from the rear frame.

  11. HTC Thunderbolt LCD/Screen Replacement, Rear Inner Frame: stap 11, afbeelding 1 van 1
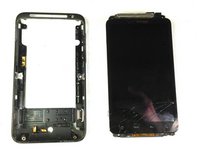
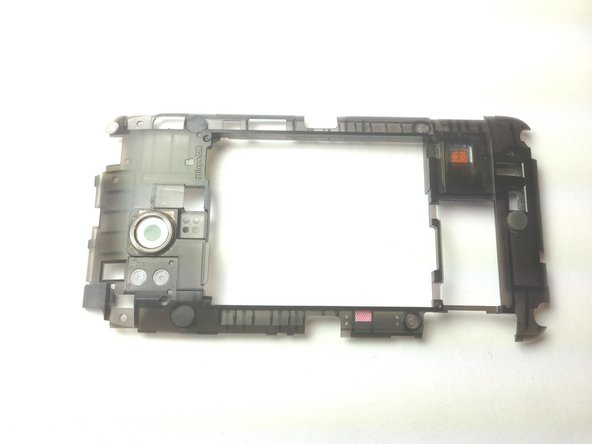
    • Remove the two Phillips screws securing rear inner frame to device.

  12. HTC Thunderbolt LCD/Screen Replacement: stap 12, afbeelding 1 van 1
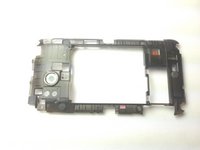
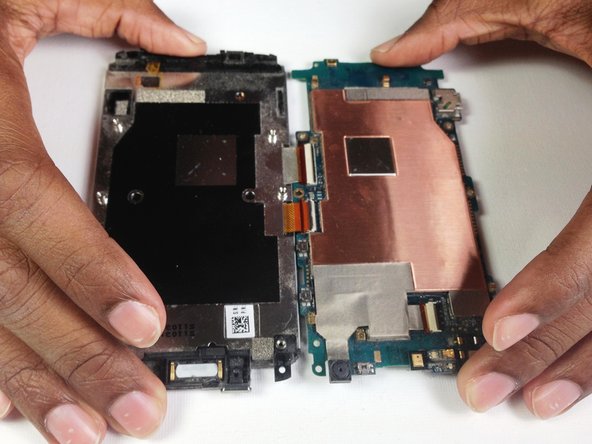
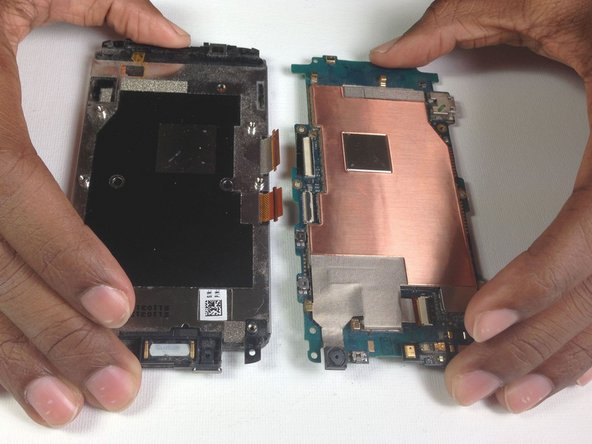
    • Insert the plastic opening tool between the rear inner frame and the motherboard and slowly work your way around the device.

  13. HTC Thunderbolt LCD/Screen Replacement: stap 13, afbeelding 1 van 2 HTC Thunderbolt LCD/Screen Replacement: stap 13, afbeelding 2 van 2
    • Remove the rear inner frame from the rest of the device.

  14. HTC Thunderbolt LCD/Screen Replacement, LCD/Screen: stap 14, afbeelding 1 van 2 HTC Thunderbolt LCD/Screen Replacement, LCD/Screen: stap 14, afbeelding 2 van 2
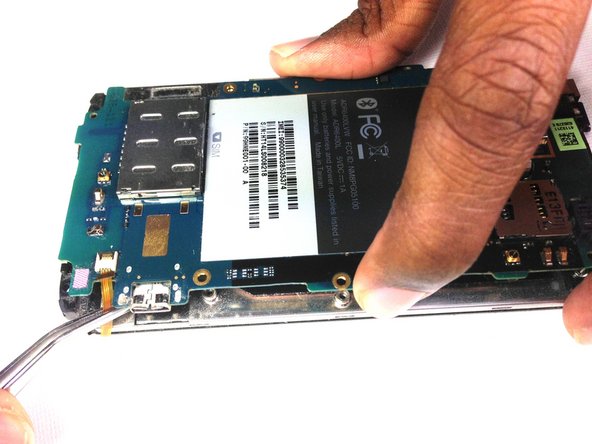
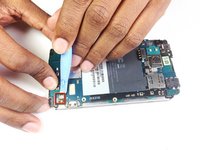
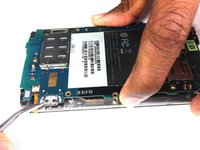
    • Using the tip of an plastic opening tool flip up the tab holding the capacitive button ribbon cable.

    • Be careful opening these tabs as they are very easy to break.

    • Use a pair of tweezers to pull the capacitive button cable out of its socket.

  15. HTC Thunderbolt LCD/Screen Replacement: stap 15, afbeelding 1 van 2 HTC Thunderbolt LCD/Screen Replacement: stap 15, afbeelding 2 van 2
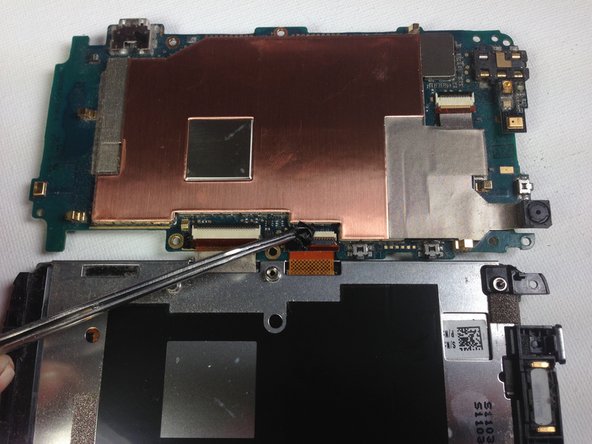
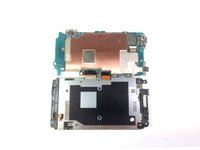
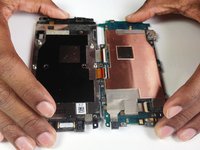
    • Lifting from the side where the ribbon was disconnected, flip over the motherboard.

    • Remove the black tape covering the tabs connecting the motherboard and LCD.

  16. HTC Thunderbolt LCD/Screen Replacement: stap 16, afbeelding 1 van 1
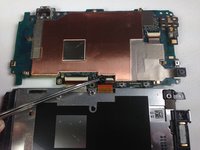
    • Using the plastic opening tool pop up the two tabs connecting the LCD and motherboard.

  17. HTC Thunderbolt LCD/Screen Replacement: stap 17, afbeelding 1 van 2 HTC Thunderbolt LCD/Screen Replacement: stap 17, afbeelding 2 van 2
    • Once the tabs have been popped up, slowly pull the two pieces away from each other.

    • If there is resistance pulling apart the phone then a ribbon or tab has not been disconnected properly/completely.

Conclusie

To reassemble your device, follow these instructions in reverse order.

11 andere personen hebben deze handleiding voltooid.

Brandon Younger

Lid sinds: 01/17/13

212 Reputatie

8 handleidingen geschreven

Team

Cal Poly, Team 19-45, Regan Winter 2013 Lid van Cal Poly, Team 19-45, Regan Winter 2013

CPSU-REGAN-W13S19G45

4 Leden

24 handleidingen geschreven

0 opmerkingen

Voeg opmerking toe

Weergavestatistieken:

Afgelopen 24 uren: 0

Afgelopen 7 dagen: 0

Afgelopen 30 dagen: 1

Altijd: 6,756