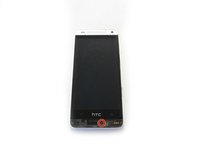
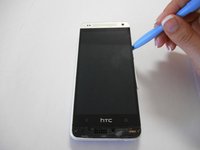
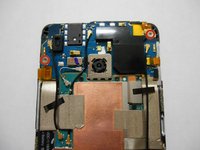
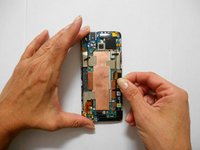
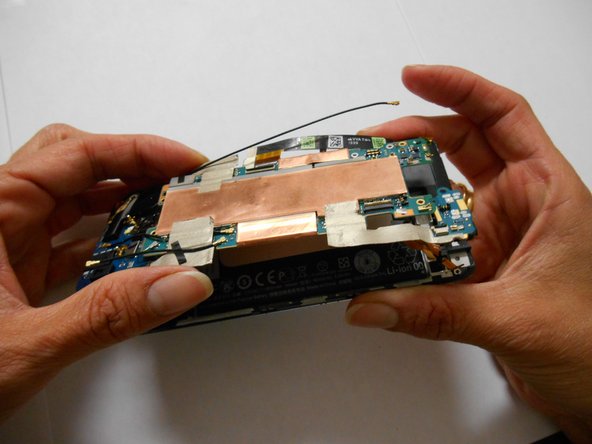
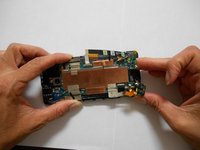
Ga door naar hoofdinhoud

HTC One Mini Battery Replacement

Wat je nodig hebt

  1. HTC One Mini Battery Replacement, iOpener Heating: stap 1, afbeelding 1 van 1
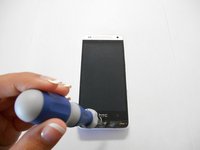
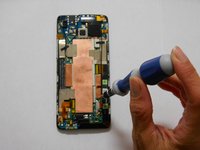
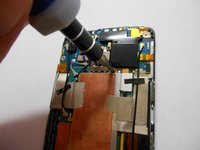
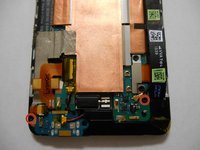
    • Use an iOpener or hair dryer to apply heat to the lower speaker grille, in order to soften the adhesive underneath.

  2. HTC One Mini Battery Replacement, Remove Speaker Grills: stap 2, afbeelding 1 van 1
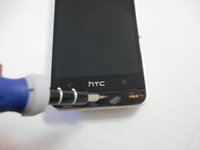
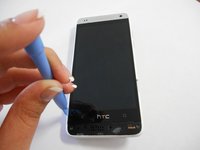
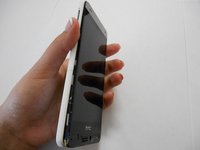
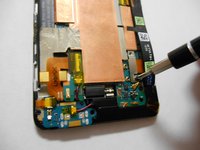
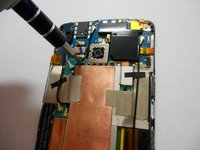
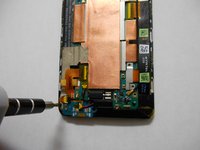
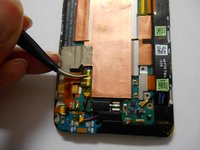
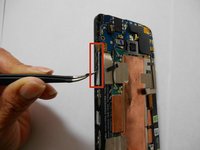
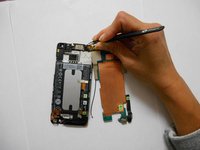
    • Slide a thin pry tool underneath the lower speaker cover and slide it across to separate the adhesive underneath.

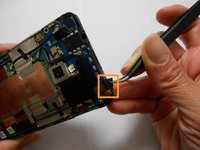
    • Remove the lower speaker cover.
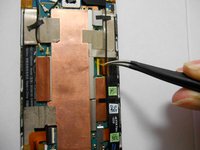
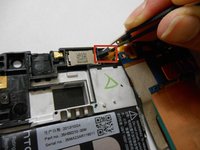
  3. HTC One Mini Battery Replacement, Remove Screw: stap 3, afbeelding 1 van 3 HTC One Mini Battery Replacement, Remove Screw: stap 3, afbeelding 2 van 3 HTC One Mini Battery Replacement, Remove Screw: stap 3, afbeelding 3 van 3
    • Remove the screw under the speaker cover using a T6 Torx screwdriver.

  4. HTC One Mini Battery Replacement: stap 4, afbeelding 1 van 3 HTC One Mini Battery Replacement: stap 4, afbeelding 2 van 3 HTC One Mini Battery Replacement: stap 4, afbeelding 3 van 3
    • Slide a thin guitar pick or pry tool between the edge of the display and the rear case, near the bottom of the phone.

    • Carefully work your way up each side of the display and separate the rear case. There are three clips on each side.

  5. HTC One Mini Battery Replacement, Separate Rear Case: stap 5, afbeelding 1 van 2 HTC One Mini Battery Replacement, Separate Rear Case: stap 5, afbeelding 2 van 2
    • Remove the rear case from the phone.

  6. HTC One Mini Battery Replacement, Remove Screws: stap 6, afbeelding 1 van 3 HTC One Mini Battery Replacement, Remove Screws: stap 6, afbeelding 2 van 3 HTC One Mini Battery Replacement, Remove Screws: stap 6, afbeelding 3 van 3
    • Remove the two Phillips screws securing the battery connector.

  7. HTC One Mini Battery Replacement: stap 7, afbeelding 1 van 2 HTC One Mini Battery Replacement: stap 7, afbeelding 2 van 2
    • Disconnect the battery by prying the metal cover straight up.

  8. HTC One Mini Battery Replacement, Remove screws: stap 8, afbeelding 1 van 3 HTC One Mini Battery Replacement, Remove screws: stap 8, afbeelding 2 van 3 HTC One Mini Battery Replacement, Remove screws: stap 8, afbeelding 3 van 3
    • Remove two Phillips screws.

    • The screw on the upper right corner secures a tiny golden washer. Remove this washer.

  9. HTC One Mini Battery Replacement, Remove Screws: stap 9, afbeelding 1 van 3 HTC One Mini Battery Replacement, Remove Screws: stap 9, afbeelding 2 van 3 HTC One Mini Battery Replacement, Remove Screws: stap 9, afbeelding 3 van 3
    • Remove the two small black Phillips screws.

  10. HTC One Mini Battery Replacement, Remove Screws: stap 10, afbeelding 1 van 3 HTC One Mini Battery Replacement, Remove Screws: stap 10, afbeelding 2 van 3 HTC One Mini Battery Replacement, Remove Screws: stap 10, afbeelding 3 van 3
    • Remove two more Phillips screws.

  11. HTC One Mini Battery Replacement, Remove protective foil.: stap 11, afbeelding 1 van 3 HTC One Mini Battery Replacement, Remove protective foil.: stap 11, afbeelding 2 van 3 HTC One Mini Battery Replacement, Remove protective foil.: stap 11, afbeelding 3 van 3
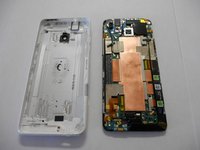
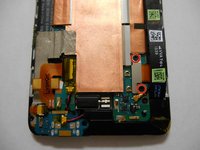
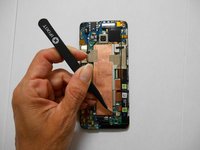
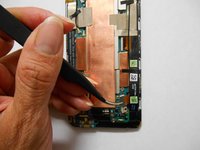
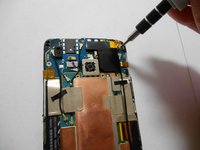
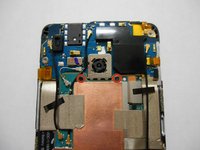
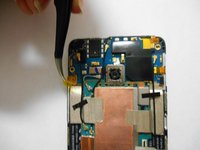
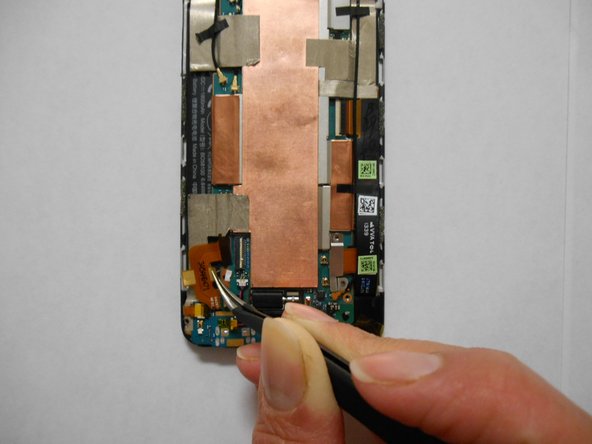
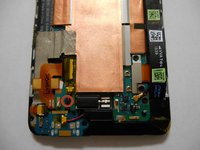
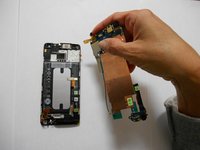
    • Use tweezers to remove the yellow tape covering the flex cable connectors (total of five).

  12. HTC One Mini Battery Replacement: stap 12, afbeelding 1 van 2 HTC One Mini Battery Replacement: stap 12, afbeelding 2 van 2
    • Carefully disconnect the flex cables at the points where you removed the yellow tape in the previous steps.

    • To disconnect, flip up the small latch on each connector, opposite its cable, and then gently pull the cable free.

  13. HTC One Mini Battery Replacement: stap 13, afbeelding 1 van 3 HTC One Mini Battery Replacement: stap 13, afbeelding 2 van 3 HTC One Mini Battery Replacement: stap 13, afbeelding 3 van 3
    • Peel off the silver strip with your tweezers.

    • Using your hands, detach the black strip from the board without removing it.

  14. HTC One Mini Battery Replacement: stap 14, afbeelding 1 van 2 HTC One Mini Battery Replacement: stap 14, afbeelding 2 van 2
    • Detach carefully with your tweezers the volume buttons.

    • Detach the power button with your tweezers.

  15. HTC One Mini Battery Replacement: stap 15, afbeelding 1 van 3 HTC One Mini Battery Replacement: stap 15, afbeelding 2 van 3 HTC One Mini Battery Replacement: stap 15, afbeelding 3 van 3
    • Identify the screw behind the cable.

    • Remove the screw using a Phillips screwdriver.

  16. HTC One Mini Battery Replacement: stap 16, afbeelding 1 van 2 HTC One Mini Battery Replacement: stap 16, afbeelding 2 van 2
    • Lift the motherboard, but don't try to remove it completely yet.

    • Handle the board only by the edges.

  17. HTC One Mini Battery Replacement: stap 17, afbeelding 1 van 3 HTC One Mini Battery Replacement: stap 17, afbeelding 2 van 3 HTC One Mini Battery Replacement: stap 17, afbeelding 3 van 3
    • Using your tweezers, remove the black square located in the power button.

    • Remove the motherboard completely.

  18. HTC One Mini Battery Replacement, Remove Lower Speaker: stap 18, afbeelding 1 van 3 HTC One Mini Battery Replacement, Remove Lower Speaker: stap 18, afbeelding 2 van 3 HTC One Mini Battery Replacement, Remove Lower Speaker: stap 18, afbeelding 3 van 3
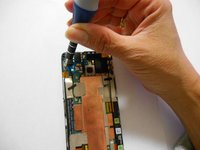
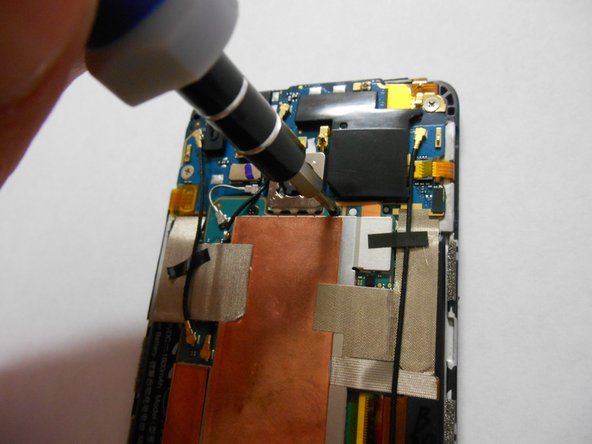
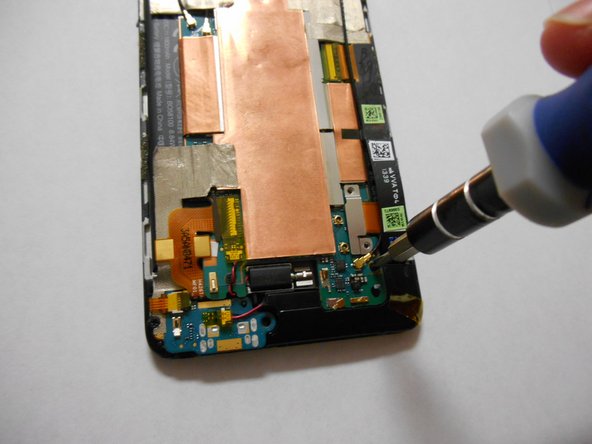
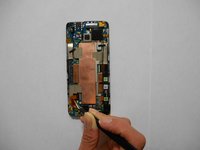
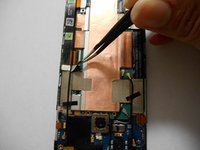
    • Using the spudger, use force to detach and remove the speaker.

  19. HTC One Mini Battery Replacement: stap 19, afbeelding 1 van 3 HTC One Mini Battery Replacement: stap 19, afbeelding 2 van 3 HTC One Mini Battery Replacement: stap 19, afbeelding 3 van 3
    • Use a wide pry tool or credit card to gently pry the battery up and out of the phone.

    • Do not puncture or deform the battery in any way, or a dangerous fire or explosion may result.

Conclusie

To reassemble your device, follow these instructions in reverse order.

11 andere personen hebben deze handleiding voltooid.

Daniela Delgado

Lid sinds: 09/22/14

577 Reputatie

2 handleidingen geschreven

Team

USF Tampa, Team 3-4, Brown Fall 2014 Lid van USF Tampa, Team 3-4, Brown Fall 2014

USFT-BROWN-F14S3G4

3 Leden

10 handleidingen geschreven

6 opmerkingen

I accidently teared the power button cable a little.

I guess i will have to buy a new one, but i wonder is it soldered ?

I don't think so but i'm not sure.

Is there a nother way to power it on for now ?

rssd - Antwoord

Please tell me,can i use battery from htc one mini 2 in htc one mini? I just want increase the battery capacity from 1800 to 2100.thanks for the answer

marat ospanov - Antwoord

I completed the steps as described and have an issue with my display now. I tried to start the device before pressing it in the back cover to check whether it works or not. It seems to work, but the display don't. Which cable is that of the display and / or what could have gone wrong? Thx!

tobiasemmert - Antwoord

I changed the battery, but now, the sound doesn't works. The microphone and the diffuser do not work. What can I do ?

niculoiualina - Antwoord

Just ruined my phone thanks to the worst ever tutorial i’ve ever seen.

Crispy K - Antwoord

Voeg opmerking toe

Weergavestatistieken:

Afgelopen 24 uren: 0

Afgelopen 7 dagen: 1

Afgelopen 30 dagen: 22

Altijd: 45,644