Ga door naar hoofdinhoud
Word lid van de reparatiegemeenschap - Account aanmaken

HTC One M8 Bottom Speaker Replacement

Wat je nodig hebt

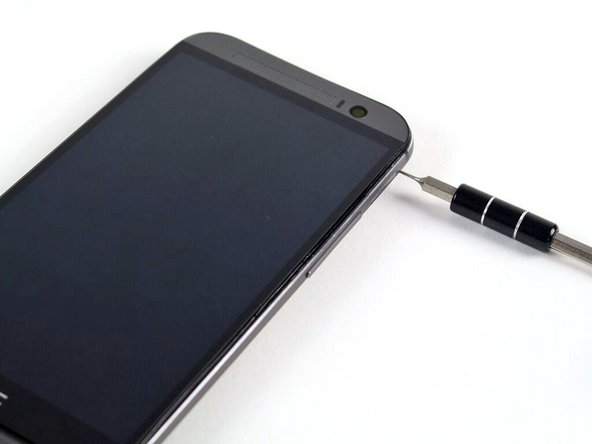
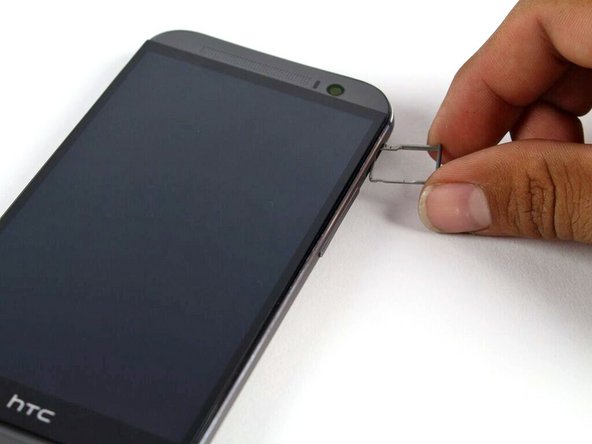
  1. HTC One M8 Bottom Speaker Replacement, SIM Card: stap 1, afbeelding 1 van 2 HTC One M8 Bottom Speaker Replacement, SIM Card: stap 1, afbeelding 2 van 2
    • Insert a SIM card eject tool or a paperclip into the small hole in the SIM card tray, located on the upper left hand side of the phone.

    • Press to eject the tray.

    • This may require a significant amount of force.

    Vraag FixBot
  2. HTC One M8 Bottom Speaker Replacement: stap 2, afbeelding 1 van 1
    • Remove the SIM card tray assembly from the HTC One M8.

    • When reinserting the SIM card, ensure that it is in the proper orientation relative to the tray.

    Vraag FixBot
  3. HTC One M8 Bottom Speaker Replacement, MicroSD Card: stap 3, afbeelding 1 van 2 HTC One M8 Bottom Speaker Replacement, MicroSD Card: stap 3, afbeelding 2 van 2
    • Insert a SIM card eject tool or a paperclip into the small hole in the microSD card tray, located on the upper right hand side of the phone.

    • Press to eject the tray.

    • This may require a significant amount of force.

    Vraag FixBot
  4. HTC One M8 Bottom Speaker Replacement: stap 4, afbeelding 1 van 1
    • Remove the microSD card tray assembly from the HTC One M8.

    • When reinserting the microSD card, ensure that it is in the proper orientation relative to the tray.

    Vraag FixBot
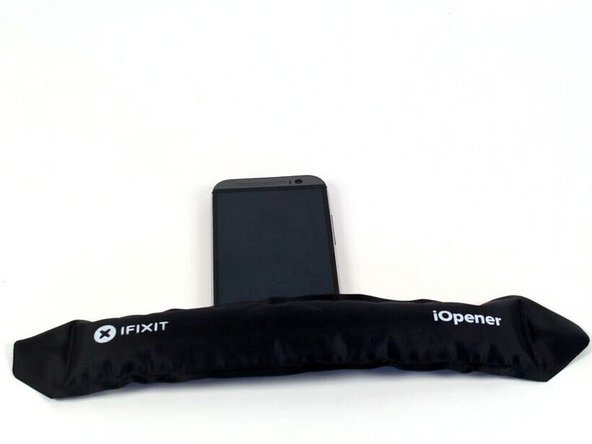
  5. HTC One M8 Bottom Speaker Replacement, Rear Case: stap 5, afbeelding 1 van 2 HTC One M8 Bottom Speaker Replacement, Rear Case: stap 5, afbeelding 2 van 2
    • Use an iOpener or heat gun to loosen the adhesive on the upper and lower speaker grilles.

    • Refer to the iOpener guide for info on how to use the iOpener.

    Vraag FixBot
  6. HTC One M8 Bottom Speaker Replacement: stap 6, afbeelding 1 van 3 HTC One M8 Bottom Speaker Replacement: stap 6, afbeelding 2 van 3 HTC One M8 Bottom Speaker Replacement: stap 6, afbeelding 3 van 3
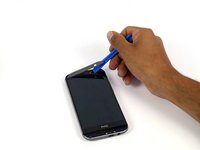
    • Use a plastic opening tool to gently peel up the lower speaker grille.

    • The adhesive is messy, and can be removed using Goo-gone.

    Vraag FixBot
  7. HTC One M8 Bottom Speaker Replacement: stap 7, afbeelding 1 van 2 HTC One M8 Bottom Speaker Replacement: stap 7, afbeelding 2 van 2
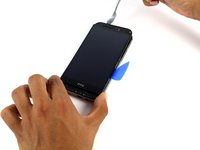
    • Use a plastic opening tool to gently peel up the upper speaker grille.

    Vraag FixBot
  8. HTC One M8 Bottom Speaker Replacement: stap 8, afbeelding 1 van 1
    • Remove the two silver 3 mm Phillips #00 screws from the top.

    • Remove the four black 4 mm T5 Torx screws from the bottom.

    Vraag FixBot
  9. HTC One M8 Bottom Speaker Replacement: stap 9, afbeelding 1 van 3 HTC One M8 Bottom Speaker Replacement: stap 9, afbeelding 2 van 3 HTC One M8 Bottom Speaker Replacement: stap 9, afbeelding 3 van 3
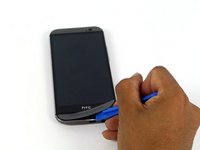
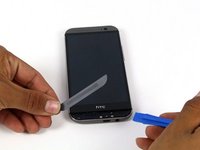
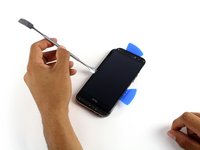
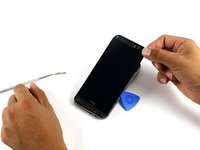
    • Work your way around the perimeter of the phone with a spudger and plastic opening picks to free the clips that secure the rear case to the display assembly.

    • A metal spudger is pictured, but it is best to use a nylon spudger to prevent marring the device.

    • Be careful not to lose the power button: it sits loosely in the top of the lower chassis.

    • Significant force may be required to pry the casing apart.

    Vraag FixBot
  10. HTC One M8 Bottom Speaker Replacement, Motherboard: stap 10, afbeelding 1 van 2 HTC One M8 Bottom Speaker Replacement, Motherboard: stap 10, afbeelding 2 van 2
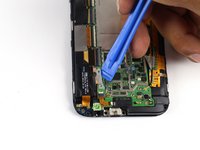
    • Remove the two silver 2 mm Phillips #00 screws securing the battery connector to the motherboard.

    • Use a plastic opening tool to gently pry up the battery connector.

    Vraag FixBot
  11. HTC One M8 Bottom Speaker Replacement: stap 11, afbeelding 1 van 3 HTC One M8 Bottom Speaker Replacement: stap 11, afbeelding 2 van 3 HTC One M8 Bottom Speaker Replacement: stap 11, afbeelding 3 van 3
    Gereedschap gebruikt in deze stap:
    Tweezers
    $4.99
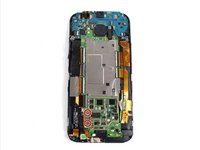
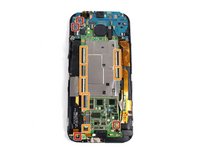
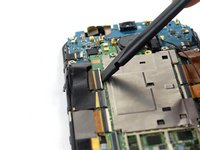
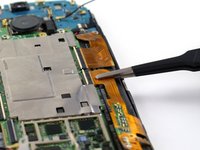
    • Use a spudger to disconnect the two (four) antenna cables.

    • Use the tip of a spudger to disconnect the seven ZIF connectors.

    • Use a pair of tweezers to gently pull the seven ribbon cables free of the connectors.

    Vraag FixBot
  12. HTC One M8 Bottom Speaker Replacement: stap 12, afbeelding 1 van 1
    • Remove three silver 3mm screws using T5 screwdriver.

    Vraag FixBot
  13. HTC One M8 Bottom Speaker Replacement: stap 13, afbeelding 1 van 3 HTC One M8 Bottom Speaker Replacement: stap 13, afbeelding 2 van 3 HTC One M8 Bottom Speaker Replacement: stap 13, afbeelding 3 van 3
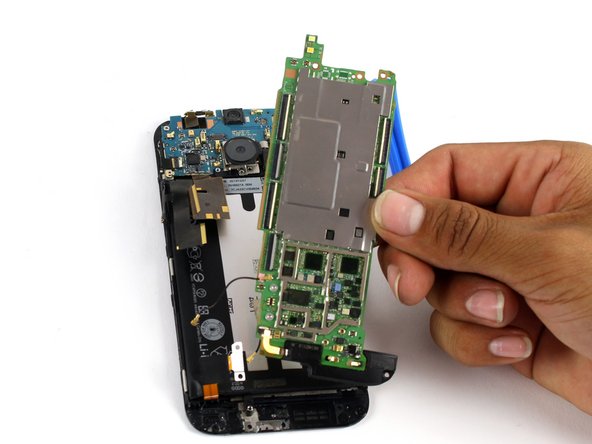
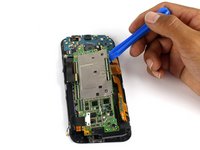
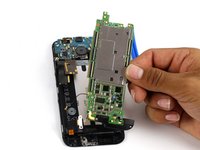
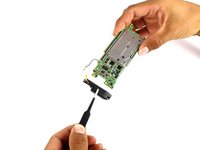
    • Use an iOpener or a heat gun to loosen up the adhesive securing the motherboard to the display assembly.

    • Use a plastic opening tool to gently pry the motherboard free of the display assembly.

    • At this point, the bottom speaker is still attached to the motherboard. If you are only replacing the motherboard, refer to the bottom speaker guide to swap your existing speaker to the new motherboard.

    Vraag FixBot
  14. HTC One M8 Bottom Speaker Replacement, Bottom Speaker: stap 14, afbeelding 1 van 3 HTC One M8 Bottom Speaker Replacement, Bottom Speaker: stap 14, afbeelding 2 van 3 HTC One M8 Bottom Speaker Replacement, Bottom Speaker: stap 14, afbeelding 3 van 3
    Gereedschap gebruikt in deze stap:
    Tweezers
    $4.99
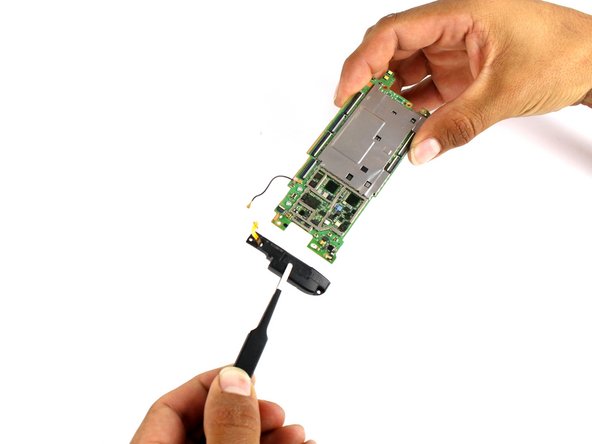
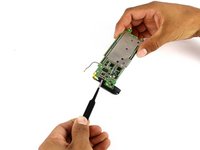
    • Use an iOpener to loosen up the adhesive securing the bottom speaker to the motherboard.

    • Use a pair of tweezers to gently remove the bottom speaker from the motherboard.

    Vraag FixBot
Conclusie

To reassemble your device, follow these instructions in reverse order.

13 andere personen hebben deze handleiding voltooid.

Michael Gonzalez

Lid sinds: 04/14/15

4.448 Reputatie

5 handleidingen geschreven

Team

Cal Poly, Team 5-9, Maness Spring 2015 Lid van Cal Poly, Team 5-9, Maness Spring 2015

CPSU-MANESS-S15S5G9

4 Leden

18 handleidingen geschreven

0Gids Commentaar

Voeg opmerking toe

Weergavestatistieken:

Afgelopen 24 uren: 5

Afgelopen 7 dagen: 13

Afgelopen 30 dagen: 70

Altijd: 12,279