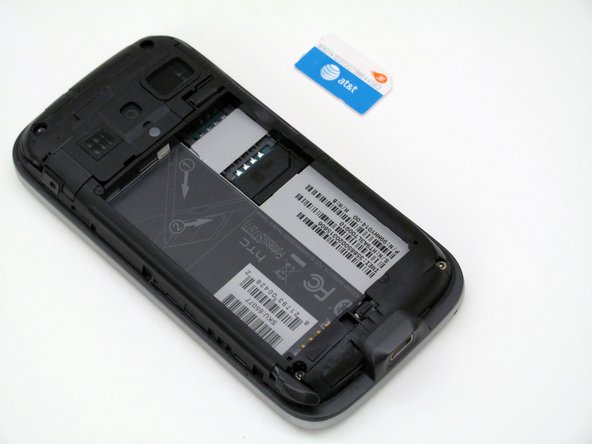
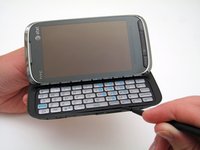
Ga door naar hoofdinhoud

HTC Fortress Keyboard Replacement

Wat je nodig hebt

  1. HTC Fortress Keyboard Replacement, Battery: stap 1, afbeelding 1 van 2 HTC Fortress Keyboard Replacement, Battery: stap 1, afbeelding 2 van 2
    • Remove the back cover of the device by sliding it upward.

    • You may need to remove the phone stylus first.

  2. HTC Fortress Keyboard Replacement: stap 2, afbeelding 1 van 2 HTC Fortress Keyboard Replacement: stap 2, afbeelding 2 van 2
    • Remove the battery by pulling it away from the back of the phone.

  3. HTC Fortress Keyboard Replacement, SIM Card: stap 3, afbeelding 1 van 3 HTC Fortress Keyboard Replacement, SIM Card: stap 3, afbeelding 2 van 3 HTC Fortress Keyboard Replacement, SIM Card: stap 3, afbeelding 3 van 3
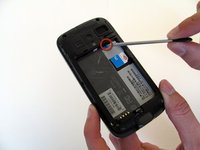
    • Insert the stylus into the small slot.

    • Use the stylus as a lever to push the sim card out of its fitting.

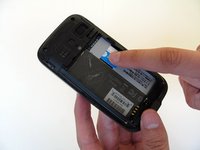
    • Use your finger to slide the card out the rest of the way.

  4. HTC Fortress Keyboard Replacement, Back Panel: stap 4, afbeelding 1 van 2 HTC Fortress Keyboard Replacement, Back Panel: stap 4, afbeelding 2 van 2
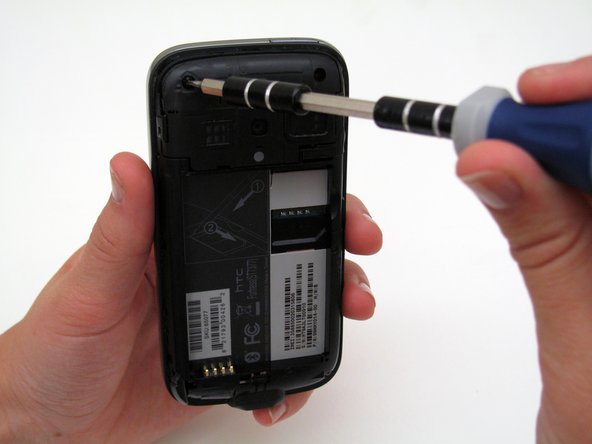
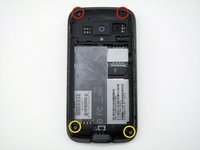
    • Remove the two 4mm-long screws using the T4 Torx Screwdriver.

    • Remove the two 3.5mm-long screws using the T4 Torx Screwdriver.

    • Keep the 4mm-long upper screws separate from the 3.5mm-long bottom screws. They are different!

  5. HTC Fortress Keyboard Replacement: stap 5, afbeelding 1 van 3 HTC Fortress Keyboard Replacement: stap 5, afbeelding 2 van 3 HTC Fortress Keyboard Replacement: stap 5, afbeelding 3 van 3
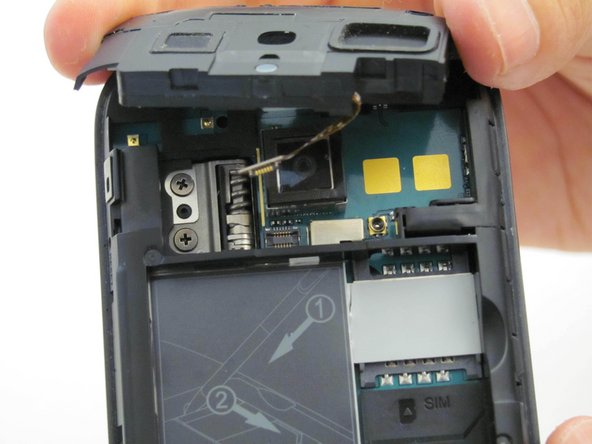
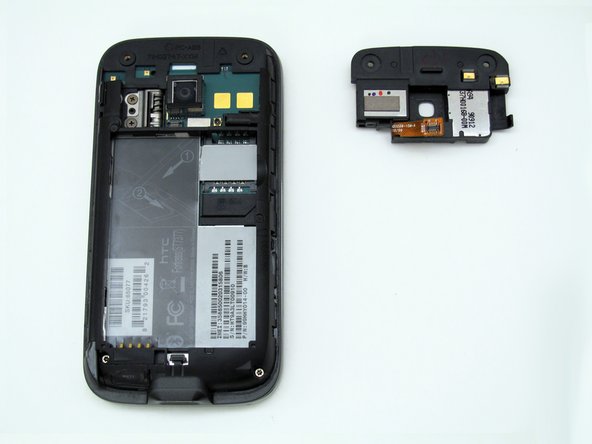
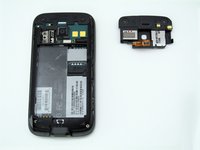
    • Remove the camera panel by hand (black cover above the battery slot).

    • Be careful, there is a cable attached underneath the camera panel.

    • Gently pull the camera panel away from the phone to detach the cable.

    • During reassembly, reattach the cable by holding the silver-plated ending slightly above its slot and using the spudger to gently press it into its fitting. Then, insert the camera panel so it is flush with the back panel again.

  6. HTC Fortress Keyboard Replacement: stap 6, afbeelding 1 van 3 HTC Fortress Keyboard Replacement: stap 6, afbeelding 2 van 3 HTC Fortress Keyboard Replacement: stap 6, afbeelding 3 van 3
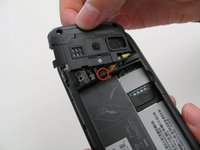
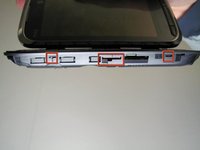
    • Notice the 8 small clips around the perimeter of the phone shown here...

  7. HTC Fortress Keyboard Replacement: stap 7, afbeelding 1 van 2 HTC Fortress Keyboard Replacement: stap 7, afbeelding 2 van 2
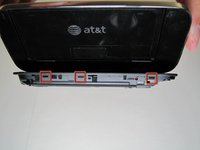
    • ...and the 2 clips shown here.

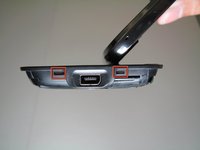
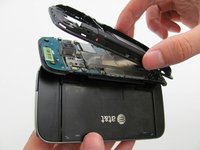
    • Insert the spudger into the seam along the edge of phone, and gently pry the back panel from the keyboard. Follow the seam along the perimeter of the phone.

    • Only pry right next to the clips shown in the above step, as well as the clips next to the charging port.

  8. HTC Fortress Keyboard Replacement: stap 8, afbeelding 1 van 2 HTC Fortress Keyboard Replacement: stap 8, afbeelding 2 van 2
    • Remove the back panel by pulling it away from the phone.

    • Slide the panel downwards as you remove it, making sure to clear the charging port.

  9. HTC Fortress Keyboard Replacement, Keyboard: stap 9, afbeelding 1 van 3 HTC Fortress Keyboard Replacement, Keyboard: stap 9, afbeelding 2 van 3 HTC Fortress Keyboard Replacement, Keyboard: stap 9, afbeelding 3 van 3
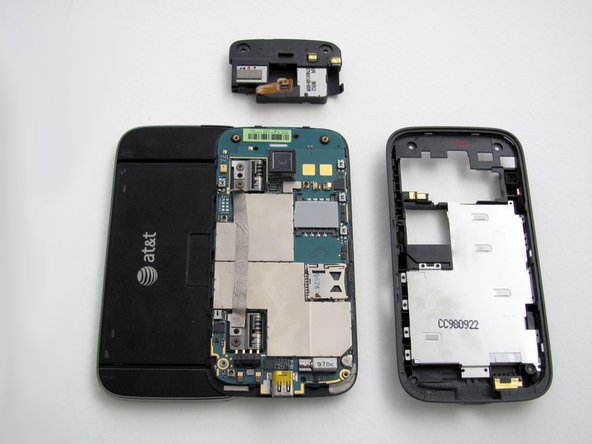
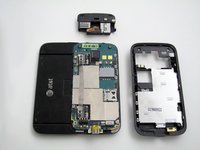
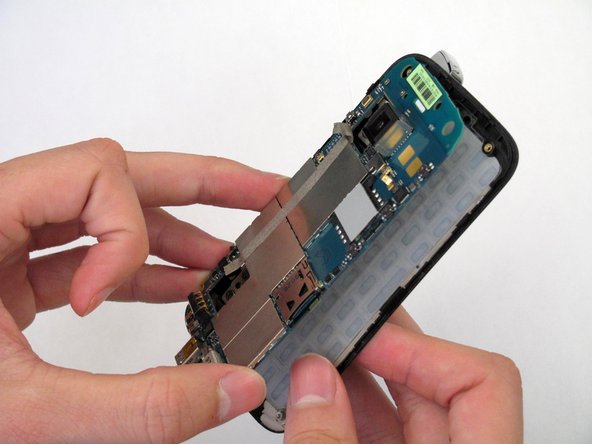
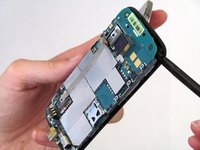
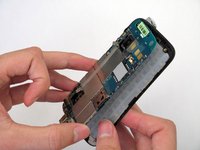
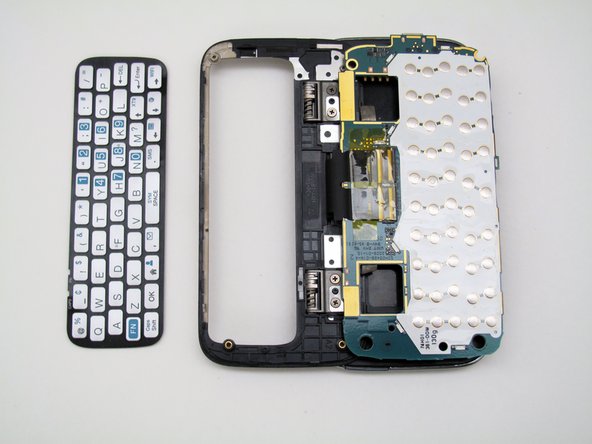
    • Gently pry the motherboard (the green panel) off with the spudger.

    • Be careful; the motherboard has a cable attached to the back and should not come all the way off of the phone.

    • Flip the motherboard over, as if you are turning a page in a book, so that it rests on the back side of the screen.

  10. HTC Fortress Keyboard Replacement: stap 10, afbeelding 1 van 1
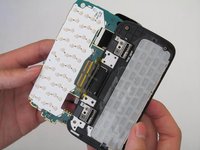
    • Gently peel the clear plastic keyboard backing off of the keyboard. It is attached to the keyboard by a weak adhesive.

  11. HTC Fortress Keyboard Replacement: stap 11, afbeelding 1 van 2 HTC Fortress Keyboard Replacement: stap 11, afbeelding 2 van 2
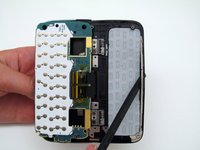
    • Push the keyboard away from the frame of the phone, working the spudger between the keyboard and the frame.

    • There is an adhesive strip holding the keyboard to the frame; make sure that the spudger is between the adhesive strip and the frame, rather than the adhesive strip and the keyboard.

    • Slide the spudger around the perimeter of the keyboard until it is completely free from the frame.

Conclusie

To reassemble your device, follow these instructions in reverse order.

2 andere personen hebben deze handleiding voltooid.

Lucas David

Lid sinds: 04/19/13

540 Reputatie

9 handleidingen geschreven

Team

Cal Poly, Team 4-13, Maness Spring 2013 Lid van Cal Poly, Team 4-13, Maness Spring 2013

CPSU-MANESS-S13S4G13

4 Leden

18 handleidingen geschreven

0 opmerkingen

Voeg opmerking toe

Weergavestatistieken:

Afgelopen 24 uren: 0

Afgelopen 7 dagen: 0

Afgelopen 30 dagen: 2

Altijd: 615