Deze vertaling is door een computer gegenereerd en is nog niet door iemand nagekeken. Spreek je deze taal? Bekijk het hier.
Wat je nodig hebt
-
-
-
Gebruik een wrikgereedschap om de 2 rubberen voetjes die zich het dichtst bij het scharnier van het apparaat bevinden, los te wrikken
-
Herhaal dit proces voor de andere kant van het apparaat
-
Onder de onderste rubberen voetjes zitten geen verborgen schroeven, en daarom is het niet nodig deze te verwijderen
 Vraag FixBot
-
-
-
Verwijder de 11 kruiskopschroeven van 5 mm (omcirkeld)
-
-
-
-
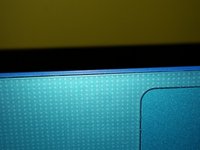
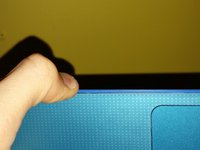
Gebruik uw vinger om de buitenste blauwe behuizing over het toetsenbord heen te wippen
-
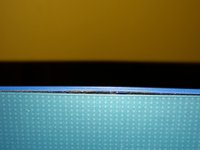
Ga op deze manier door rondom de randen van het apparaat
-
Mogelijk moet u een hefboomgereedschap gebruiken om de stuggere randen los te wippen, zoals rond de I/O-poorten
-
Til het toetsenbord niet op zodra alle clips los zijn, aangezien er nog steeds diverse kabels verbonden zijn
-
-
-
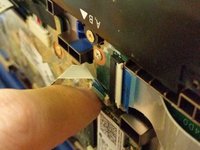
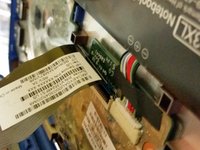
Koppel de (kabel)aansluiting van de aan-/uitknop los door de beschermende tape terug te trekken, met je vingernagel de witte borgclip omhoog te klappen en de lintkabel eruit te trekken.
-
Koppel de (kabel)aansluiting van de touchpad los door met je vingernagel de zwarte borgclip omhoog te klappen en de lintkabel eruit te trekken.
-
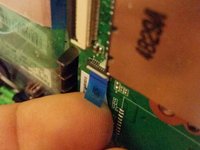
Koppel de (kabel)aansluiting van het toetsenbord los door met je vingernagel de zwarte borgclip omhoog te klappen en de lintkabel eruit te trekken.
-
Je toetsenbordmodule kan nu veilig worden verwijderd.
-
-




Volg deze instructies in omgekeerde volgorde om uw apparaat weer in elkaar te zetten.
Annuleren: ik heb deze handleiding niet afgemaakt.
Één andere persoon heeft deze handleiding voltooid.


