Deze vertaling is door een computer gegenereerd en is nog niet door iemand nagekeken. Spreek je deze taal? Bekijk het hier.
Inleiding
Het wordt aangeraden om deze handleiding met 2 of meer personen uit te voeren.
Vereist gereedschap
- T-9 schroevendraaier
- Pincet met puntige uiteinden
Wat je nodig hebt
-
-
-
Trek beide voorpanelen omlaag om de printer te openen. Til de klep van de scanner omhoog door er omlaag aan te trekken; er zijn twee mondstukken die omlaag getrokken moeten worden.
-
Stel de klep die de scanner afdekt omhoog bij, zoals afgebeeld.
 Vraag FixBot
-
-
-
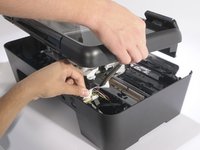
Trek de scannerflap voorzichtig van de printer af om de twee klemmen los te maken.
-
-
-
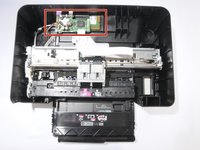
Zoek de drie schroeven aan de bovenkant van de printer.
-
De oranje cirkel geeft een vierde schroef aan die achter het stroompaneel zit. Negeer deze voorlopig, aangezien de instructies voor het verwijderen van deze schroef in stap 5 staan.
-
-
-
Verwijder de drie schroeven van de bovenkant van de printer met een T-9 schroevendraaier.
-
-
-
-
Reik naar binnen via de opening aan de voorzijde van de printer.
-
Druk op het kleine clipje achter de aan-/uitknop.
-
Trek het paneel van rechts naar links naar buiten.
-
-
-
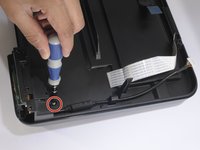
Verwijder de vierde schroef, die bedekt werd door het paneel van de aan-/uitknop.
-
-
-
Laat één persoon de kap 5-8 cm optillen.
-
Laat de andere persoon de drie kabels van het moederbord (de groene printplaat) naar de kap loskoppelen door er voorzichtig recht omhoog aan te trekken.
-
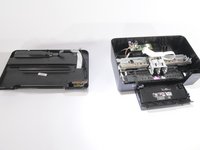
Verwijder de kap volledig.
-
-
-
-
-
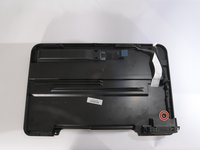
Verwijder de enkele T9-schroef aan de onderkant van de kap, zoals afgebeeld.
-
-
-
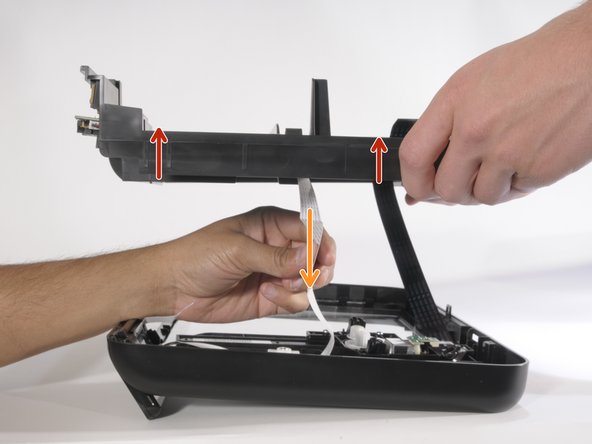
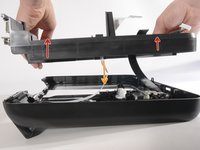
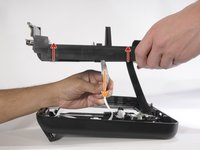
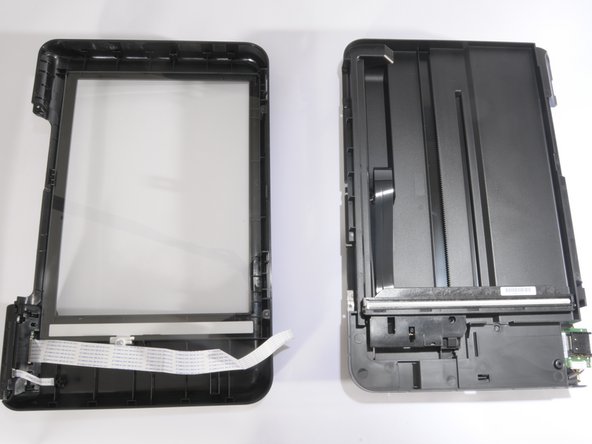
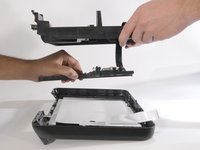
Nadat de schroef is verwijderd, scheidt u de twee delen van de kap door deze verticaal op te tillen.
-
Trek de witte lintkabel voorzichtig door het bovenste deel van de kap naar beneden.
-
-
-
-
-
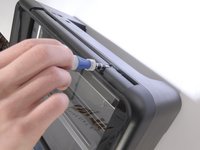
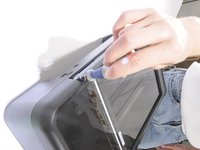
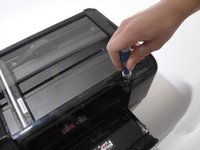
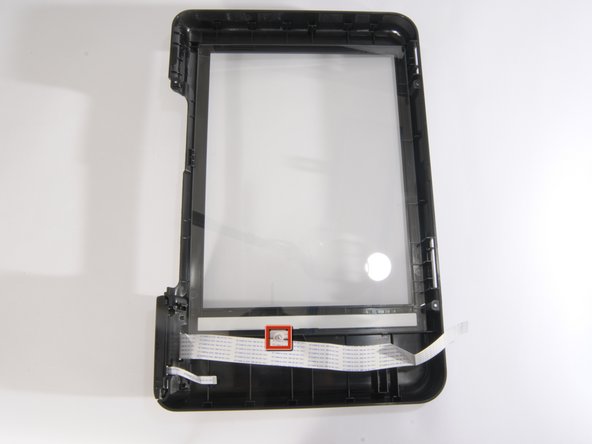
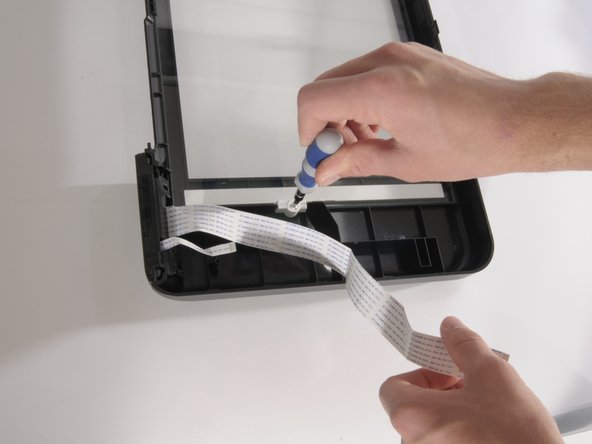
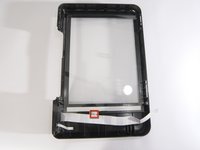
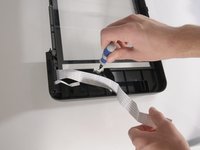
Het glas van de scanner wordt op zijn plek gehouden door één T-9-schroef. Gebruik een schroevendraaier om de schroef te verwijderen.
-
-
-
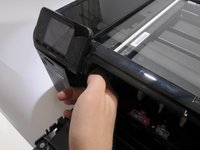
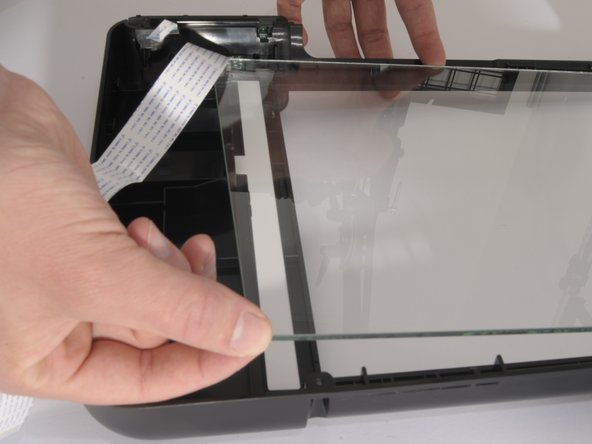
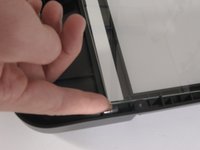
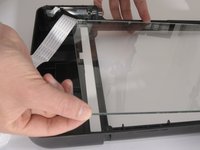
Zodra de schroef is verwijderd, til je de glasplaat op vanaf de linkerbenedenhoek zoals getoond.
-
De andere hoek van de glasplaat kan nu ook worden opgetild. Gebruik beide hoeken om de hele scannerglasplaat omhoog te tillen.
-
-




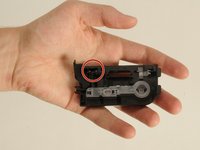


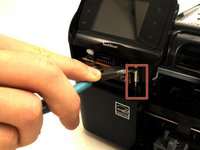
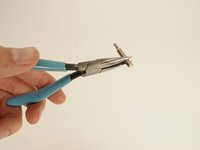


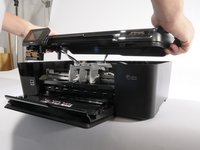





Volg deze instructies in omgekeerde volgorde om uw apparaat weer in elkaar te zetten.
Annuleren: ik heb deze handleiding niet afgemaakt.
4 andere personen hebben deze handleiding voltooid.

Team

Cal Poly, Team 10-38, Forte Spring 2011 Lid van Cal Poly, Team 10-38, Forte Spring 2011
CPSU-FORTE-S11S10G38
5 Leden
120 handleidingen geschreven
5Gids Commentaar
Very helpful guide, the scanner glass was dirty from inside, so the guide was able to give me clear instructions how to proceed with the openning. Thanks!
Very helpful in most ways. I needed to clean the inside of the glass because the ribbon cable was leaving a discoloration when traveling and showed up on my scanned documents. I actually did this solo and was fine until reassemble faze when the actual scanner bar would not stay in place to reassemble the two parts. I finally got it back together after much profanity and no small amount of patients. The next dilemma was the reassembly of top to bottom which was easily fixed with a small piece of duct tape holding The right side in place while reconnecting the two ribbon cables and the power connector. All is back together and working fine. My thanx to my God and to you for a successful fix.
I found that it was actually a T10 bit on mine as well and found when removing the 3 screws shown in red a 2” bit works best but with the one marked in orange under the power button a 1” if placed in the screw first then pulled forward slightly I was able to use a 1/4” drive screwdriver on a slight angle which made it much faster to remove that one screw. That being said, still a very helpful fix to a problem that was really frustrating me as I kept cleaning the top of the glass until I realized the problem was on the underside.
As an after thought, if it were me I would have designed the scanner portion so that less effort would be needed to clean both sides of the glass like screws or clips that can be accessed just by lifting the door on the top.
These instructions are very good and I was able to do this with my husbands help. With one except it doesn’t mention if the new scanner glass has a right side or a wrong side to it. Does it matter at all which side goes up and which side goes down?
Thank you
Bonnie
