Inleiding
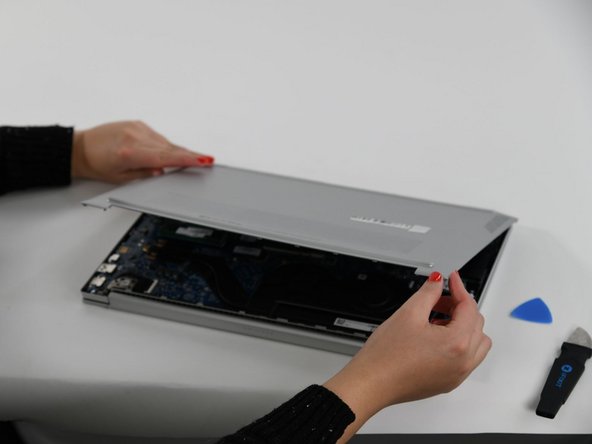
This guide will show you how to completely remove the HP Pavilion 15-eg0025nr back panel. The back panel is on the underside of the laptop and protects many of the laptop's internal components.
Removing the back panel allows you to access many internal parts of the HP Pavilion 15-eg0025nr that are necessary for most repairs or replacements, such as the battery or fan.
Before attempting to remove the back panel, unplug the laptop and turn it off.
Wat je nodig hebt
-
-
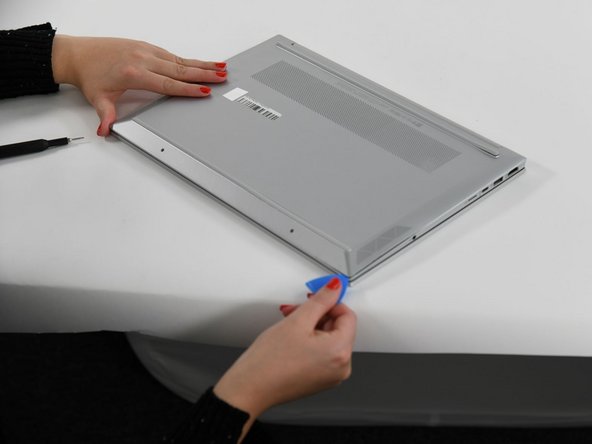
Flip over the computer so that the back panel is facing upwards.
-
Remove the two silver screws on the bottom of the laptop using a Phillips #00 screwdriver.
-
-


To reassemble your device, follow these instructions in reverse order.
To reassemble your device, follow these instructions in reverse order.
Annuleren: ik heb deze handleiding niet afgemaakt.
2 andere personen hebben deze handleiding voltooid.
Team

University of Colorado Denver, Team 1-1, Campeau Fall 2022 Lid van University of Colorado Denver, Team 1-1, Campeau Fall 2022
UCDENVER-CAMPEAU-F22S1G1
4 Leden
3 handleidingen geschreven