Inleiding
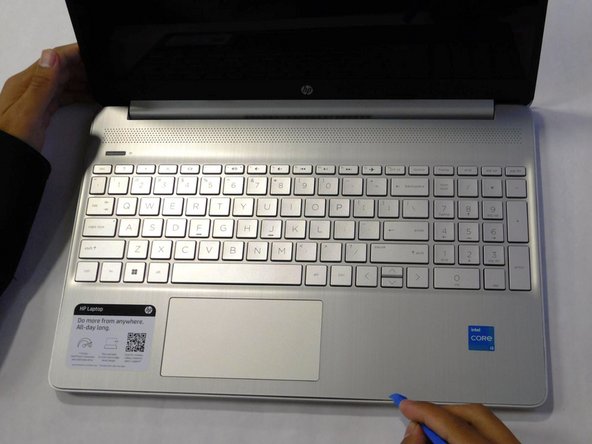
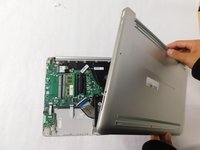
This guide demonstrates a fan replacement for the HP-dy2072dx. If the device is overheating or a heat warning is being shown on the screen, a fan replacement is extremely encouraged.
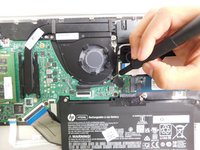
A properly functioning fan allows your device to perform at its greatest potential. This is why it is very important to have a properly functioning fan. The fan provides cooling to the device. If the fan is blocked or not properly running, you may notice your device temperature slowly increasing. For your safety, be sure to completely turn off and unplug the device before you start the replacement process.
Wat je nodig hebt


To reassemble your device, follow these instructions in reverse order.
Team

Gateway, Team 1-4, Pee Fall 2023 Lid van Gateway, Team 1-4, Pee Fall 2023
GCC-PEE-F23S1G4
4 Leden
8 handleidingen geschreven