Inleiding
This guide will show you how to remove the back panel from the HP 15-ay078nr. The back panel protects and houses the internals of the device. The removal of the back panel allows you to access and repair/replace components as needed.
Before you begin the back panel removal, make sure the device is not turned on or connected to power, and that the back panel feels cool to the touch.
Devices heat up as they are used with a fan to regulate the temperatures. Any hot internal components could pose a burn hazard when directly touching them. If the back panel feels excessively hot, see the troubleshooting information to see if the fan may need to be vented or replaced.
Wat je nodig hebt
-
-
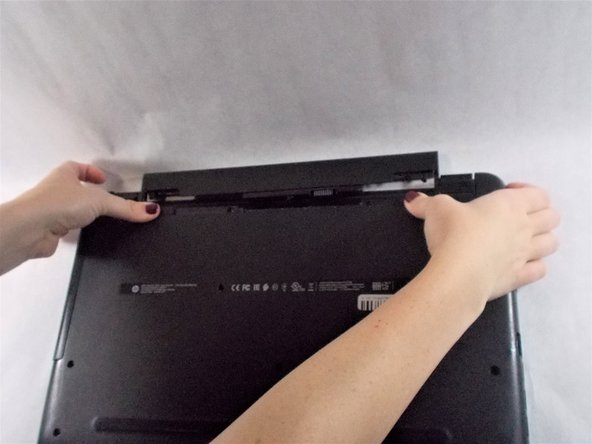
Orient the laptop so that the underside is facing up.
-
Rotate the device so that the CD slot is in the upper left corner.
-
-
-
-
Pull off the two rubber feet on the underside of the device.
-
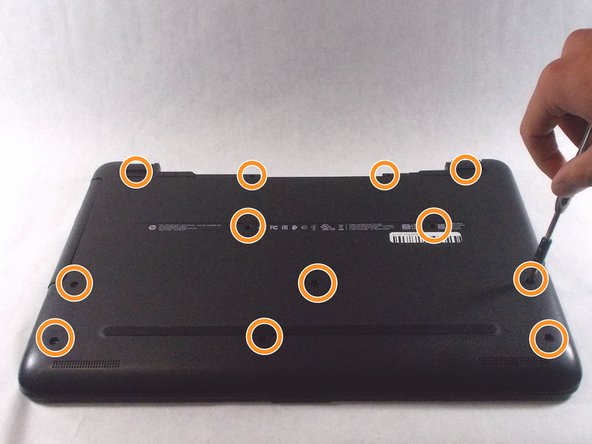
Remove the twelve 9.5 mm screws from the underside of the device using a Phillips #2 screwdriver.
-


To reassemble your device, follow these instructions in reverse order.
To reassemble your device, follow these instructions in reverse order.

Team

UMass Dartmouth, Team 3-1, Sinclaire Fall 2021 Lid van UMass Dartmouth, Team 3-1, Sinclaire Fall 2021
UMASSD-SINCLAIRE-F21S3G1
3 Leden
7 handleidingen geschreven