Ga door naar hoofdinhoud
Word lid van de reparatiegemeenschap - Account aanmaken

GeeksPhone Keon Screen Replacement

Wat je nodig hebt

  1. GeeksPhone Keon Screen Replacement, Battery: stap 1, afbeelding 1 van 2 GeeksPhone Keon Screen Replacement, Battery: stap 1, afbeelding 2 van 2
    • Insert the plastic opening tool into the seam between the front of the device and the rear cover.

    • Slide the plastic opening tool from the bottom of the phone to the top.

    • Use the plastic opening tool to free all the clips attached to the phone.

    Vraag FixBot
  2. GeeksPhone Keon Screen Replacement: stap 2, afbeelding 1 van 1
    • Lift the cover away from the phone.

    Vraag FixBot
  3. GeeksPhone Keon Screen Replacement: stap 3, afbeelding 1 van 1
    • Insert the plastic opening tool into the groove between the bottom of the phone and the battery.

    • Lift the battery with the plastic opening tool and finish removing battery by hand.

    Vraag FixBot
  4. GeeksPhone Keon Screen Replacement, Back Plate: stap 4, afbeelding 1 van 2 GeeksPhone Keon Screen Replacement, Back Plate: stap 4, afbeelding 2 van 2
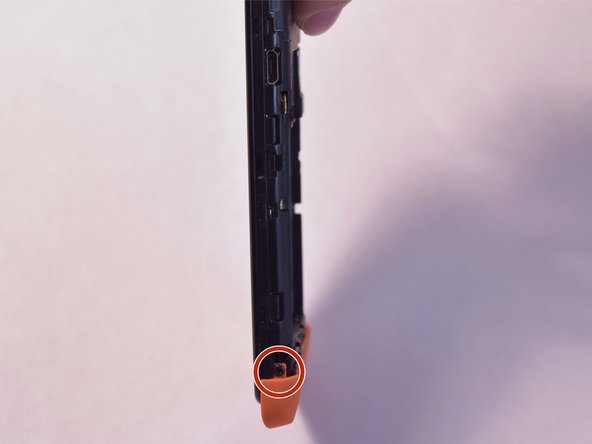
    • Remove the two 5mm T4 screws on the sides of the small orange plate.

    Vraag FixBot
  5. GeeksPhone Keon Screen Replacement: stap 5, afbeelding 1 van 2 GeeksPhone Keon Screen Replacement: stap 5, afbeelding 2 van 2
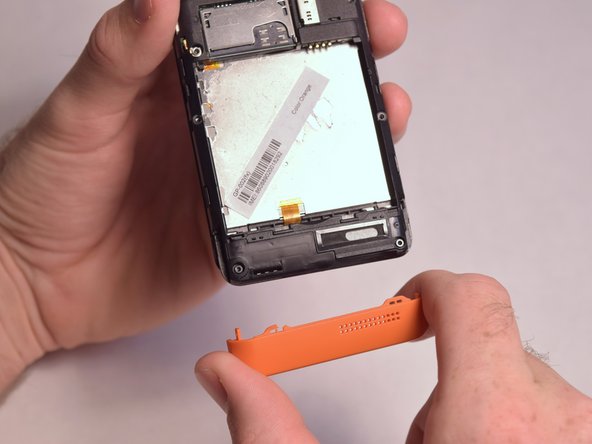
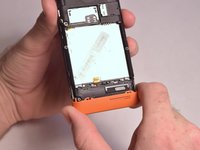
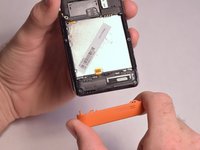
    • Gently remove the small orange plate by pulling it down.

    Vraag FixBot
  6. GeeksPhone Keon Screen Replacement: stap 6, afbeelding 1 van 1
    • Remove the following screws securing the back plate to the device:

    • Two silver 2mm T3 screws

    • Five black 3mm T3 screws

    Vraag FixBot
  7. GeeksPhone Keon Screen Replacement: stap 7, afbeelding 1 van 3 GeeksPhone Keon Screen Replacement: stap 7, afbeelding 2 van 3 GeeksPhone Keon Screen Replacement: stap 7, afbeelding 3 van 3
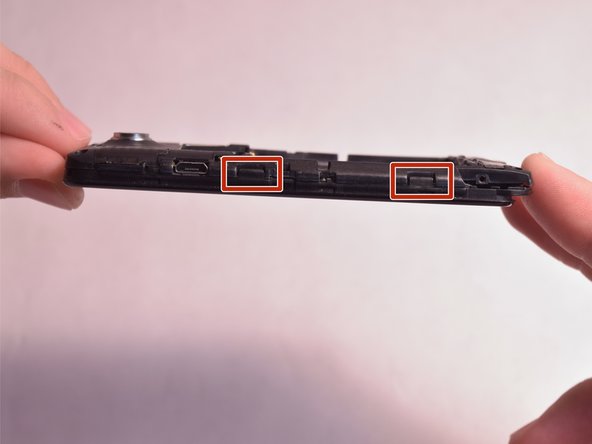
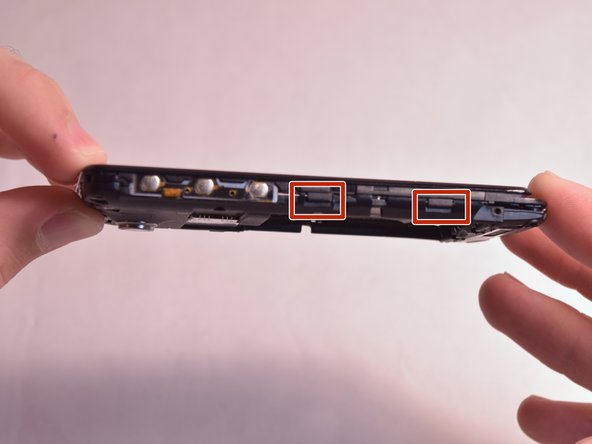
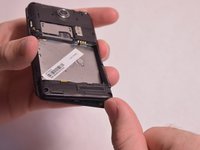
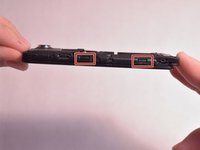
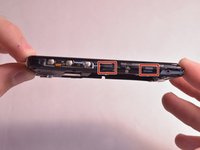
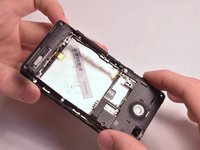
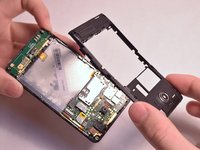
    • Slightly lift up the bottom corner of the backplate.

    • Release the four clips on both sides by pulling them away from the device.

    Vraag FixBot
  8. GeeksPhone Keon Screen Replacement: stap 8, afbeelding 1 van 2 GeeksPhone Keon Screen Replacement: stap 8, afbeelding 2 van 2
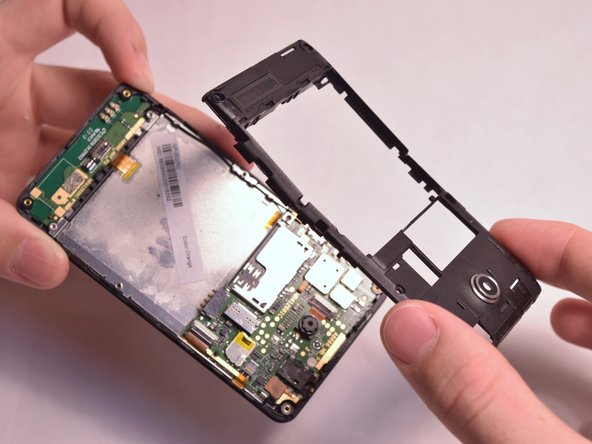
    • Lift the backplate away from the device.

    Vraag FixBot
  9. GeeksPhone Keon Screen Replacement, Motherboard: stap 9, afbeelding 1 van 2 GeeksPhone Keon Screen Replacement, Motherboard: stap 9, afbeelding 2 van 2
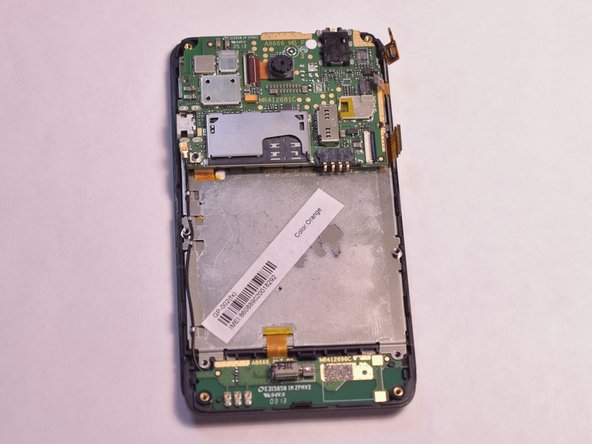
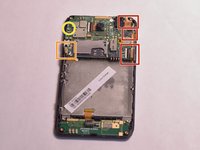
    • Remove the three connections from the back of the motherboard by using the tip of a spudger or your fingernail to flip up the small retaining flap. Then pull the ribbon cable out.

    • Remove the wire from the bottom left of the motherboard by lifting it away from the device.

    • Remove the 2mm T3 screw in the upper left corner of the motherboard.

    Vraag FixBot
  10. GeeksPhone Keon Screen Replacement: stap 10, afbeelding 1 van 1
    • Lift the motherboard and remove the connector on the back by using the tip of a spudger or your fingernail to flip up the small retaining flap. Then pull the ribbon cable out.

    Vraag FixBot
  11. GeeksPhone Keon Screen Replacement: stap 11, afbeelding 1 van 1
    • Remove the motherboard from the device.

    Vraag FixBot
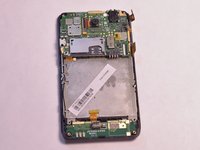
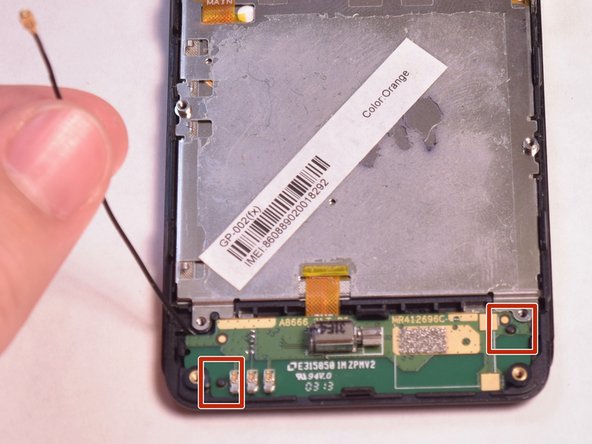
  12. GeeksPhone Keon Screen Replacement, Antenna: stap 12, afbeelding 1 van 1
    • Unfasten the black wire from the metal clamps by hand and lift the black wire away from the device.

    • Unfasten the plastic clamps attached to the antenna.

    Vraag FixBot
  13. GeeksPhone Keon Screen Replacement: stap 13, afbeelding 1 van 3 GeeksPhone Keon Screen Replacement: stap 13, afbeelding 2 van 3 GeeksPhone Keon Screen Replacement: stap 13, afbeelding 3 van 3
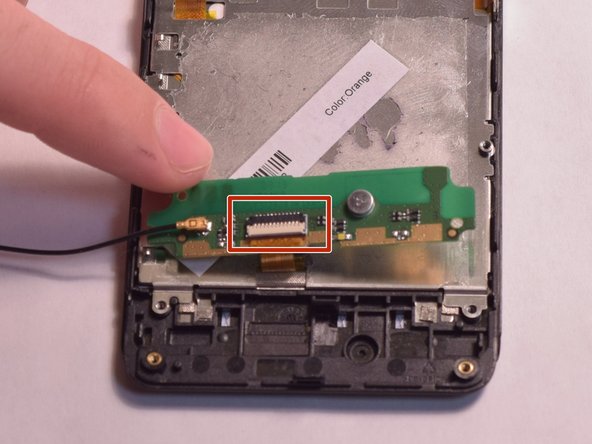
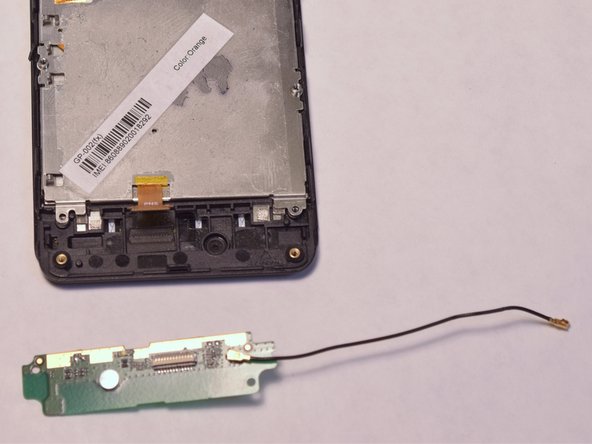
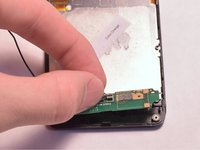
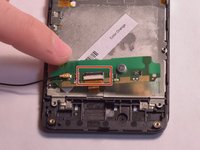
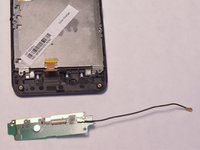
    • Gently lift the antenna and flip it over to reveal a ZIF connector on the back.

    • Flip up the small retaining flap on the ZIF connector and pull the ribbon cable out.

    Vraag FixBot
  14. GeeksPhone Keon Screen Replacement, Screen: stap 14, afbeelding 1 van 2 GeeksPhone Keon Screen Replacement, Screen: stap 14, afbeelding 2 van 2
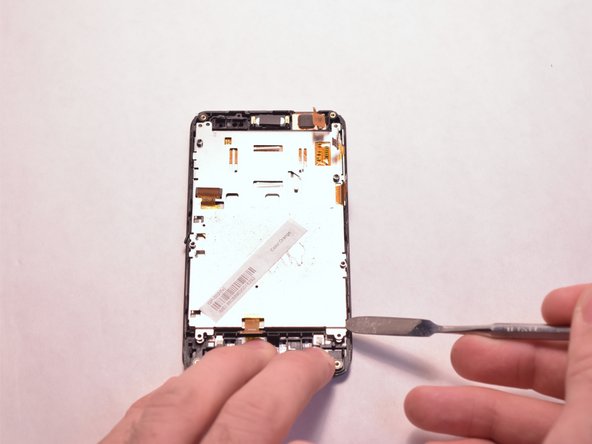
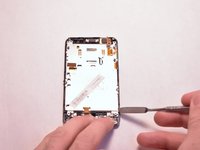
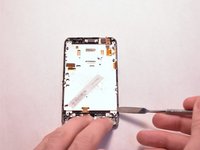
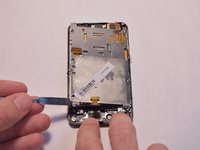
    • Use the metal spudger to gently lift up the back of the screen.

    Vraag FixBot
  15. GeeksPhone Keon Screen Replacement: stap 15, afbeelding 1 van 2 GeeksPhone Keon Screen Replacement: stap 15, afbeelding 2 van 2
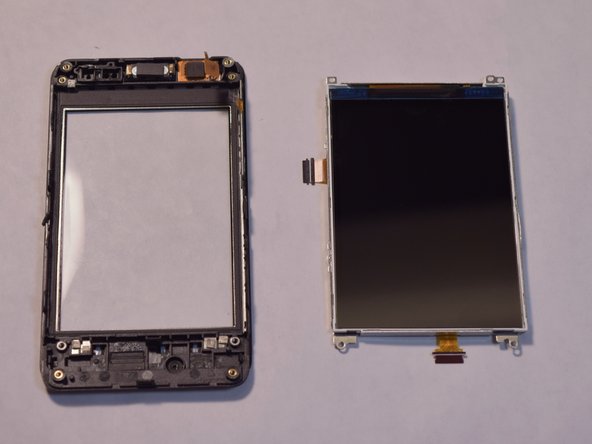
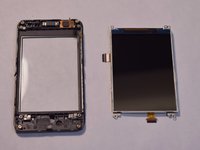
    • Continue to lift up the screen until it is loose from the device.

    Vraag FixBot
Conclusie

To reassemble your device, follow these instructions in reverse order.

Één andere persoon heeft deze handleiding voltooid.

DavidDrash

Lid sinds: 08/26/15

266 Reputatie

1 Handleiding geschreven

Team

USF Tampa, Team 3-5, Eyestone Fall 2015 Lid van USF Tampa, Team 3-5, Eyestone Fall 2015

USFT-EYESTONE-F15S3G5

4 Leden

12 handleidingen geschreven

0Gids Commentaar

Voeg opmerking toe

Weergavestatistieken:

Afgelopen 24 uren: 0

Afgelopen 7 dagen: 5

Afgelopen 30 dagen: 36

Altijd: 391