Ga door naar hoofdinhoud
Word lid van de reparatiegemeenschap - Account aanmaken

GeeksPhone Keon Camera Replacement

Wat je nodig hebt

    1. GeeksPhone Keon  Camera Replacement, Battery: stap 1, afbeelding 1 van 2 GeeksPhone Keon  Camera Replacement, Battery: stap 1, afbeelding 2 van 2
      • Insert the plastic opening tool into the seam between the front of the device and the rear cover.

      • Slide the plastic opening tool from the bottom of the phone to the top.

      • Use the plastic opening tool to free all the clips attached to the phone.

      Vraag FixBot

      Voeg opmerking toe

    2. GeeksPhone Keon  Camera Replacement: stap 2, afbeelding 1 van 1
      • Lift the cover away from the phone.

      Vraag FixBot

      Voeg opmerking toe

    3. GeeksPhone Keon  Camera Replacement: stap 3, afbeelding 1 van 1
      • Insert the plastic opening tool into the groove between the bottom of the phone and the battery.

      • Lift the battery with the plastic opening tool and finish removing battery by hand.

      Vraag FixBot

      Voeg opmerking toe

    1. GeeksPhone Keon  Camera Replacement, Back Plate: stap 4, afbeelding 1 van 2 GeeksPhone Keon  Camera Replacement, Back Plate: stap 4, afbeelding 2 van 2
      • Remove the two 5mm T4 screws on the sides of the small orange plate.

      Vraag FixBot

      Voeg opmerking toe

    2. GeeksPhone Keon  Camera Replacement: stap 5, afbeelding 1 van 2 GeeksPhone Keon  Camera Replacement: stap 5, afbeelding 2 van 2
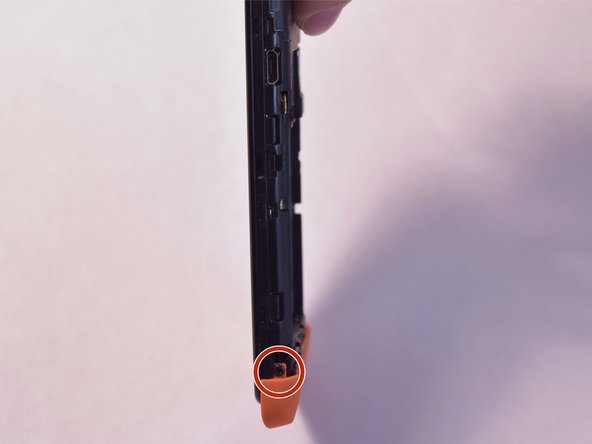
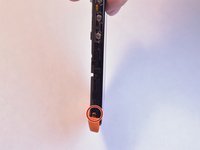
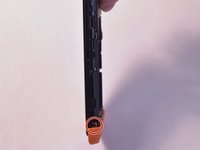
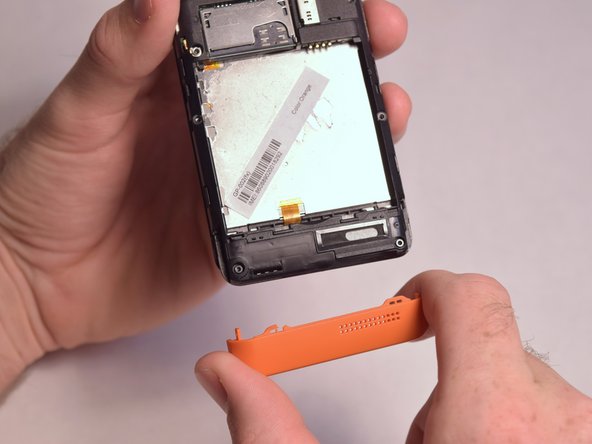
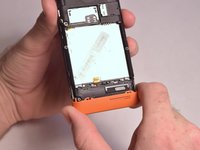
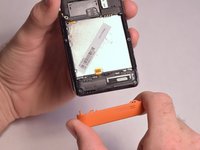
      • Gently remove the small orange plate by pulling it down.

      Vraag FixBot

      Voeg opmerking toe

    3. GeeksPhone Keon  Camera Replacement: stap 6, afbeelding 1 van 1
      • Remove the following screws securing the back plate to the device:

      • Two silver 2mm T3 screws

      • Five black 3mm T3 screws

      Vraag FixBot

      Voeg opmerking toe

    4. GeeksPhone Keon  Camera Replacement: stap 7, afbeelding 1 van 3 GeeksPhone Keon  Camera Replacement: stap 7, afbeelding 2 van 3 GeeksPhone Keon  Camera Replacement: stap 7, afbeelding 3 van 3
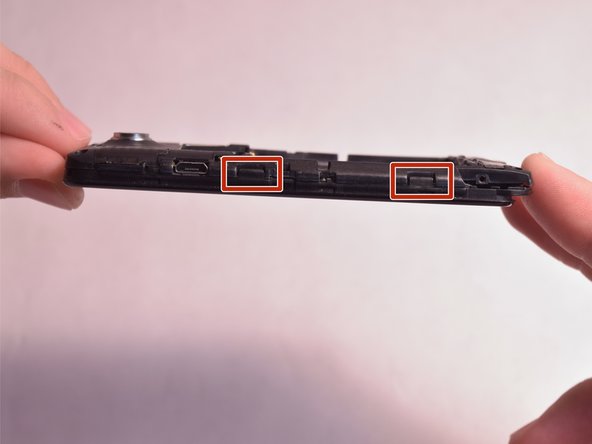
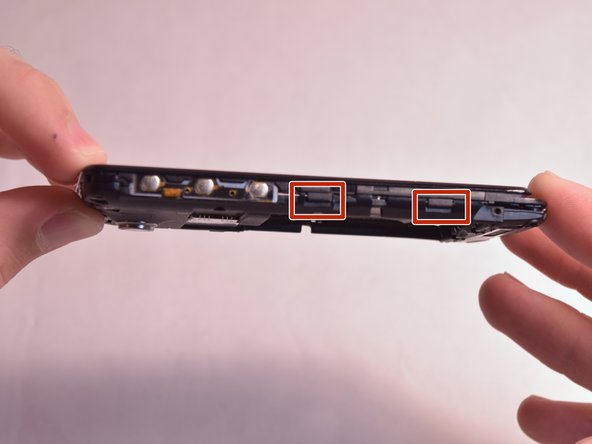
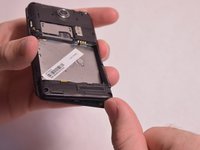
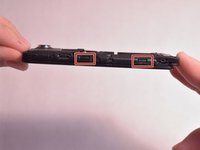
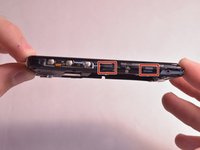
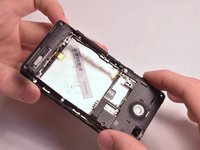
      • Slightly lift up the bottom corner of the backplate.

      • Release the four clips on both sides by pulling them away from the device.

      Vraag FixBot

      Voeg opmerking toe

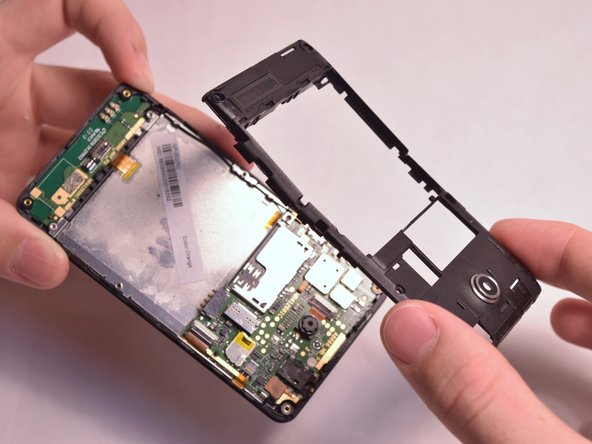
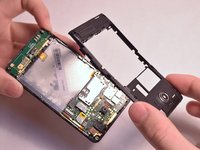
    5. GeeksPhone Keon  Camera Replacement: stap 8, afbeelding 1 van 2 GeeksPhone Keon  Camera Replacement: stap 8, afbeelding 2 van 2
      • Lift the backplate away from the device.

      Vraag FixBot

      Voeg opmerking toe

    1. GeeksPhone Keon  Camera Replacement, Camera: stap 9, afbeelding 1 van 1
      Gereedschap gebruikt in deze stap:
      Tweezers
      $4.99
      • Lift the retaining flap on camera's ZIF connector.

      • Pull the ribbon cable away with tweezers.

      Vraag FixBot

      Voeg opmerking toe

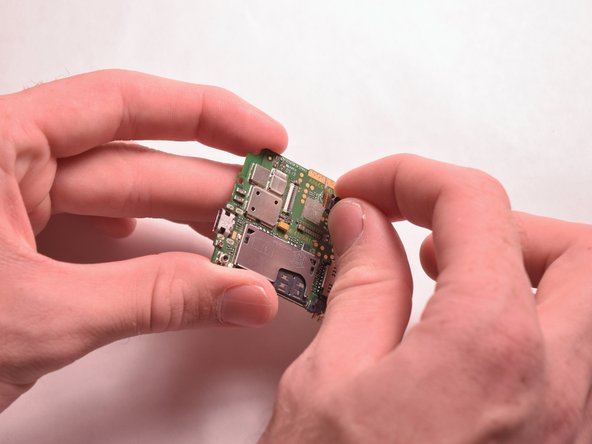
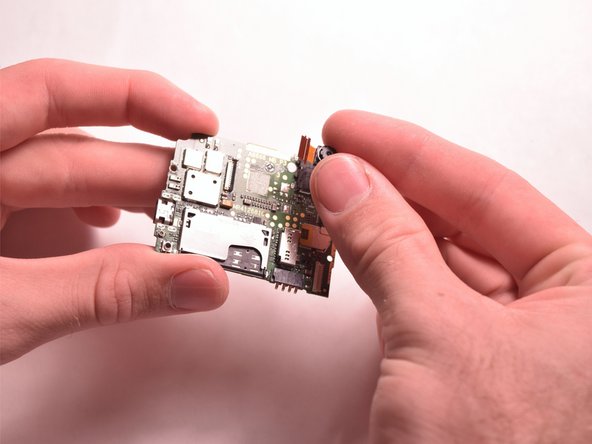
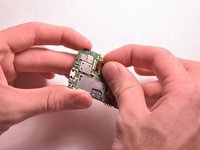
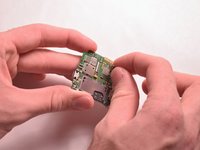
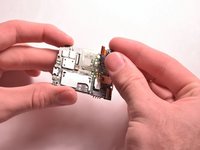
    2. GeeksPhone Keon  Camera Replacement: stap 10, afbeelding 1 van 3 GeeksPhone Keon  Camera Replacement: stap 10, afbeelding 2 van 3 GeeksPhone Keon  Camera Replacement: stap 10, afbeelding 3 van 3
      • Carefully wiggle the camera away from the device.

      Vraag FixBot

      Voeg opmerking toe

Conclusie

To reassemble your device, follow these instructions in reverse order; but remember, the new camera must be glued back in place where the old one was removed.

Annuleren: ik heb deze handleiding niet afgemaakt.

Bryan Bittner

Lid sinds: 08/26/15

167 Reputatie

1 Handleiding geschreven

Team

USF Tampa, Team 3-5, Eyestone Fall 2015 Lid van USF Tampa, Team 3-5, Eyestone Fall 2015

USFT-EYESTONE-F15S3G5

4 Leden

48 handleidingen geschreven

0Gids Commentaar

Voeg opmerking toe

Weergavestatistieken:

Afgelopen 24 uren: 1

Afgelopen 7 dagen: 9

Afgelopen 30 dagen: 26

Altijd: 390