Ga door naar hoofdinhoud
Word lid van de reparatiegemeenschap - Account aanmaken

Gateway MA7 Fan Replacement

Wat je nodig hebt

    1. Gateway MA7 Fan Replacement, Fan: stap 1, afbeelding 1 van 1
      • Before starting this replacement, make sure the device is powered off and the battery is removed.

      • This particular device is missing the battery.

      • To remove your battery, slide the plastic tabs on the back of the laptop and pull the battery out of the device.

      Vraag FixBot

      Voeg opmerking toe

    2. Gateway MA7 Fan Replacement: stap 2, afbeelding 1 van 3 Gateway MA7 Fan Replacement: stap 2, afbeelding 2 van 3 Gateway MA7 Fan Replacement: stap 2, afbeelding 3 van 3
      • Remove the seven 6mm screws from the back panel with a Phillips #0 screwdriver.

      Vraag FixBot

      Voeg opmerking toe

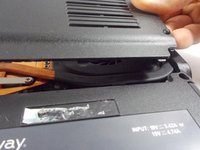
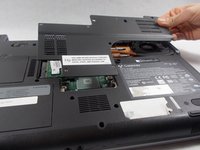
    3. Gateway MA7 Fan Replacement: stap 3, afbeelding 1 van 3 Gateway MA7 Fan Replacement: stap 3, afbeelding 2 van 3 Gateway MA7 Fan Replacement: stap 3, afbeelding 3 van 3
      • Pull upwards on the top of the plastic panel to remove it.

      • With the exception of the screw marked "K", all of the screws will remain connected to the plastic piece.

      Vraag FixBot

      Voeg opmerking toe

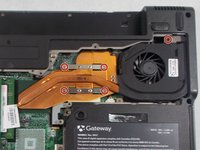
    4. Gateway MA7 Fan Replacement: stap 4, afbeelding 1 van 2 Gateway MA7 Fan Replacement: stap 4, afbeelding 2 van 2
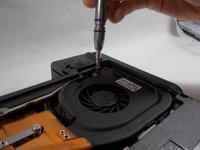
      • Remove the five 6 mm screws with a Phillips #0 screw driver to detach the fan and cooling unit from the motherboard.

      • The four screws on the silver metal bands of the fan will not come off of the actual component.

      Vraag FixBot

      Voeg opmerking toe

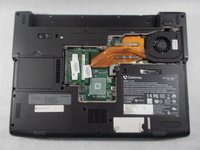
    5. Gateway MA7 Fan Replacement: stap 5, afbeelding 1 van 3 Gateway MA7 Fan Replacement: stap 5, afbeelding 2 van 3 Gateway MA7 Fan Replacement: stap 5, afbeelding 3 van 3
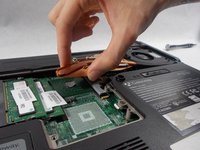
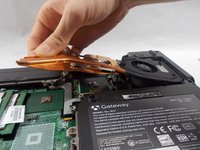
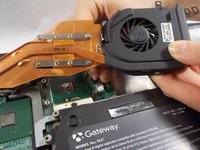
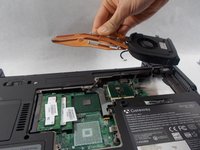
      • Lifting from the left side of the fan, start to pull the fan off of the motherboard.

      • Be sure not to pull the fan all the way off the motherboard yet. Before it can be completely removed the cables must be disconnected.

      • There may be thermal paste adhering the fan to the motherboard. Be sure to lift the fan slowly and gently.

      Vraag FixBot

      Voeg opmerking toe

    6. Gateway MA7 Fan Replacement: stap 6, afbeelding 1 van 3 Gateway MA7 Fan Replacement: stap 6, afbeelding 2 van 3 Gateway MA7 Fan Replacement: stap 6, afbeelding 3 van 3
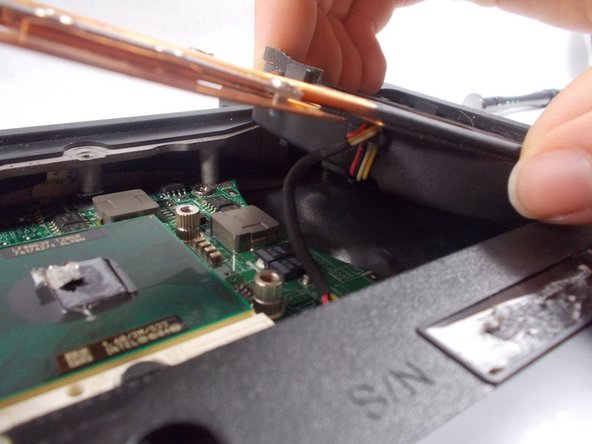
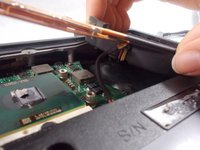
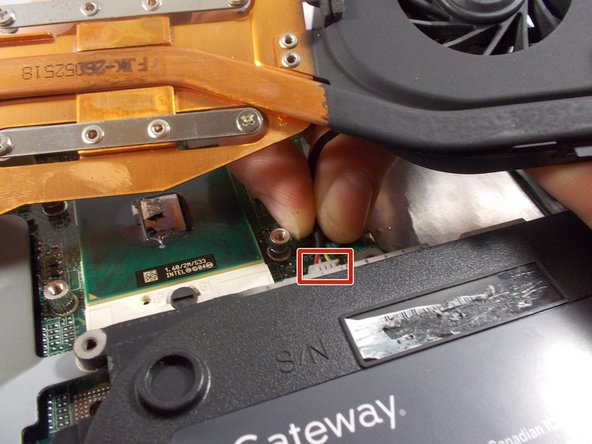
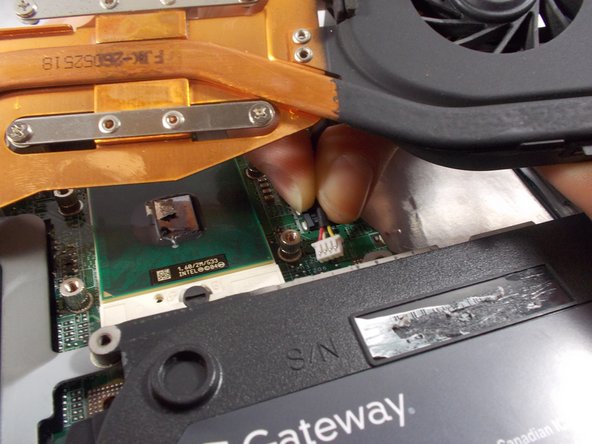
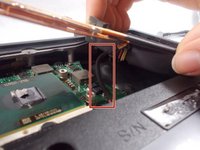
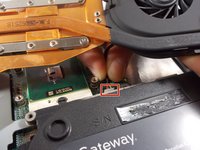
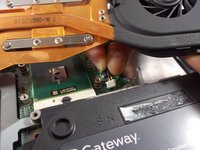
      • In order to properly remove the fan, disconnect the cable that is attached to the motherboard.

      • Gently grasp the connecting cable from under the fan and pull it out of the socket on the motherboard to disconnect it.

      Vraag FixBot

      Voeg opmerking toe

    7. Gateway MA7 Fan Replacement: stap 7, afbeelding 1 van 3 Gateway MA7 Fan Replacement: stap 7, afbeelding 2 van 3 Gateway MA7 Fan Replacement: stap 7, afbeelding 3 van 3
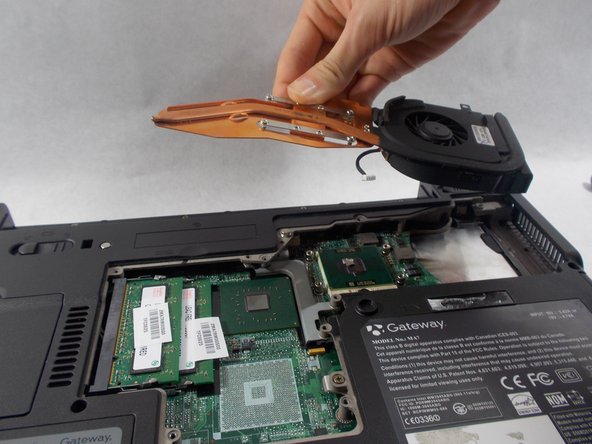
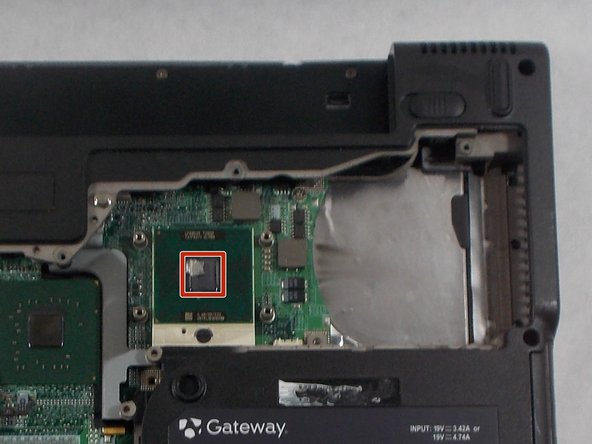
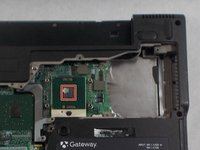
      • With the screws removed and the cable disconnected, just lift the fan off the motherboard to remove it.

      • When you replace the fan, be sure to reapply thermal paste here.

      Vraag FixBot

      Voeg opmerking toe

Conclusie

To reassemble your device, follow these instructions in reverse order.

Annuleren: ik heb deze handleiding niet afgemaakt.

Cameron Sheedy

Lid sinds: 03/05/18

145 Reputatie

1 Handleiding geschreven

Team

UMass Dartmouth, Team S6-G2, Bernier Spring 2018 Lid van UMass Dartmouth, Team S6-G2, Bernier Spring 2018

UMASSD-BERNIER-S18S6G2

3 Leden

24 handleidingen geschreven

0Gids Commentaar

Voeg opmerking toe

Weergavestatistieken:

Afgelopen 24 uren: 2

Afgelopen 7 dagen: 12

Afgelopen 30 dagen: 35

Altijd: 901