Ga door naar hoofdinhoud
Word lid van de reparatiegemeenschap - Account aanmaken

Gateway MA6 Laptop RAM Replacement

Wat je nodig hebt

  1. Gateway MA6 Laptop RAM Replacement, Battery: stap 1, afbeelding 1 van 1
    • To prevent injury, make sure the laptop is unplugged before removing the battery.

    • Make sure the switch in the upper right corner of the laptop is switched to the "unlock" position (toward the unlocked padlock icon).

    Vraag FixBot
  2. Gateway MA6 Laptop RAM Replacement: stap 2, afbeelding 1 van 3 Gateway MA6 Laptop RAM Replacement: stap 2, afbeelding 2 van 3 Gateway MA6 Laptop RAM Replacement: stap 2, afbeelding 3 van 3
    • Pull the switch on the upper lefthand corner of the laptop towards the unlocked padlock icon.

    • Firmly pull the battery outwards and away from the laptop.

    Vraag FixBot
  3. Gateway MA6 Laptop RAM Replacement, RAM: stap 3, afbeelding 1 van 2 Gateway MA6 Laptop RAM Replacement, RAM: stap 3, afbeelding 2 van 2
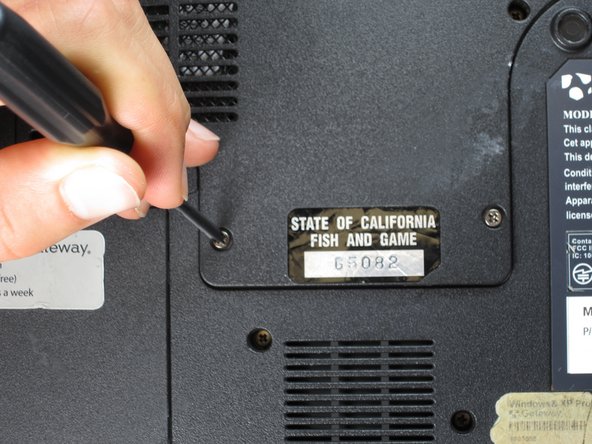
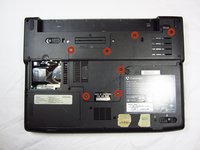
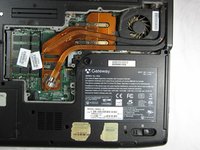
    • Remove the seven 6 mm Phillips #0 screws from the back of the case.

    • Leave all the screws in the back plate and so you don't lose them.

    Vraag FixBot
  4. Gateway MA6 Laptop RAM Replacement: stap 4, afbeelding 1 van 2 Gateway MA6 Laptop RAM Replacement: stap 4, afbeelding 2 van 2
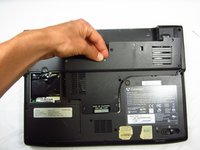
    • Pull upwards on the top of the back cover to remove it.

    Vraag FixBot
  5. Gateway MA6 Laptop RAM Replacement: stap 5, afbeelding 1 van 3 Gateway MA6 Laptop RAM Replacement: stap 5, afbeelding 2 van 3 Gateway MA6 Laptop RAM Replacement: stap 5, afbeelding 3 van 3
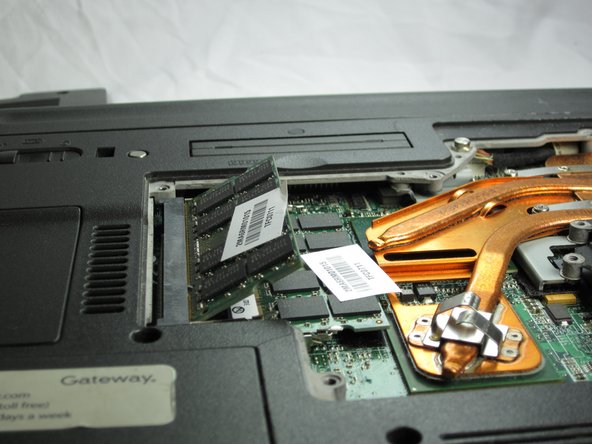
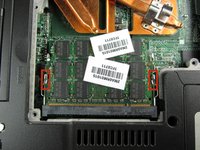
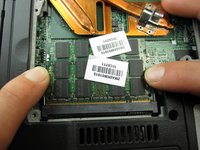
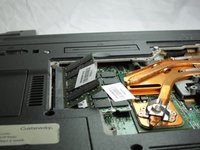
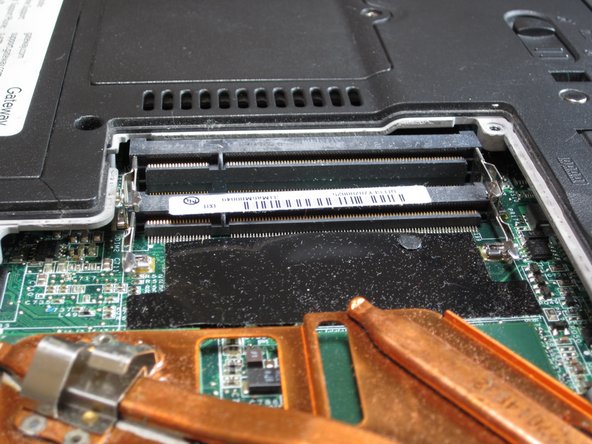
    • Pull outwards on the silver metal pins to release the upper RAM module.

    • The module will automatically lift up 30° after it has been released.

    Vraag FixBot
  6. Gateway MA6 Laptop RAM Replacement: stap 6, afbeelding 1 van 2 Gateway MA6 Laptop RAM Replacement: stap 6, afbeelding 2 van 2
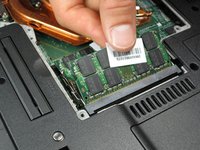
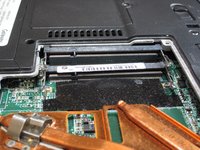
    • Firmly grasp the outer portion of the RAM module, and pull it outward to remove it from the port.

    • Repeat the same process for the lower RAM module.

    Vraag FixBot
Conclusie

To reassemble your device, follow these instructions in reverse order.

Chris Naughton

Lid sinds: 04/07/14

724 Reputatie

5 handleidingen geschreven

Team

Cal Poly, Team 6-2, Forte Spring 2014 Lid van Cal Poly, Team 6-2, Forte Spring 2014

CPSU-FORTE-S14S6G2

5 Leden

20 handleidingen geschreven

0Gids Commentaar

Voeg opmerking toe

Weergavestatistieken:

Afgelopen 24 uren: 3

Afgelopen 7 dagen: 11

Afgelopen 30 dagen: 75

Altijd: 1,498