Deze vertaling is door een computer gegenereerd en is nog niet door iemand nagekeken. Spreek je deze taal? Bekijk het hier.
Inleiding
De harde schijf van je laptop slaat al je bestanden op, evenals het besturingssysteem van je computer. Een defecte harde schijf moet worden vervangen om je computer te kunnen opstarten en gebruiken. Het is gebruikelijk om te upgraden naar een grotere harde schijf met meer opslagruimte.
Wat je nodig hebt
-
-
-
Zorg ervoor dat de schakelaar in de rechterbovenhoek van de laptop in de "ontgrendelde" stand staat (richting het pictogram van het geopende hangslot).
 Vraag FixBot
-
-
-
Trek de schakelaar in de linkerbovenhoek van de laptop naar het icoon van het ontgrendelde hangslot.
-
Trek de accu stevig naar buiten en weg van de laptop.
-
-
-
-
-
-
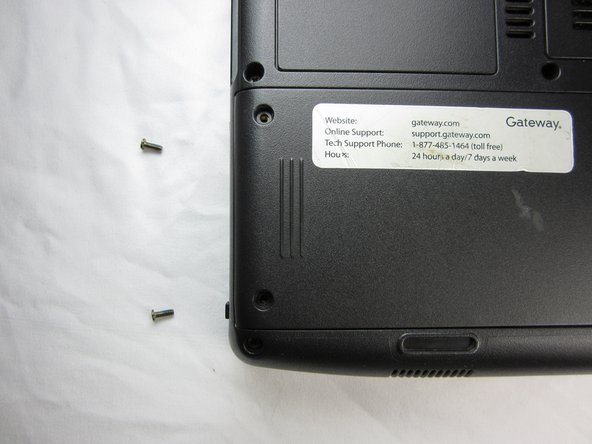
Verwijder de twee 9 mm Phillips-kruiskopschroeven van de achterkant van de harde-schijfbehuizing.
-
-
-
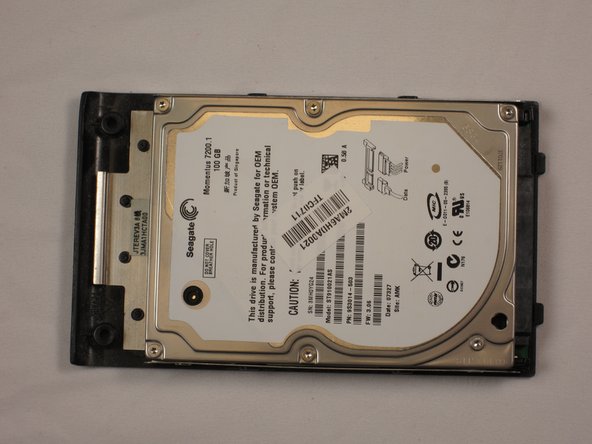
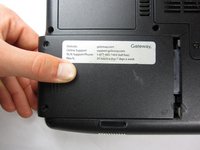
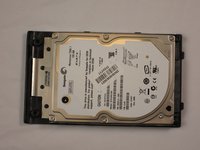
Druk uw duim stevig op de harde schijf en trek deze naar buiten naar de zijkant.
-
-



Volg deze instructies in omgekeerde volgorde om je apparaat weer in elkaar te zetten.
Annuleren: ik heb deze handleiding niet afgemaakt.
3 andere personen hebben deze handleiding voltooid.

Team

Cal Poly, Team 6-2, Forte Spring 2014 Lid van Cal Poly, Team 6-2, Forte Spring 2014
CPSU-FORTE-S14S6G2
5 Leden
132 handleidingen geschreven
1Gids Commentaar
It only took 2 minutes once I found te right screwdriver. Great aid!
