Inleiding
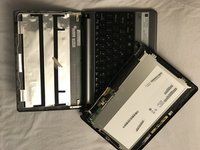
This is the guide for complete removal of the Gateway LT41P10u monitor. When removing monitor handle with care to avoid possibly cracking the screen.
Wat je nodig hebt
-
-
Place the laptop upside down on a flat surface so you can see the battery.
 Vraag FixBot
-
-
-
Pull the two marked tabs towards the outside of the computer to unlock them.
-
-
-
-
While keeping both of the tabs in the unlocked position, grab the battery and pull outwards, until the battery slides out from the rest of the computer.
-
-
-
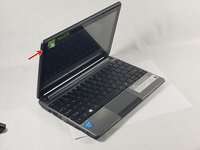
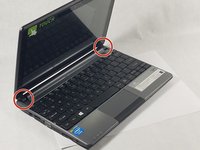
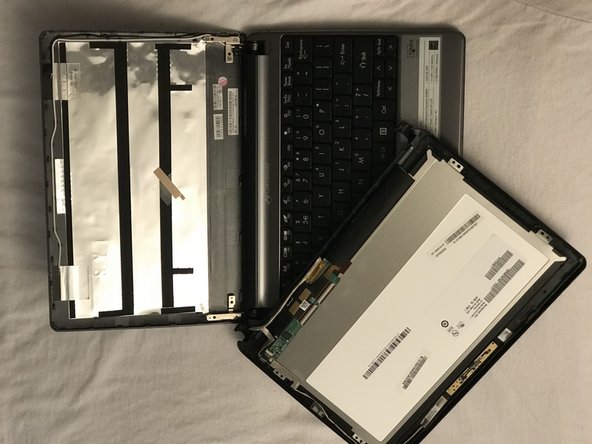
Carefully use a spudger to separate the monitor from top panel.
-
Gently remove lower hooks from the hinges. (see second image)
-
-
-
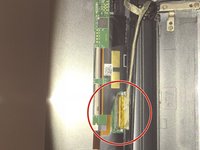
Once you completed separating the monitor from the top panel disconnect the cable shown here in red by raising the cable lock and pulling the wires away.
-
The second image is how it should look once completely disconnected.
-



To reinstall your device, follow these instructions in reverse order.

Team

UMass Dartmouth, Team S66-G8, Rockett Fall 2017 Lid van UMass Dartmouth, Team S66-G8, Rockett Fall 2017
UMASSD-ROCKETT-F17S66G8
3 Leden
12 handleidingen geschreven
