Ga door naar hoofdinhoud
Word lid van de reparatiegemeenschap - Account aanmaken

Garmin Vivoactive Motherboard Replacement

Wat je nodig hebt

  1. Garmin Vivoactive Motherboard Replacement, Wristband: stap 1, afbeelding 1 van 1
    • Hold the the metal screwdriver, with a T5 Torx bit, in your dominant hand.

    • Hold the rubber screwdriver, with a Hex T6 Torx bit, in your other hand.

    • While holding the rubber screwdriver in place, simultaneously unscrew the pin (counterclockwise) with the metal screwdriver in your dominant hand.

    Vraag FixBot

    Voeg opmerking toe

  2. Garmin Vivoactive Motherboard Replacement: stap 2, afbeelding 1 van 2 Garmin Vivoactive Motherboard Replacement: stap 2, afbeelding 2 van 2
    • Once the 1mm screw is removed, reinsert the metal screwdriver in that same hole.

    • Gently push the strap's pin out. It will begin to protrude from the other end.

    • Use your fingers to grab the exposed pin and slide it free. The strap should now be disconnected from the device.

    Vraag FixBot

    Voeg opmerking toe

  3. Garmin Vivoactive Motherboard Replacement, Display Unit: stap 3, afbeelding 1 van 1
    • Place a heated iOpener over the display to loosen the adhesive.

    • After about a minute, the iOpener may be removed.

    • For more in depth instructions on using the iOpener, refer to the iOpener guide.

    Vraag FixBot

    Voeg opmerking toe

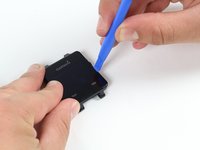
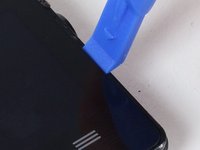
  4. Garmin Vivoactive Motherboard Replacement: stap 4, afbeelding 1 van 2 Garmin Vivoactive Motherboard Replacement: stap 4, afbeelding 2 van 2
    • Place the blue plastic opening tool in-between the screen and plastic casing of the watch and slowly pry up one side of the screen.

    Vraag FixBot

    Voeg opmerking toe

  5. Garmin Vivoactive Motherboard Replacement: stap 5, afbeelding 1 van 1
    • Once the first side has come free, wedge the blue pick in between the screen and watch unit on that side.

    • Complete one pass around the perimeter of the screen to break the adhesive bond on all four sides.

    • Insert it a minimal distance to avoid damaging internal components.

    Vraag FixBot

    Voeg opmerking toe

  6. Garmin Vivoactive Motherboard Replacement: stap 6, afbeelding 1 van 1
    • Use the blue plastic opening tool to pry up the side of the glass. Raise it to a point where your fingernail can fit in the gap.

    • Do the same on the opposite side of the device until you have a good grip of the screen.

    Vraag FixBot

    Voeg opmerking toe

  7. Garmin Vivoactive Motherboard Replacement: stap 7, afbeelding 1 van 1
    • Obtain a careful grip of the screen from two of its sides.

    • Slowly lift the screen off of the case. Separate it just enough so as not to damage the connection to the motherboard.

    Vraag FixBot

    Voeg opmerking toe

  8. Garmin Vivoactive Motherboard Replacement: stap 8, afbeelding 1 van 1
    • Detach the orange tab that connects the screen to the motherboard with a gentle uplift using a plastic opening tool.

    • Upon completing this step, the screen should be free from the rest of the device.

    Vraag FixBot

    Voeg opmerking toe

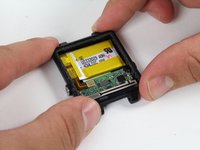
  9. Garmin Vivoactive Motherboard Replacement, Battery: stap 9, afbeelding 1 van 2 Garmin Vivoactive Motherboard Replacement, Battery: stap 9, afbeelding 2 van 2
    • Follow previous guides until you've exposed the battery as shown.

    • Begin by removing the battery connector tab.

    • Be sure not to use a metal implement or your fingers to remove this tab. Doing so may cause personal harm or damage to the electrical components.

    Vraag FixBot

    Voeg opmerking toe

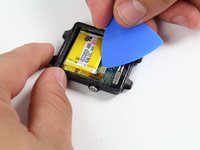
  10. Garmin Vivoactive Motherboard Replacement: stap 10, afbeelding 1 van 2 Garmin Vivoactive Motherboard Replacement: stap 10, afbeelding 2 van 2
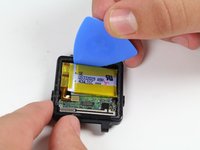
    • Use a plastic opening pick to gently pry out the battery as shown.

    • The battery is Lithium Polymer, follow safe handling procedures and DO NOT deform it upon removal.

    Vraag FixBot

    Voeg opmerking toe

  11. Garmin Vivoactive Motherboard Replacement: stap 11, afbeelding 1 van 3 Garmin Vivoactive Motherboard Replacement: stap 11, afbeelding 2 van 3 Garmin Vivoactive Motherboard Replacement: stap 11, afbeelding 3 van 3
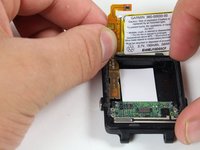
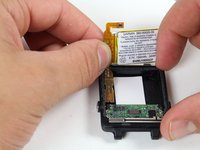
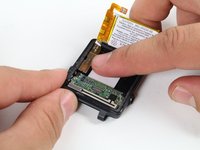
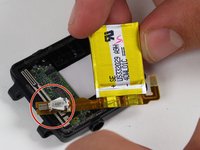
    • With the battery loose from the case, rotate it to expose the attached tab

    • Gently pry up the attached tab with a fingernail.

    • Keep the vibrator, circled in red, as you may need to solder it to the new battery upon re-installation later.

    Vraag FixBot

    Voeg opmerking toe

  12. Garmin Vivoactive Motherboard Replacement, Motherboard: stap 12, afbeelding 1 van 2 Garmin Vivoactive Motherboard Replacement, Motherboard: stap 12, afbeelding 2 van 2
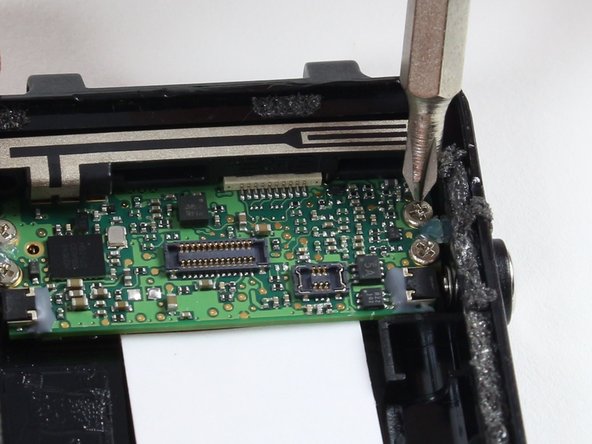
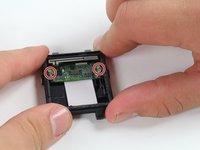
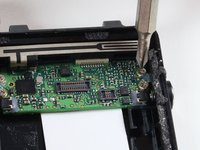
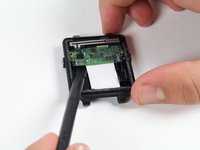
    • Remove the four 2.4 mm screws with a PH00 Phillips head screwdriver.

    • Make an effort not to damage any nearby components of the motherboard with the screwdriver.

    Vraag FixBot

    Voeg opmerking toe

  13. Garmin Vivoactive Motherboard Replacement: stap 13, afbeelding 1 van 2 Garmin Vivoactive Motherboard Replacement: stap 13, afbeelding 2 van 2
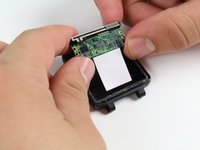
    • Use the spudger to pry up the board from the case.

    • Insert the spudger a minimum distance beneath the board as there are components below.

    • Wiggle the exposed side of the board from each end until it comes free.

    • Use proper electrostatic discharge safety when removing and handling the board.

    Vraag FixBot

    Voeg opmerking toe

  14. Garmin Vivoactive Motherboard Replacement: stap 14, afbeelding 1 van 2 Garmin Vivoactive Motherboard Replacement: stap 14, afbeelding 2 van 2
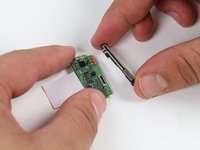
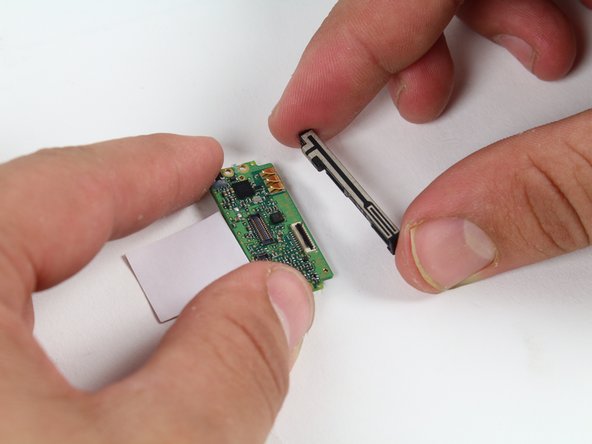
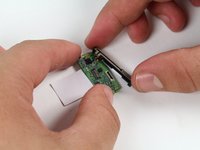
    • Remove the GPS antenna by sliding it away from the board.

    • Keep track of the antenna and add it to the new board upon replacement.

    Vraag FixBot

    Voeg opmerking toe

Conclusie

To reassemble your device, follow these instructions in reverse order.

Annuleren: ik heb deze handleiding niet afgemaakt.

2 andere personen hebben deze handleiding voltooid.

Tessa Gunnin

Lid sinds: 10/01/15

466 Reputatie

2 handleidingen geschreven

Team

Cal Poly, Team 1-21, Maness Fall 2015 Lid van Cal Poly, Team 1-21, Maness Fall 2015

CPSU-MANESS-F15S1G21

4 Leden

17 handleidingen geschreven

2Gids Commentaar

Any tips on where to buy a motherboard?

Breener - Antwoord Deel
Only <3 months, the motherboard is gone?

Do you have any service shop where I can mail for repairing? I am not going to mail order a motherboard and install by myself every 3 months.

Ming

Yong-Ming Yu - Antwoord Deel
Voeg opmerking toe

Weergavestatistieken:

Afgelopen 24 uren: 3

Afgelopen 7 dagen: 8

Afgelopen 30 dagen: 49

Altijd: 15,032