Ga door naar hoofdinhoud
Word lid van de reparatiegemeenschap - Account aanmaken

Garmin Nuvi 680 Battery Replacement

Wat je nodig hebt

  1. Garmin Nuvi 680 Battery Replacement, Outer Case: stap 1, afbeelding 1 van 1
    • Locate the antenna on the back of the device and gently flip it open to reveal the screws underneath.

    • Remove the two 4.42 mm screws in the top-left and top-right corners of the antenna cover using a T5 Torx screwdriver

    Vraag FixBot
  2. Garmin Nuvi 680 Battery Replacement: stap 2, afbeelding 1 van 1
    • Remove the antenna cover.

    • Set the removed cover aside carefully.

    Vraag FixBot
  3. Garmin Nuvi 680 Battery Replacement: stap 3, afbeelding 1 van 1
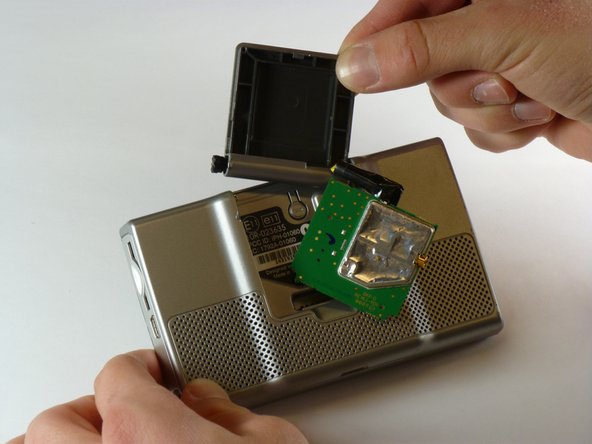
    • The yellow wire is connected to the motherboard. Do not disconnect it until you finish opening the device.

    • Locate the green antenna circuit board in the middle of the case.

    • Gently use 1 or 2 fingers to grab and pull the antenna circuit board out of the middle of the case.

    Vraag FixBot
  4. Garmin Nuvi 680 Battery Replacement: stap 4, afbeelding 1 van 2 Garmin Nuvi 680 Battery Replacement: stap 4, afbeelding 2 van 2
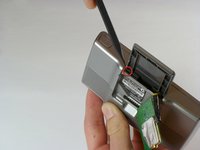
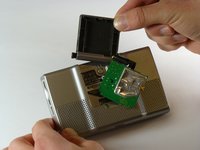
    • Insert the pointed end of a spudger into the leftmost slit at the top of the antenna case, where you previously removed the circuit board

    • Once the spudger is inserted into the leftmost end of the slit at the top of the antenna case, slide it to the rightmost side of the slit.

    • Slide the antenna case out slowly or you may lose the antenna's spring. The spring is inside the black plastic that holds the antenna case to the device.

    • Slide the antenna case out of the device.

    • Reinstallation tip: first reassemble the antenna casing (place antenna back into its plastic cover), and then re-insert the entire assembly back into the GPS body.

    Vraag FixBot
  5. Garmin Nuvi 680 Battery Replacement: stap 5, afbeelding 1 van 1
    • Identify the antenna assembly, which is now exposed after removing the antenna cover.

    • The two screws are positioned at the top-left and top-right corners of the antenna assembly

    • Use a T5 Torx screwdriver to remove the 10.82 mm screws from the top-left and top-right corners of the antenna assembly.

    Vraag FixBot
  6. Garmin Nuvi 680 Battery Replacement: stap 6, afbeelding 1 van 2 Garmin Nuvi 680 Battery Replacement: stap 6, afbeelding 2 van 2
    • Locate the top side of the outer case.

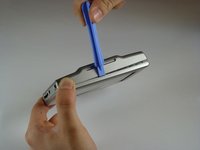
    • Using your iFixit Opening Tool, gently insert a flat end of the tool into the slit of the top cover.

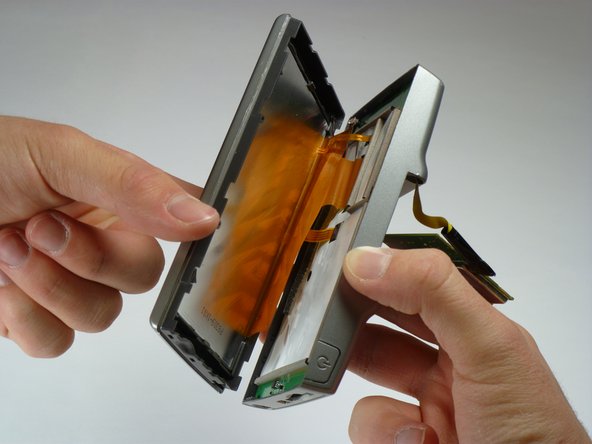
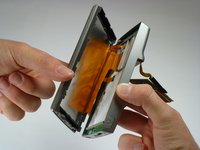
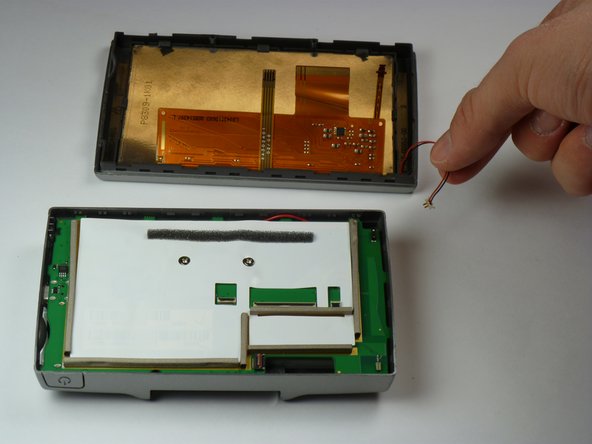
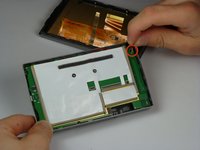
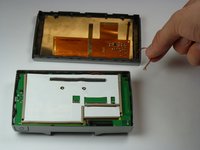
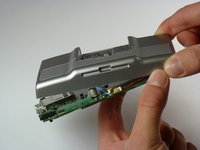
    • Use the Opening Tool and your hands to pull apart the front and back of the device. Grip the top and bottom sides with your hand while inserting the tool into the slit to gently separate the two halves

    • One end of the front and back of the outer case are still connected by ribbon cables.

    Vraag FixBot
  7. Garmin Nuvi 680 Battery Replacement, Antenna: stap 7, afbeelding 1 van 2 Garmin Nuvi 680 Battery Replacement, Antenna: stap 7, afbeelding 2 van 2
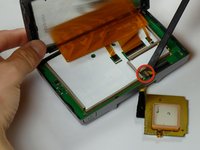
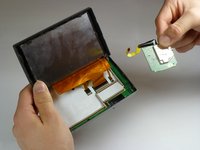
    • Use a spudger to disconnect the yellow antenna wire from the ZIF connector by opening the brown latch holding the wire in place.

    • Remove the antenna.

    Vraag FixBot
  8. Garmin Nuvi 680 Battery Replacement, Screen Wiring: stap 8, afbeelding 1 van 1
    • Do not remove the ribbon cables without lifting the latch or the cable will be damaged.

    • Lift the latches on the ribbon cable connectors. All the ribbon cables may have latches. The right most latch may have a latch that flips in the opposite direction from the others.

    • Gently pull the ribbon cables out of their connectors. They should slide out easily.

    • Do not separate the two halves of the device yet or the on/off cable may be severed.

    Vraag FixBot
  9. Garmin Nuvi 680 Battery Replacement: stap 9, afbeelding 1 van 2 Garmin Nuvi 680 Battery Replacement: stap 9, afbeelding 2 van 2
    • Gently pull the cable for the on/off button straight up to remove it.

    • The two halves of the device may now be separated.

    Vraag FixBot
  10. Garmin Nuvi 680 Battery Replacement, Motherboard: stap 10, afbeelding 1 van 1
    • Use a Phillips #1 screwdriver to remove the two 6.88 mm screws located towards the center of the motherboard.

    Vraag FixBot
  11. Garmin Nuvi 680 Battery Replacement: stap 11, afbeelding 1 van 2 Garmin Nuvi 680 Battery Replacement: stap 11, afbeelding 2 van 2
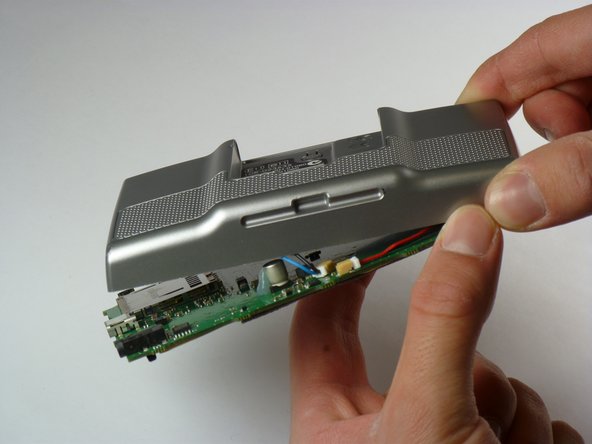
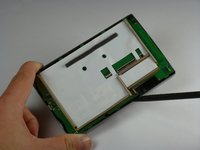
    • Carefully separate the motherboard from the outer case or the speaker and battery cables may be damaged.

    • Use a spudger to lift the edge of the motherboard.

    • Insert it at the bottom and use it as leverage to slowly release the motherboard from the case.

    Vraag FixBot
  12. Garmin Nuvi 680 Battery Replacement: stap 12, afbeelding 1 van 1
    • Gently unplug the cable for the battery. It has a red and black cable.

    • Pull it straight up and away from the motherboard.

    • Gently unplug the cable for the speaker. It has a blue and black cable.

    • Pull it straight up and away from the motherboard.

    Vraag FixBot
  13. Garmin Nuvi 680 Battery Replacement: stap 13, afbeelding 1 van 1
    • Gently lift the motherboard straight up and out of the outer case.

    • There should be no wires attached to it.

    Vraag FixBot
  14. Garmin Nuvi 680 Battery Replacement, Battery: stap 14, afbeelding 1 van 2 Garmin Nuvi 680 Battery Replacement, Battery: stap 14, afbeelding 2 van 2
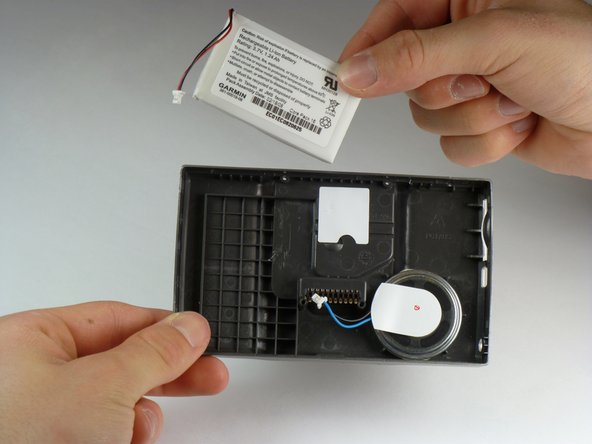
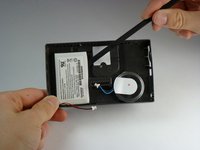
    • The battery is difficult to remove because it's glued to the case.

    • Use a spudger to gently pry the battery out of its slot.

    • Remove the battery.

    Vraag FixBot
Conclusie

To reassemble your device, follow these instructions in reverse order.

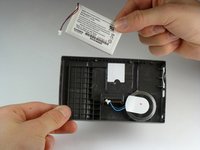
2 andere personen hebben deze handleiding voltooid.

Chris Marzano

Lid sinds: 01/20/11

968 Reputatie

6 handleidingen geschreven

Team

Cal Poly, Team 5-22, Amido Winter 2011 Lid van Cal Poly, Team 5-22, Amido Winter 2011

CPSU-AMIDO-W11S5G22

5 Leden

7 handleidingen geschreven

0Gids Commentaar

Voeg opmerking toe

Weergavestatistieken:

Afgelopen 24 uren: 2

Afgelopen 7 dagen: 9

Afgelopen 30 dagen: 72

Altijd: 11,873