Inleiding
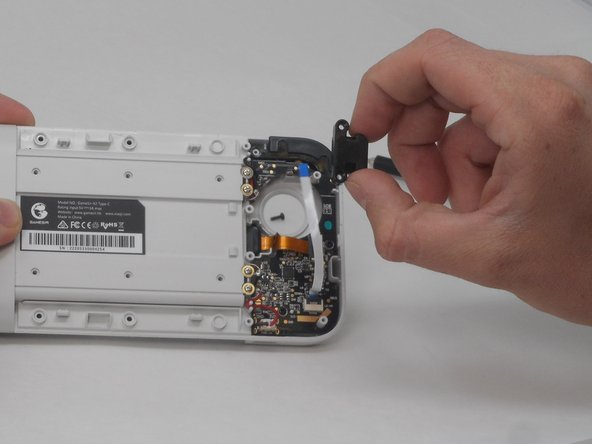
The USB-C Plug connects the mobile phone to the GameSir X2 Type-C and is the only source of connection from the mobile phone to the controller. GameSir designed the USB-C plug to pivot 51 degrees to prevent damage to mobile phone charging ports while inserting and removing the device.
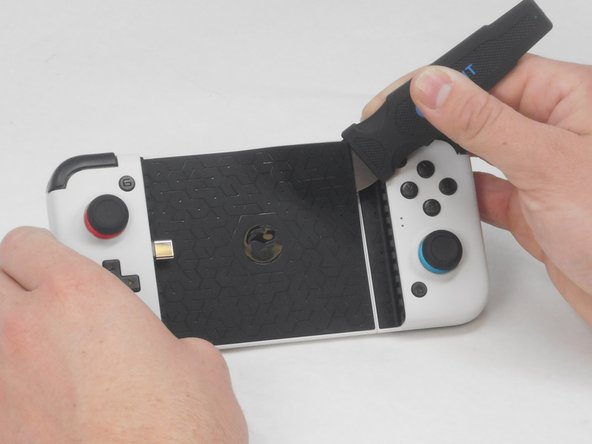
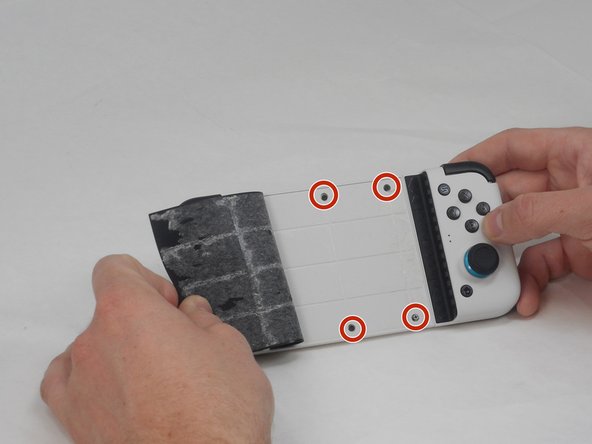
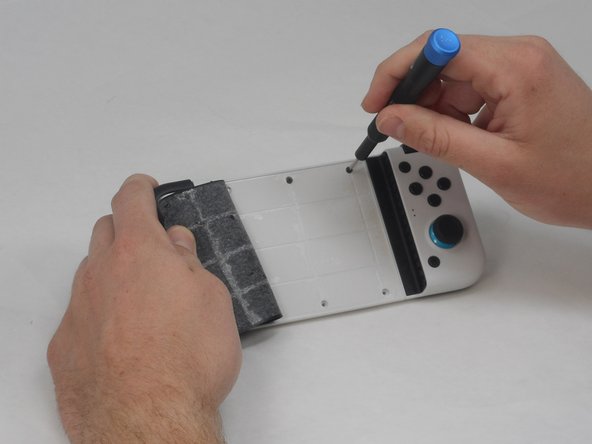
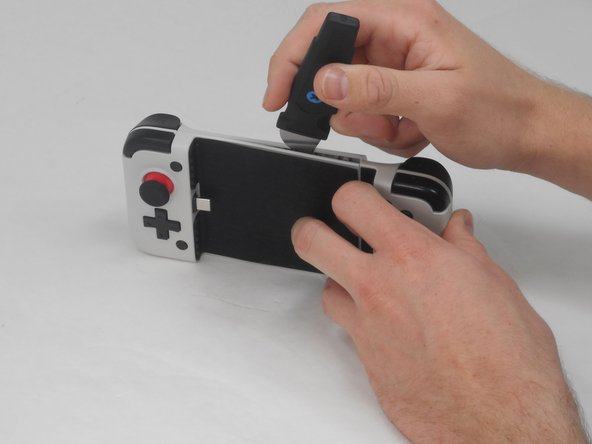
If your phone fails to connect to the Gamesir X2 Type-C, the USB-C plug may need replaced. Follow this guide to replace the plug. Before replacing the plug, review the troubleshooting page. More than likely a bad connection can be fixed without replacing the USB-C plug.
Wat je nodig hebt


To reassemble your device, follow these instructions in reverse order.
To reassemble your device, follow these instructions in reverse order.
Annuleren: ik heb deze handleiding niet afgemaakt.
Één andere persoon heeft deze handleiding voltooid.
Team

University of Memphis, Team 1-2, Sneed Spring 2024 Lid van University of Memphis, Team 1-2, Sneed Spring 2024
UM-SNEED-S24S1G2
3 Leden
5 handleidingen geschreven