Ga door naar hoofdinhoud

GameSir X2 Type-C Right Joystick Replacement

Wat je nodig hebt

  1. GameSir X2 Type-C Right Joystick Replacement, Back Cover: stap 1, afbeelding 1 van 2 GameSir X2 Type-C Right Joystick Replacement, Back Cover: stap 1, afbeelding 2 van 2
    • Turn the device so the back faces you.

  2. GameSir X2 Type-C Right Joystick Replacement: stap 2, afbeelding 1 van 2 GameSir X2 Type-C Right Joystick Replacement: stap 2, afbeelding 2 van 2
    • Remove the eight 6 mm T6 Torx screws.

  3. GameSir X2 Type-C Right Joystick Replacement: stap 3, afbeelding 1 van 1
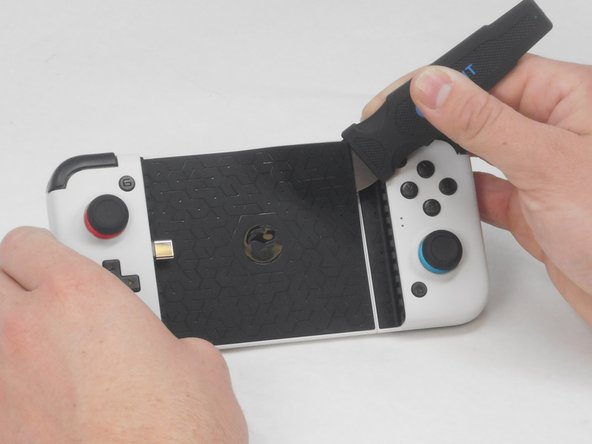
    • Use a straight edge to remove the rubber pad on the front of the device.

  4. GameSir X2 Type-C Right Joystick Replacement: stap 4, afbeelding 1 van 2 GameSir X2 Type-C Right Joystick Replacement: stap 4, afbeelding 2 van 2
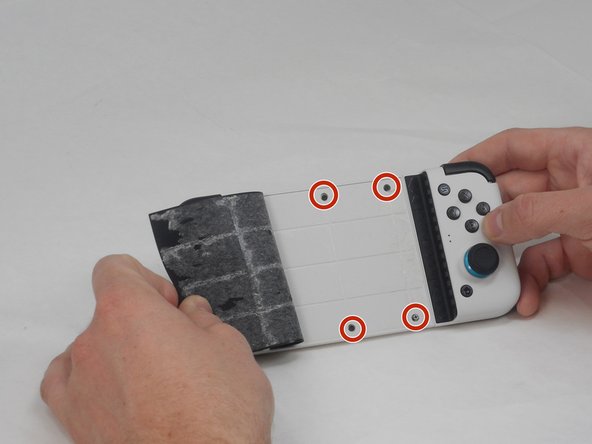
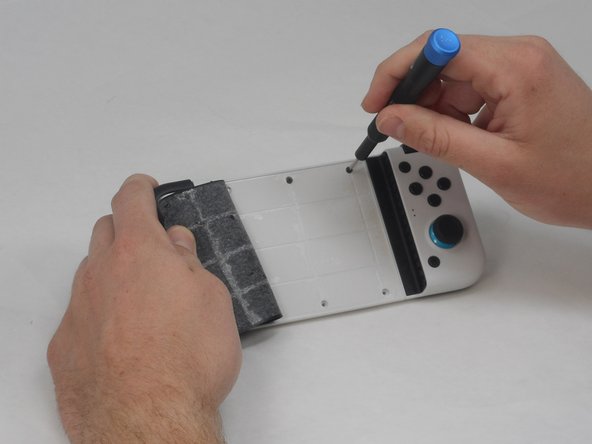
    • Remove the four 4.5 mm screws with a Phillips #000 screwdriver.

  5. GameSir X2 Type-C Right Joystick Replacement: stap 5, afbeelding 1 van 2 GameSir X2 Type-C Right Joystick Replacement: stap 5, afbeelding 2 van 2
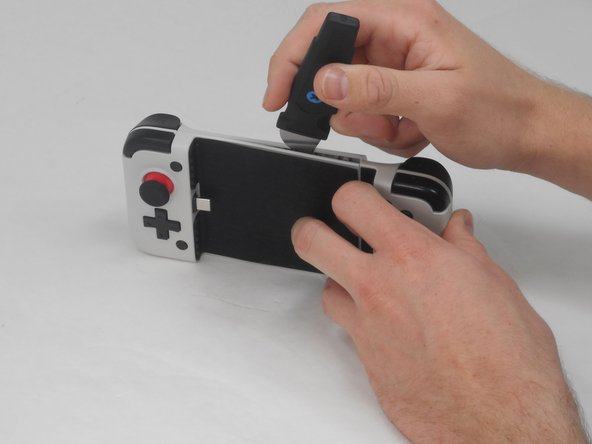
    • Use a straight edge to pry open the controller, following the seam on the controller.

    • Some force is necessary, but be careful not to damage any of the clips holding the controller together.

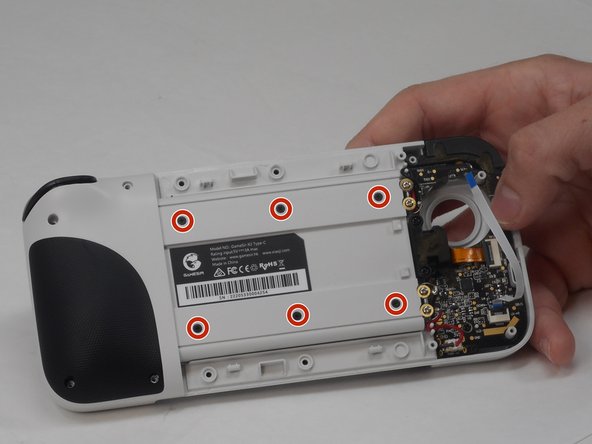
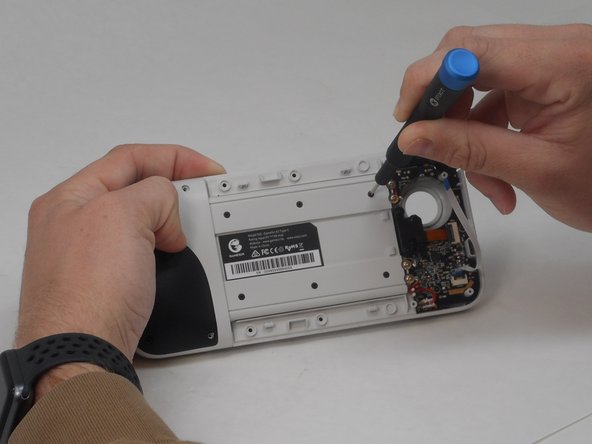
  6. GameSir X2 Type-C Right Joystick Replacement, Right Joystick: stap 6, afbeelding 1 van 3 GameSir X2 Type-C Right Joystick Replacement, Right Joystick: stap 6, afbeelding 2 van 3 GameSir X2 Type-C Right Joystick Replacement, Right Joystick: stap 6, afbeelding 3 van 3
    • Remove six 4.5 mm screws using the Phillips #000 screwdriver.

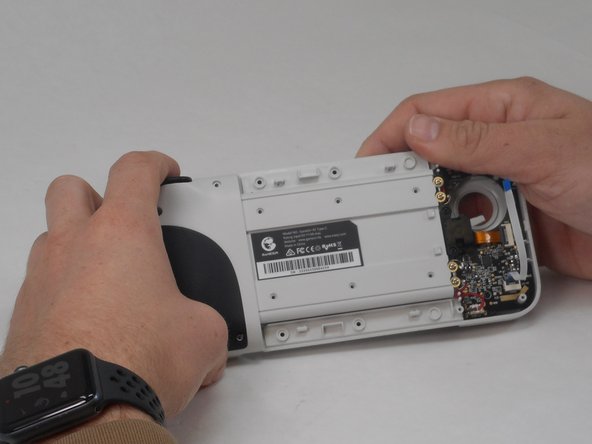
  7. GameSir X2 Type-C Right Joystick Replacement: stap 7, afbeelding 1 van 2 GameSir X2 Type-C Right Joystick Replacement: stap 7, afbeelding 2 van 2
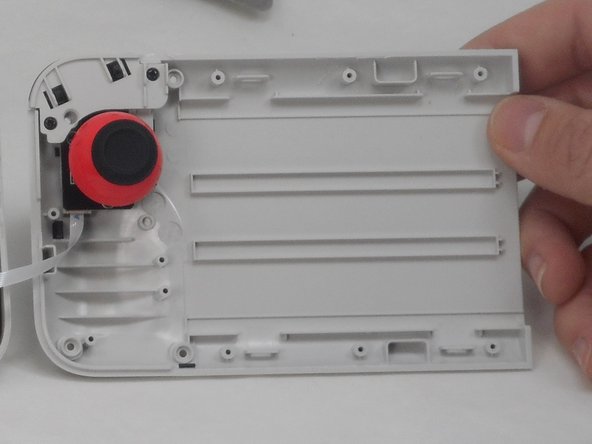
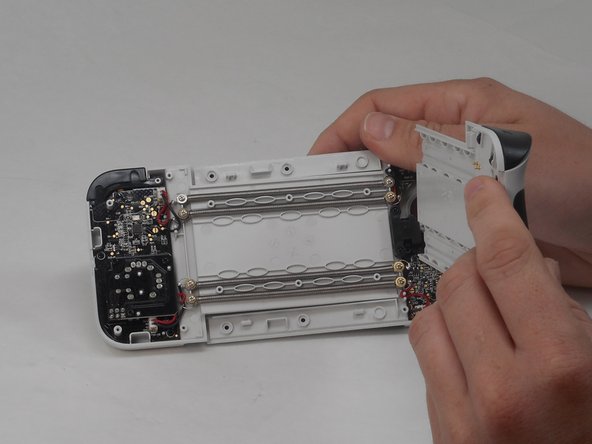
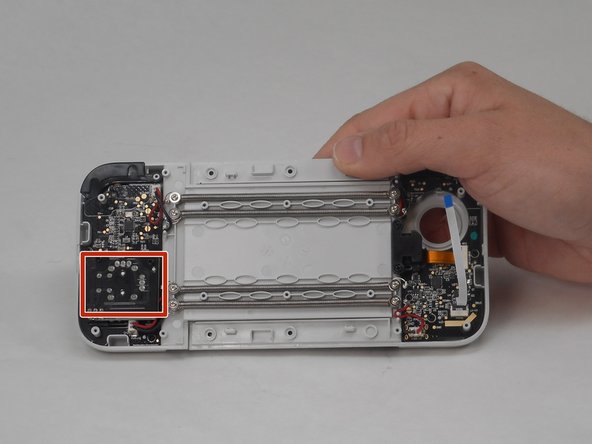
    • Remove the left panel of the back cover to expose the joystick.

    • The joystick is attached to the black board.

  8. GameSir X2 Type-C Right Joystick Replacement: stap 8, afbeelding 1 van 2 GameSir X2 Type-C Right Joystick Replacement: stap 8, afbeelding 2 van 2
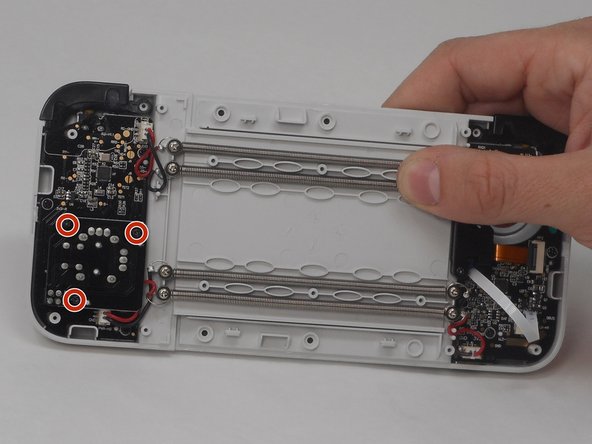
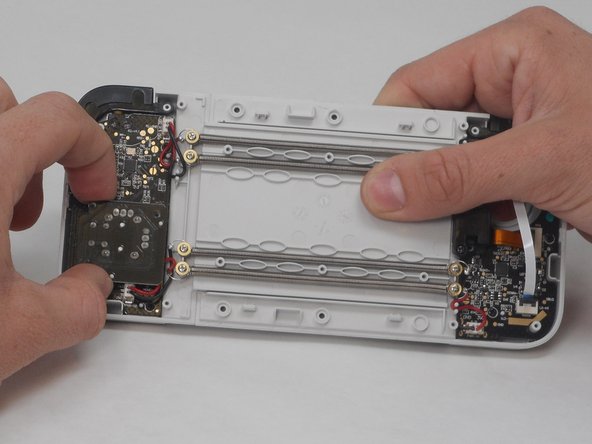
    • Remove three 6 mm screws using a Phillips #00 screwdriver.

  9. GameSir X2 Type-C Right Joystick Replacement: stap 9, afbeelding 1 van 2 GameSir X2 Type-C Right Joystick Replacement: stap 9, afbeelding 2 van 2
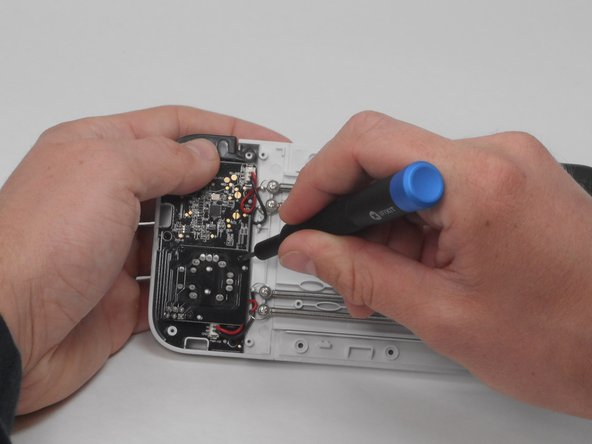
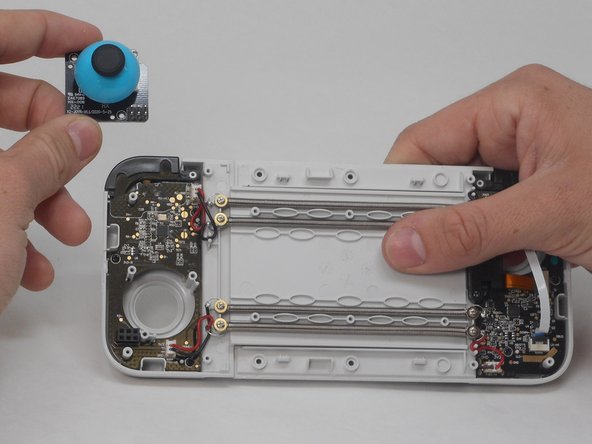
    • Pull the joystick assembly out.

Conclusie

To reassemble your device, follow these instructions in reverse order.

Één andere persoon heeft deze handleiding voltooid.

Malak Moustafa

Lid sinds: 02/14/24

248 Reputatie

1 Handleiding geschreven

0 opmerkingen

Voeg opmerking toe

Weergavestatistieken:

Afgelopen 24 uren: 6

Afgelopen 7 dagen: 15

Afgelopen 30 dagen: 41

Altijd: 82