Inleiding
Use this guide to replace your cracked or broken LCD screen or front case.
Wat je nodig hebt
Video overzicht
-
-
Take the battery cover off by releasing the locking tab and hinging the cover away. Remove the batteries inside the cover
-
-
-
Remove the six back panel screws using a Tri-wing Screwdriver.
-
Remove bottom back panel screw with a Phillips #1 screw driver. (Image #2)
-
-
-
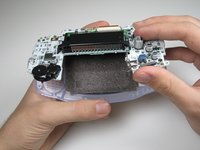
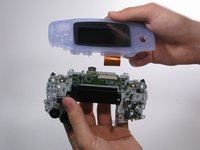
Remove the back panel by pulling away with one hand and the front secured in the other hand.
-
-
-
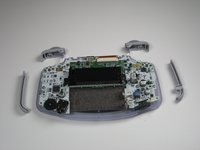
Remove left and right triggers by lifting and pulling them away from the system.
-
Do the same for side panels
-
-
-
-
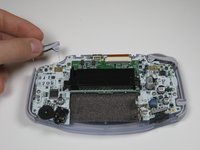
Remove the gray On/Off Switch by pulling up and away from the unit. Replace with another switch if necessary.
-
-
-
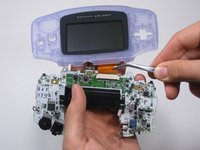
Remove the three screws on the circuit board with a Phillips #1 screw driver.
-
-
Gereedschap gebruikt in deze stap:Tweezers$4.99
-
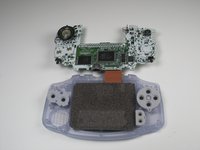
Remove the rubber button pads from their pockets.
-
Remove the plastic buttons and the D-pad from beneath the rubber pads with tweezers or by hand.
-
-
Gereedschap gebruikt in deze stap:Tweezers$4.99
-
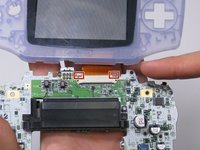
Use a spudger/tweezers/fingernail to unlatch the LCD ribbon port by pulling the grey tabs on the sides upwards (towards the top edge of the PCB).
-
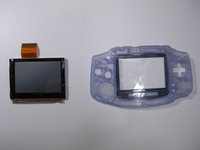
Once the LCD ribbon port has been unlatched, the LCD ribbon should very easily slide out and can be removed with zero force using fingers or tweezers.
-
-
-
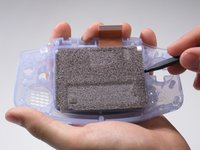
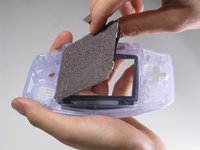
Use the spudger to lift the screen from the front panel. Place the spudger in the space directly left of the D-pad.
Friendly warning. My LCD screen broke during this step. The tape can really hold it in there.
So do I! So the best solution to avoid it is to airdry the front cover to melt glue...
-


Annuleren: ik heb deze handleiding niet afgemaakt.
6 andere personen hebben deze handleiding voltooid.
Team

Cal Poly, Team 16-29, Maness Winter 2010 Lid van Cal Poly, Team 16-29, Maness Winter 2010
CPSU-MANESS-W10S16G29
5 Leden
62 handleidingen geschreven