Ga door naar hoofdinhoud
Word lid van de reparatiegemeenschap - Account aanmaken

Flip Video LCD Screen

Wat je nodig hebt

  1. Flip Video LCD Screen, Outer Shell: stap 1, afbeelding 1 van 2 Flip Video LCD Screen, Outer Shell: stap 1, afbeelding 2 van 2
    • Turn off the device and take the batteries out.

    • Remove metal sticker under the LCD screen with a spudger.

    • This may require a large force to pry off the glued sticker.

    Vraag FixBot
  2. Flip Video LCD Screen: stap 2, afbeelding 1 van 1
    • Remove the 4 gray screw caps with the spudger. These cover the screw heads and protect from dirt or grime.

    Vraag FixBot
  3. Flip Video LCD Screen: stap 3, afbeelding 1 van 2 Flip Video LCD Screen: stap 3, afbeelding 2 van 2
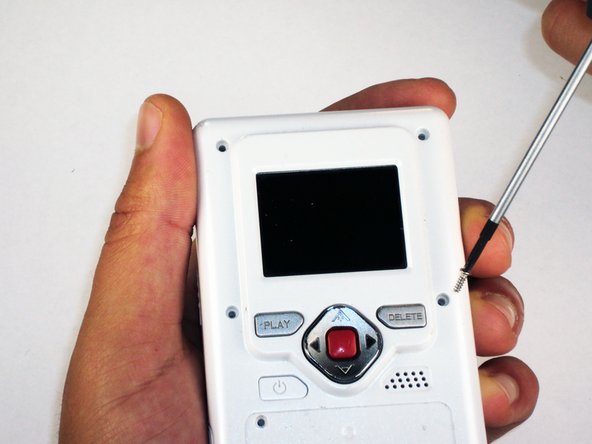
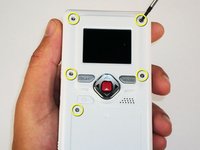
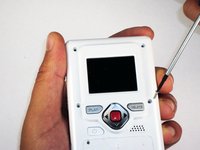
    • Remove the 5 10mm screws with the #00 Phillips screwdriver. These connect the back of the outer shell to the front of the outer shell.

    Vraag FixBot
  4. Flip Video LCD Screen: stap 4, afbeelding 1 van 1
    • Open battery door. This can be done by gently depressing and sliding the battery down downward.

    Vraag FixBot
  5. Flip Video LCD Screen: stap 5, afbeelding 1 van 1
    • Use the spudger to separate outer shells.

    • The spudger must be inserted between the shell halves to pry the edges apart.

    • Slowly work around the outside to separate the halves.

    Vraag FixBot
  6. Flip Video LCD Screen, Circuit Board: stap 6, afbeelding 1 van 1
    • Remove the 3 5mm screws securing the circuit board to the front shell with the #00 Phillips screwdriver.

    Vraag FixBot
  7. Flip Video LCD Screen: stap 7, afbeelding 1 van 1
    • Slowly lift the left side of the circuit board.

    • Do not attempt to remove the circuit board completely yet. It is still connected to the device.

    Vraag FixBot
  8. Flip Video LCD Screen: stap 8, afbeelding 1 van 1
    • Disconnect the USB port cable from the back side of the circuit board.

    Vraag FixBot
  9. Flip Video LCD Screen: stap 9, afbeelding 1 van 1
    • Slide out the battery contacts.

    • Battery contacts

    • Slot where battery contacts were located

    Vraag FixBot
  10. Flip Video LCD Screen, LCD Screen: stap 10, afbeelding 1 van 1
    • With the LCD screen facing away from you, remove the 2 bronze 3 mm screws securing the LCD using the #00 Phillips screwdriver.

    Vraag FixBot
  11. Flip Video LCD Screen: stap 11, afbeelding 1 van 1
    • Flip over the circuit board and unlock the two black tabs on the ribbon connector by sliding them upwards.

    Vraag FixBot
  12. Flip Video LCD Screen: stap 12, afbeelding 1 van 1
    • Gently pull out ribbon cable.

    • If the ribbon cable does not come out easily you may not have fully unlocked the ribbon cable connector in the previous step.

    • The LCD screen is now removed and can be replaced.

    Vraag FixBot
Conclusie

To reassemble your device, follow these instructions in reverse order.

Één andere persoon heeft deze handleiding voltooid.

Elizabeth

Lid sinds: 04/15/10

100 Reputatie

6 handleidingen geschreven

Team

Cal Poly, Team 26-21, Regan Spring 2010 Lid van Cal Poly, Team 26-21, Regan Spring 2010

CPSU-REGAN-S10S26G21

4 Leden

12 handleidingen geschreven

0Gids Commentaar

Voeg opmerking toe

Weergavestatistieken:

Afgelopen 24 uren: 2

Afgelopen 7 dagen: 14

Afgelopen 30 dagen: 93

Altijd: 5,653