Ga door naar hoofdinhoud
Word lid van de reparatiegemeenschap - Account aanmaken

Fix NUC8i7BEH overheating

Wat je nodig hebt

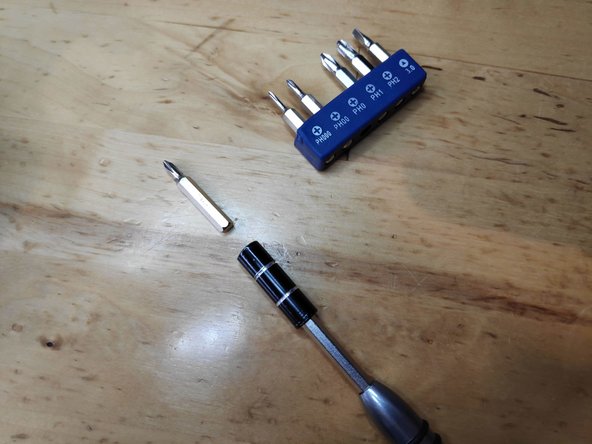
  1. Fix NUC8i7BEH overheating, Turn NUC upside down: stap 1, afbeelding 1 van 3 Fix NUC8i7BEH overheating, Turn NUC upside down: stap 1, afbeelding 2 van 3 Fix NUC8i7BEH overheating, Turn NUC upside down: stap 1, afbeelding 3 van 3
    • Place the NUC upside down and select a PH2 Phillips screw driver bit

    Vraag FixBot
  2. Fix NUC8i7BEH overheating, Unscrew lower lid: stap 2, afbeelding 1 van 2 Fix NUC8i7BEH overheating, Unscrew lower lid: stap 2, afbeelding 2 van 2
    • Start by using a Phillips head #2 screw driver to remove the lower screws on the lower case door.

    • These screws are held in with retainers, so they won't fall out when you flip the lid.

    Vraag FixBot
  3. Fix NUC8i7BEH overheating, Lid and HDD Bracket: stap 3, afbeelding 1 van 3 Fix NUC8i7BEH overheating, Lid and HDD Bracket: stap 3, afbeelding 2 van 3 Fix NUC8i7BEH overheating, Lid and HDD Bracket: stap 3, afbeelding 3 van 3
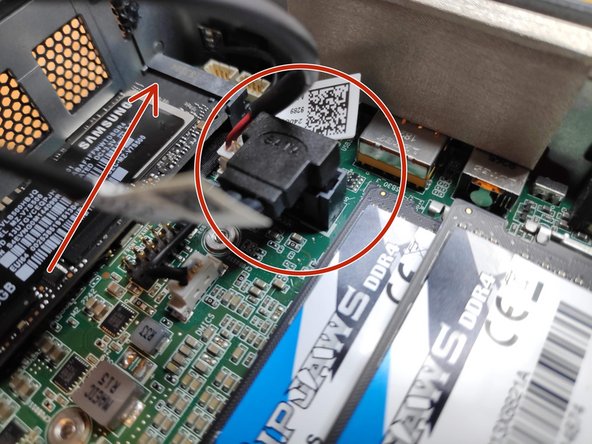
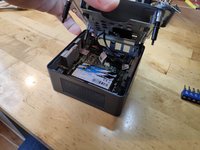
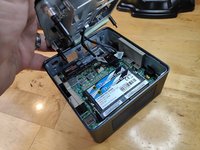
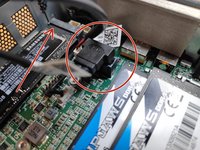
    • Lift the door, and keep an eye on the cables that connect to the NUC's motherboard. These cables are the power and data cables for the 2.5" hard drive bay.

    • Carefully unplug the cables from the motherboard, and set the bracket aside.

    • In the last photo, the slot for a blade SSD is marked with a red arrow. This is where you would install the blade SSD, and use a screw to hold it in place.

    Vraag FixBot
  4. Fix NUC8i7BEH overheating, SSD removal: stap 4, afbeelding 1 van 2 Fix NUC8i7BEH overheating, SSD removal: stap 4, afbeelding 2 van 2
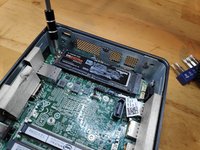
    • Change the screw driver bit to the PH1 one.

    • Unscrew the V-NAND SSD and carefully slide it out of its connector.

    Vraag FixBot
    • Previous step as video

    Vraag FixBot
  5. Fix NUC8i7BEH overheating, Motherboard Removal (Screw driver): stap 6, afbeelding 1 van 1
    • Change the screw driver bit to PH1

    Vraag FixBot
  6. Fix NUC8i7BEH overheating, Motherboard Removal: stap 7, afbeelding 1 van 3 Fix NUC8i7BEH overheating, Motherboard Removal: stap 7, afbeelding 2 van 3 Fix NUC8i7BEH overheating, Motherboard Removal: stap 7, afbeelding 3 van 3
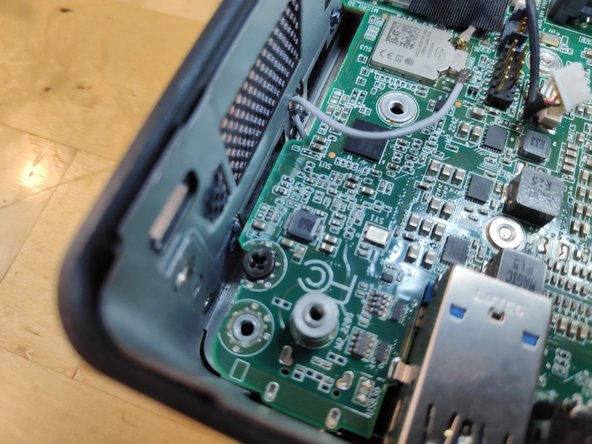
    • Unscrew the screws marked in red circles

    Vraag FixBot
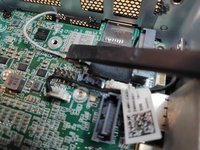
  7. Fix NUC8i7BEH overheating, Motherboard Removal, continued.: stap 8, afbeelding 1 van 3 Fix NUC8i7BEH overheating, Motherboard Removal, continued.: stap 8, afbeelding 2 van 3 Fix NUC8i7BEH overheating, Motherboard Removal, continued.: stap 8, afbeelding 3 van 3
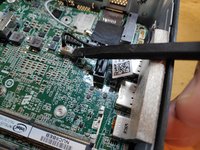
    • Remove the WiFi and Bluetooth antenna cables (be extremely careful when doing this otherwise you risk to rip the base contact terminal off the PCB)

    • Remove the stereo mic cable from the motherboard connector.

    • Pay attetion to the WiFi cable hidden under a black piece of tape

    Vraag FixBot
    • Disconnect mic cable

    Vraag FixBot
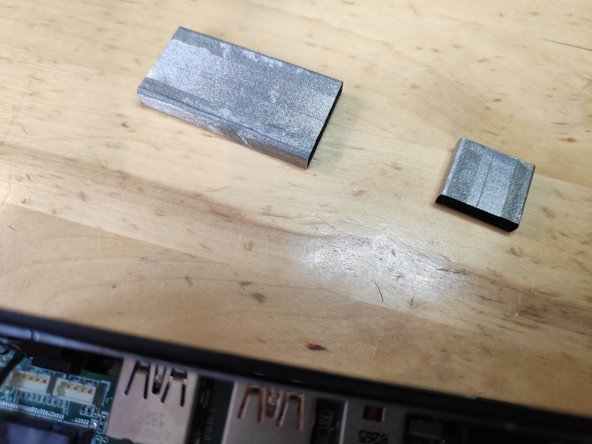
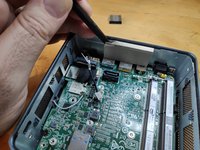
    • Remove padders from the sides

    Vraag FixBot
  8. Fix NUC8i7BEH overheating, Remove protection padding, continued: stap 11, afbeelding 1 van 2 Fix NUC8i7BEH overheating, Remove protection padding, continued: stap 11, afbeelding 2 van 2
    • Not all are necessary only the two depicted.

    Vraag FixBot
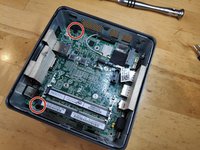
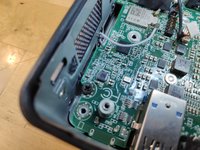
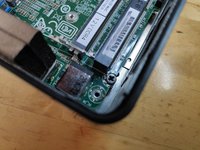
  9. Fix NUC8i7BEH overheating, Motherboard Removal, final step: stap 12, afbeelding 1 van 3 Fix NUC8i7BEH overheating, Motherboard Removal, final step: stap 12, afbeelding 2 van 3 Fix NUC8i7BEH overheating, Motherboard Removal, final step: stap 12, afbeelding 3 van 3
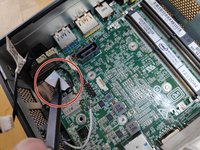
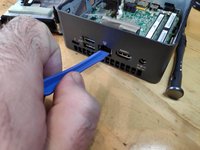
    • Use a pry tool to lift the motherboard from the casing

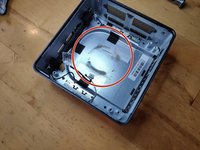
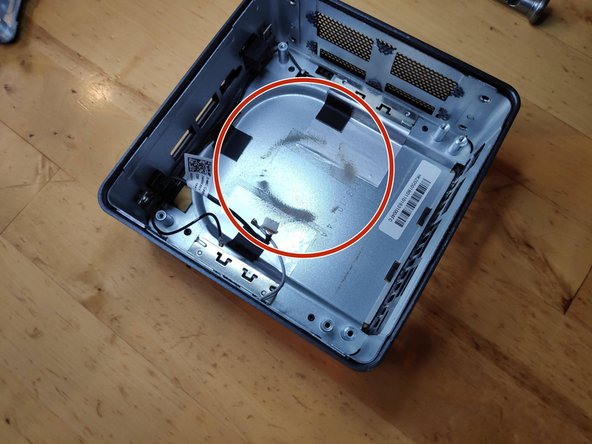
    • Marked with red circles the dust signs evident on first sight

    Vraag FixBot
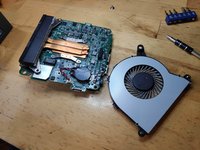
  10. Fix NUC8i7BEH overheating, Remove CPU fan: stap 13, afbeelding 1 van 3 Fix NUC8i7BEH overheating, Remove CPU fan: stap 13, afbeelding 2 van 3 Fix NUC8i7BEH overheating, Remove CPU fan: stap 13, afbeelding 3 van 3
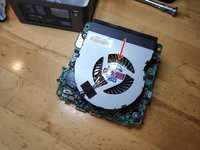
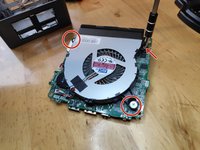
    • Remove the 3 screws fixing the CPU fan

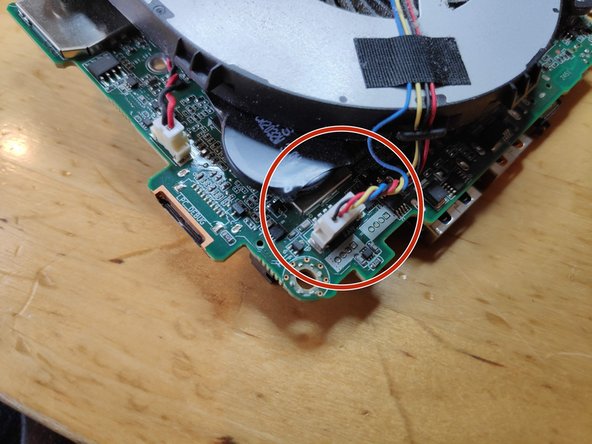
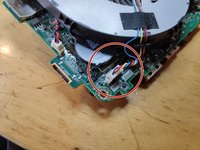
    • Remove the fan power connect from the motherboard

    Vraag FixBot
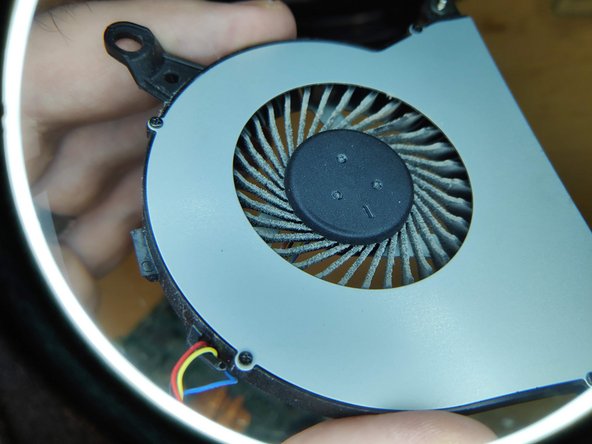
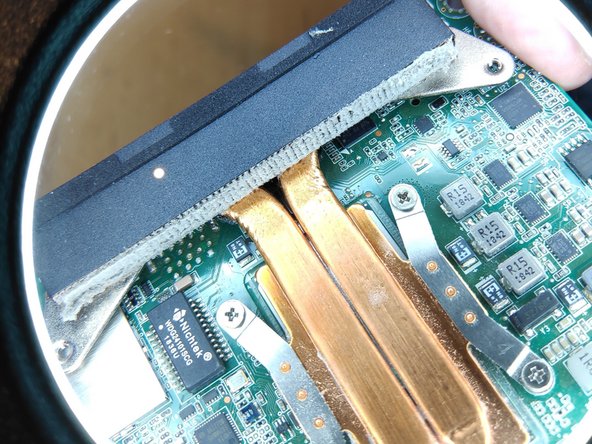
  11. Fix NUC8i7BEH overheating, Blast off dust from CPU air exit fins: stap 14, afbeelding 1 van 3 Fix NUC8i7BEH overheating, Blast off dust from CPU air exit fins: stap 14, afbeelding 2 van 3 Fix NUC8i7BEH overheating, Blast off dust from CPU air exit fins: stap 14, afbeelding 3 van 3
    • You will need to use compressed air, a small vacuum cleaner or something similar to blast off all the stucked dust.

    Vraag FixBot
  12. Fix NUC8i7BEH overheating, Blast off dust from CPU air exit fins, continued: stap 15, afbeelding 1 van 1
    • I'm using a compressed air can (optional)

    Vraag FixBot
    • Video of the procedure

    Vraag FixBot
    • Video of the procedure

    Vraag FixBot
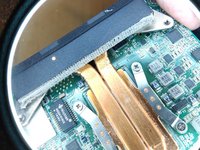
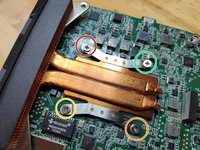
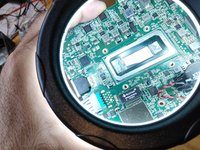
  13. Fix NUC8i7BEH overheating, Exchange thermal paste for CPU cooler (optional): stap 18, afbeelding 1 van 2 Fix NUC8i7BEH overheating, Exchange thermal paste for CPU cooler (optional): stap 18, afbeelding 2 van 2
    • This step is probably not necessary, but for the sake of completeness here it is.

    • Remove the screws holding the CPU cooler following the numbers on them.

    Vraag FixBot
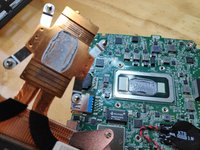
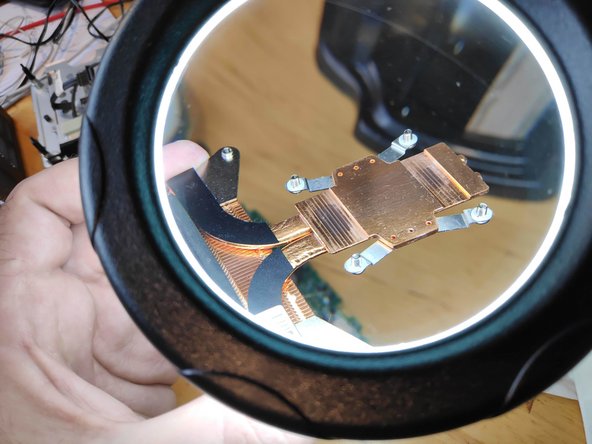
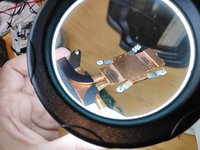
  14. Fix NUC8i7BEH overheating, Clean old CPU thermal paste: stap 19, afbeelding 1 van 3 Fix NUC8i7BEH overheating, Clean old CPU thermal paste: stap 19, afbeelding 2 van 3 Fix NUC8i7BEH overheating, Clean old CPU thermal paste: stap 19, afbeelding 3 van 3
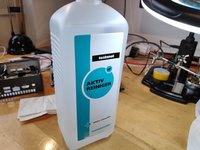
    • Use isopropyl alcohol for this, be careful not to touch the the thermal pads on the chips around the CPU.

    Vraag FixBot
  15. Fix NUC8i7BEH overheating, Reapply CPU thermal paste: stap 20, afbeelding 1 van 1
    • Be careful not to apply too much of it.

    Vraag FixBot
Conclusie

To reassemble your device, follow these instructions in reverse order.

47 andere personen hebben deze handleiding voltooid.

Vladimir Knobel

Lid sinds: 03/27/14

3.273 Reputatie

2 handleidingen geschreven

32Gids Commentaar

Very helpful, thank you!

Ray Wang - Antwoord Deel
Great tutorial, thanks, now my fan is very clean and quiet. Thanks for spending time to create this guide!

Schüszterl Ferenc - Antwoord Deel

I did see this guide after finding out the same steps myself and having seen this guide before doing so would be very helpful.

Jack Graus - Antwoord Deel

Great tutorial. Clear pictures, solid instructions. Thanks a lot!

Koen Veys - Antwoord Deel

you are welcome

Vladimir Knobel - Antwoord Deel

Voeg opmerking toe

Weergavestatistieken:

Afgelopen 24 uren: 23

Afgelopen 7 dagen: 123

Afgelopen 30 dagen: 512

Altijd: 63,229