Deze vertaling is door een computer gegenereerd en is nog niet door iemand nagekeken. Spreek je deze taal? Bekijk het hier.
Inleiding
De batterij van de camerastandaard is een belangrijk onderdeel van dit product. Als uw standaard niet oplaadt (batterij laadt niet op), zal deze handleiding u helpen.
Wat je nodig hebt
-
-
-
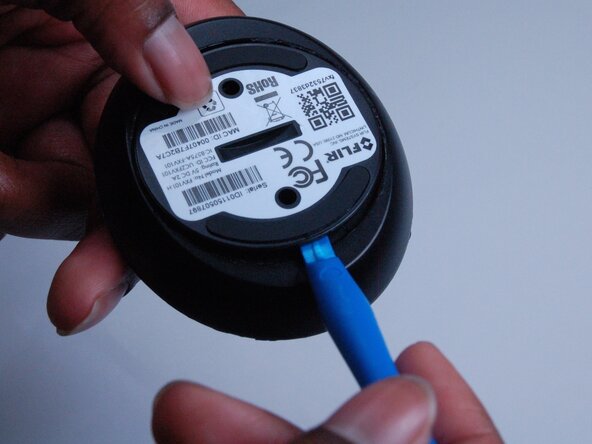
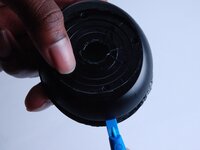
Gebruik een plastic Openingsgereedschap om de plastic onderplaat los te wrikken.
 Vraag FixBot
-
-
-
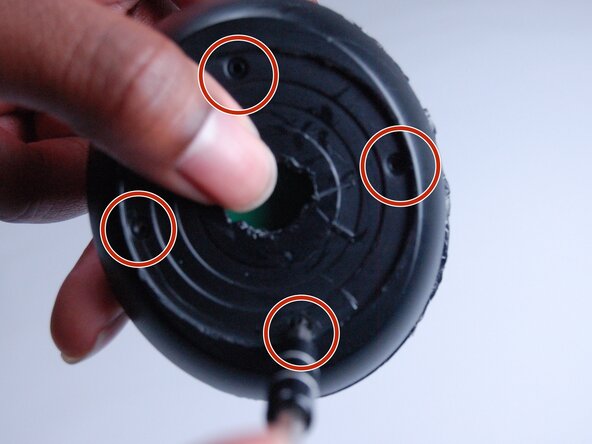
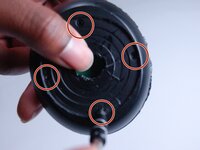
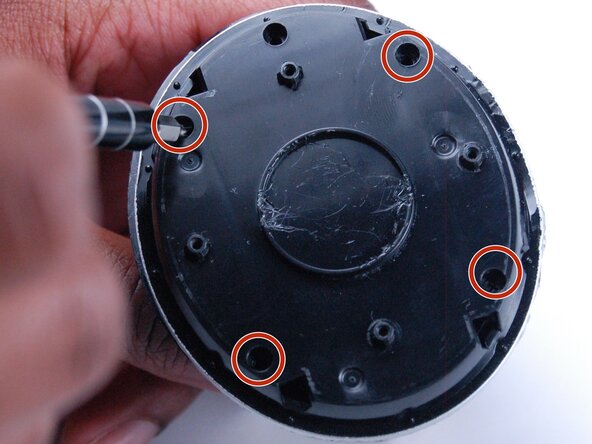
Draai de vier schroeven aan de onderkant van de standaard los met een J00 schroevendraaier.
-
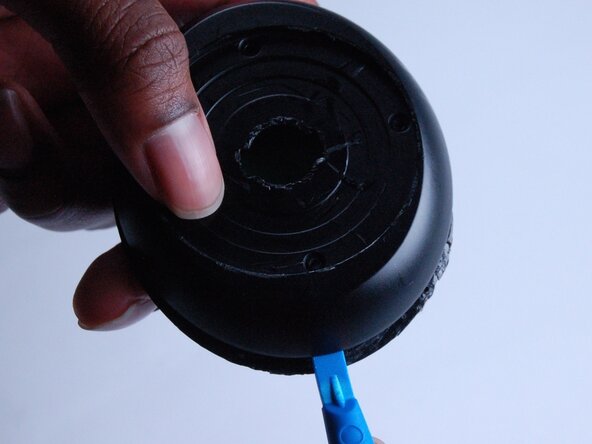
Gebruik een kunststof openingsgereedschap om de onderkant van de standaard open te wrikken.
-
Mocht het lastig zijn om de twee delen van elkaar te scheiden, gebruik dan de iOpener om de lijm onder het paneel zacht te maken.
-
Verwarm gedurende 30 seconden. Zodra het warm is, plaats je het rondom de standaard om de lijm los te maken.
-
-
-
-
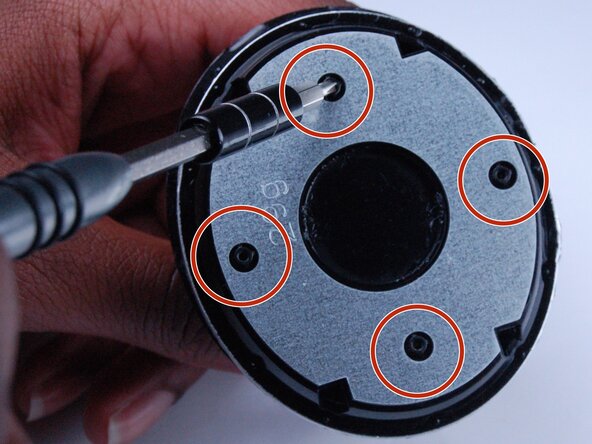
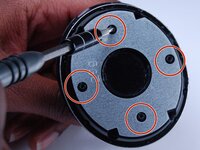
Zodra je de twee delen van elkaar hebt gehaald, gebruik je een J00-schroevendraaier om de vier schroeven van 1,2 mm los te draaien waarmee het metalen onderdeel aan de bovenkant van de standaard is bevestigd.
-
-
-
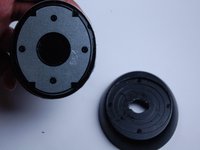
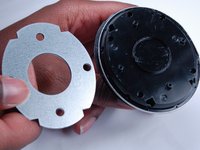
Verwijder het metalen onderdeel.
-
Draai de vier 1,2 mm Phillips-kruiskopschroeven op het plastic deel van de standaard los.
-
Scheid nu de bovenkant van de standaard van het plastic onderste deel.
-
Koppel de accu los van de standaard.
-
-








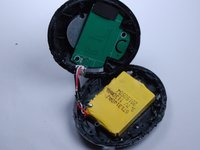
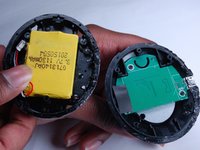
Volg deze instructies in omgekeerde volgorde om uw apparaat weer in elkaar te zetten.

Team

Texas Tech, Team S13-G2, Bennett Spring 2017 Lid van Texas Tech, Team S13-G2, Bennett Spring 2017
TTU-BENNETT-S17S13G2
3 Leden
36 handleidingen geschreven
2Gids Commentaar
A couple of suggestions which are;
1) You do not and should not pry off the bottom (the piece with decal with the QR code and the product info such as the model #). Just use a quarter in the slot and turn counter clockwise and the bottom cover will fall of.
2) After removing the bottom cover and removing the 4 screws, prying off the bottom base (the part below the silver ring about 0.5” above the bottom of the base) should NOT be done by prying from the hole in the bottom center. Doing it this way will just damage the plastic base and is difficult. The way to remove the bottom part of the base is to use a utility knife (razor blade inside the handle), drag it through the seam immediately below the silver trim piece all of the way around a couple of times twisting the utility knife a little to pry off and then use a flat screw drive to finish prying the bottom base piece off of the main unit. Doing it this way takes about 30 seconds, does not damage the base and permits you to reassemble when finished.
Suggestions continued - opening up the battery compartment.
3) Now repeat step 2 (previous comment) on the top side of the silver trim piece to open up the battery compartment. Note that the razor blade really only needs to be used to pry open the the pieces enough to insert a small flat screwdriver to pop open the platics pieces.
4) The battery is attached to the inside of the case with double sided tape. Just pry the battery gently using a plastic tool (metal tool could damage) working your way around the battery rather than just trying to pry the battery off with 1 large prying motion from 1 place on the battery.
