Ga door naar hoofdinhoud
Word lid van de reparatiegemeenschap - Account aanmaken

Electrohome EAAC475 Display Replacement

Wat je nodig hebt

    1. Electrohome EAAC475 Display Replacement, Battery: stap 1, afbeelding 1 van 2 Electrohome EAAC475 Display Replacement, Battery: stap 1, afbeelding 2 van 2
      • Remove the 10 mm Phillips #1 screw from the battery cover.

      • Remove the battery cover.

      Vraag FixBot

      Voeg opmerking toe

    2. Electrohome EAAC475 Display Replacement: stap 2, afbeelding 1 van 1
      • Remove the flat lithium battery.

      Vraag FixBot

      Voeg opmerking toe

    1. Electrohome EAAC475 Display Replacement, Buttons: stap 3, afbeelding 1 van 2 Electrohome EAAC475 Display Replacement, Buttons: stap 3, afbeelding 2 van 2
      • Disconnect the radio from all power sources.

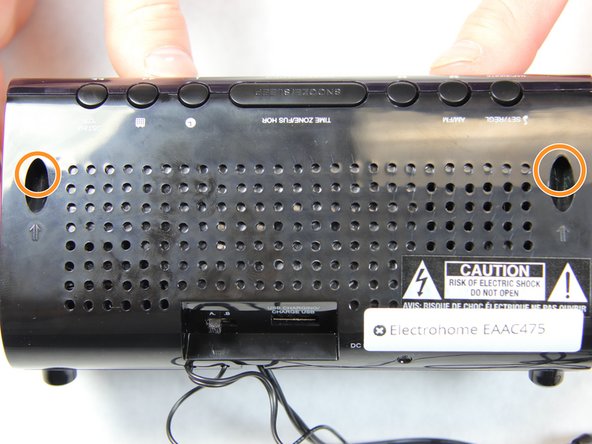
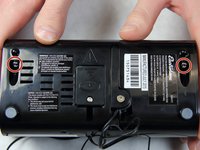
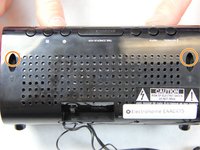
      • Remove the two 10 mm Phillips #1 screws from the bottom of the device.

      • Remove two 10 mm Phillips #1 screws from the back side of the device.

      Vraag FixBot

      Voeg opmerking toe

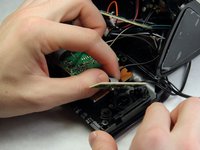
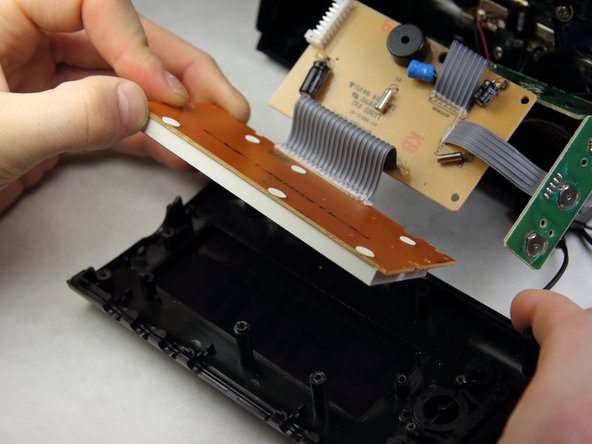
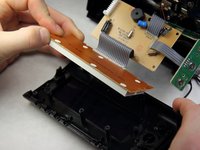
    2. Electrohome EAAC475 Display Replacement: stap 4, afbeelding 1 van 3 Electrohome EAAC475 Display Replacement: stap 4, afbeelding 2 van 3 Electrohome EAAC475 Display Replacement: stap 4, afbeelding 3 van 3
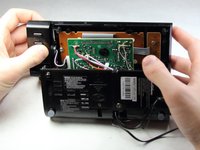
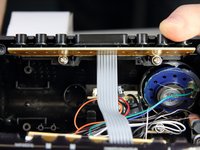
      • Carefully and slowly pull the lower case away from the rest of the device.

      • Do not completely separate the lower case. There are several wires connecting the two halves of the device.

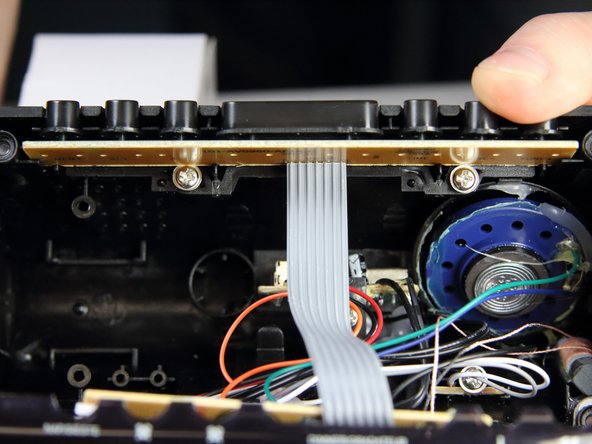
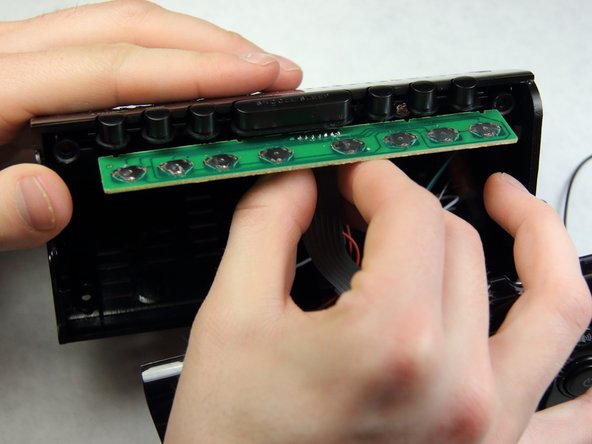
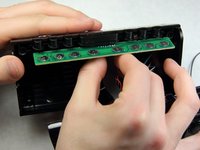
      • Flip the device over to access the button assembly.

      • Slowly remove the button contact board from the assembly.

      Vraag FixBot

      Voeg opmerking toe

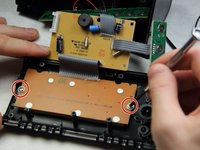
    3. Electrohome EAAC475 Display Replacement: stap 5, afbeelding 1 van 2 Electrohome EAAC475 Display Replacement: stap 5, afbeelding 2 van 2
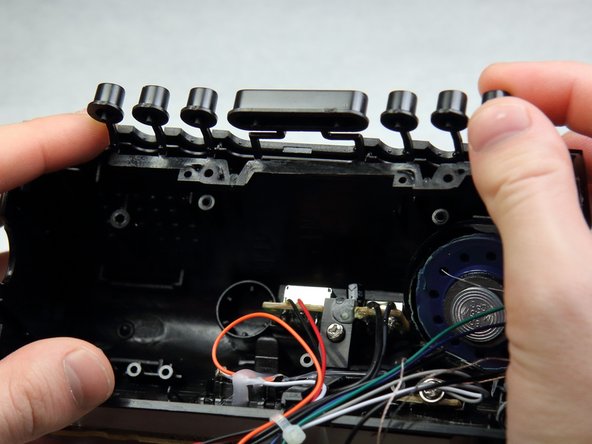
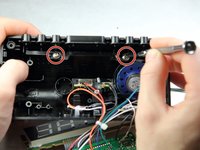
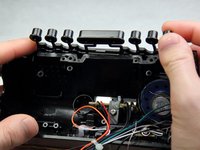
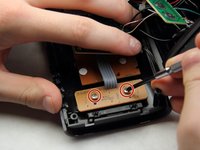
      • Remove the two 7 mm Phillips # 1 screws holding the buttons.

      • Remove the plastic buttons.

      Vraag FixBot

      Voeg opmerking toe

    1. Electrohome EAAC475 Display Replacement, Display: stap 6, afbeelding 1 van 2 Electrohome EAAC475 Display Replacement, Display: stap 6, afbeelding 2 van 2
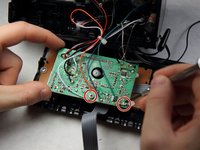
      • Remove the two 8 mm Phillips screws supporting the circuit board.

      • Pull off the circuit board to access the panels below.

      Vraag FixBot

      Voeg opmerking toe

    2. Electrohome EAAC475 Display Replacement: stap 7, afbeelding 1 van 2 Electrohome EAAC475 Display Replacement: stap 7, afbeelding 2 van 2
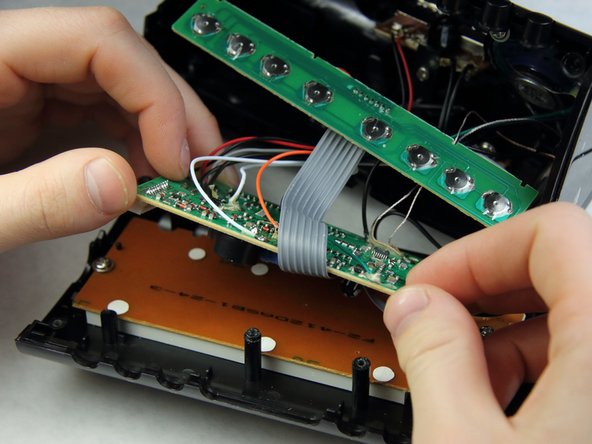
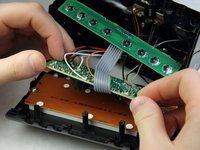
      • Remove the two 6 mm Phillips screws supporting the mini circuit board for the frontal buttons.

      • Remove the mini circuit board.

      Vraag FixBot

      Voeg opmerking toe

    3. Electrohome EAAC475 Display Replacement: stap 8, afbeelding 1 van 2 Electrohome EAAC475 Display Replacement: stap 8, afbeelding 2 van 2
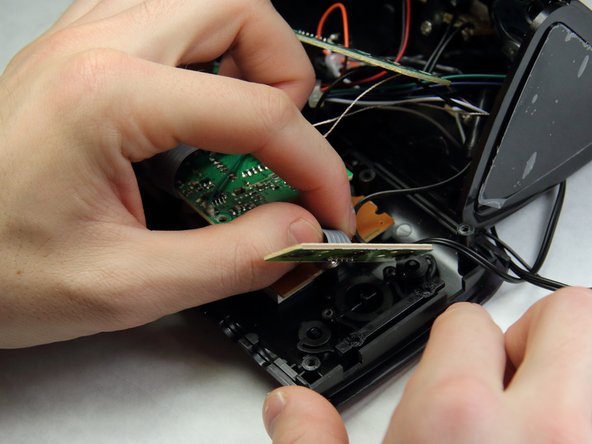
      • Move the now free circuit boards away from the display.

      • Remove the final two 7 mm Phillips screws securing the display.

      • Pull the display screen away from the casing.

      Vraag FixBot

      Voeg opmerking toe

    4. Electrohome EAAC475 Display Replacement: stap 9, afbeelding 1 van 1
      • You have successfully accessed the display.

      • Replacing the display with a new one will be challenging as soldering and connecting micro wires are necessary.

      Vraag FixBot

      Voeg opmerking toe

Conclusie

To reassemble your device, follow these instructions in reverse order.

Annuleren: ik heb deze handleiding niet afgemaakt.

Sohail Khatri

Lid sinds: 02/16/16

201 Reputatie

2 handleidingen geschreven

Team

IUPUI, Team 2-1, Harley Spring 2016 Lid van IUPUI, Team 2-1, Harley Spring 2016

IUPUI-HARLEY-S16S2G1

4 Leden

12 handleidingen geschreven

0Gids Commentaar

Voeg opmerking toe

Weergavestatistieken:

Afgelopen 24 uren: 0

Afgelopen 7 dagen: 13

Afgelopen 30 dagen: 38

Altijd: 1,334