Deze vertaling is door een computer gegenereerd en is nog niet door iemand nagekeken. Spreek je deze taal? Bekijk het hier.
Inleiding
Gebruik deze handleiding om de defecte controller-trigger van je Thrustmaster Eswap X Pro Controller te repareren. Als je controller onjuiste invoer registreert, zoals het blijven registreren van een druk op de knop nadat deze is losgelaten, wordt dit hoogstwaarschijnlijk veroorzaakt door een laag stof op de schakelaar. Met de schakelaar wordt de eindschakelaar bedoeld die elke keer dat de triggerknop wordt ingedrukt, naar beneden wordt geduwd. Een laag stof zorgt voor een valse meting waardoor de knop ingedrukt lijkt te zijn en de schakelaar blijft vuren.
Controleer voordat je deze handleiding gebruikt met de controllersoftware, ThrustmapperX, of je controller valse invoer produceert. Wees er absoluut zeker van dat het probleem bij de triggerschakelaar ligt en niet bij het mechanisme zelf.
Wat je nodig hebt
-
-
-
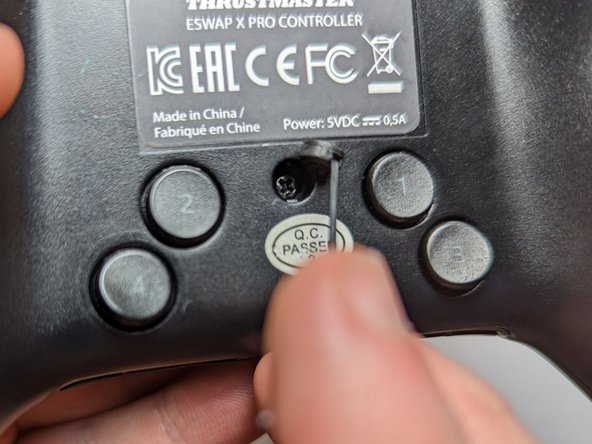
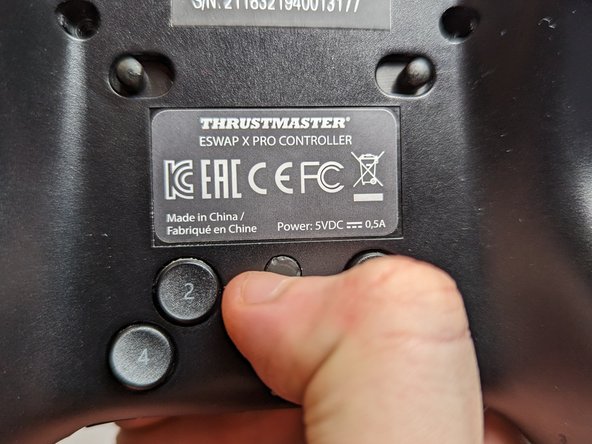
Draai de controller om zodat de achterkant naar boven wijst.
-
Zet beide schakelaars weg van het midden.
 Vraag FixBot
-
-
-
Draai de controller om zodat de bovenkant naar boven wijst.
-
Trek zowel de joystick- als de D-pad-modules eruit.
-
-
-
Draai de controller weer om zodat de achterkant naar boven gericht is.
-
Gebruik een spudger om de vijf rubberen schroefafdekkingen te verwijderen.
-
-
-
Gebruik een kruiskopschroevendraaier (Phillips #1) om elk van de 4,0 mm blootliggende schroeven te verwijderen.
-
-
-
-
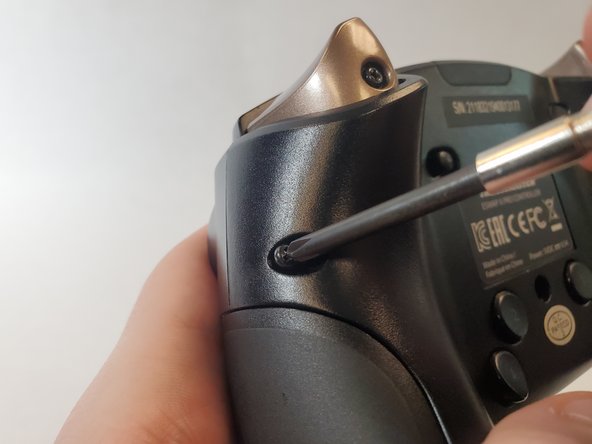
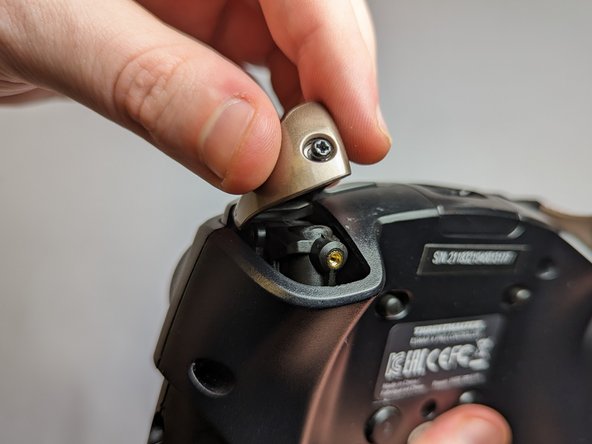
Gebruik een Phillips-kruiskopschroevendraaier om de borgschroef los te draaien en de trekkerknop te verwijderen.
-
-
-
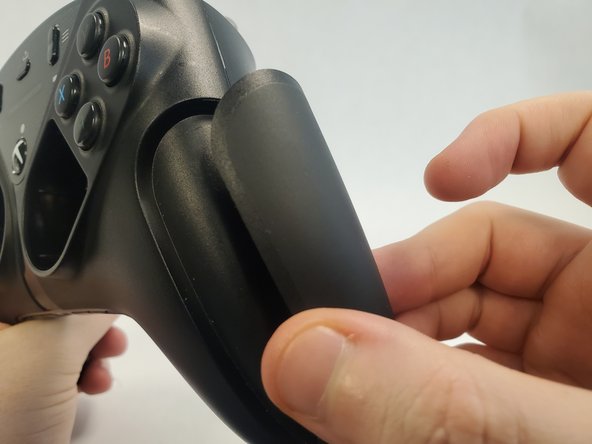
Til de achterbehuizing iets op vanaf de plek waar je de triggerknop hebt verwijderd.
-
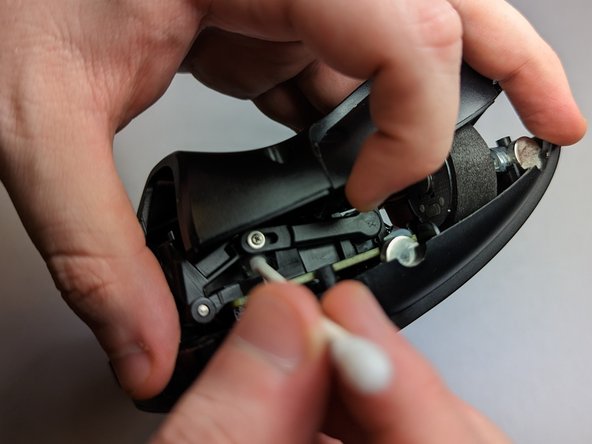
Gebruik een wattenstaafje gedoopt in isopropylalcohol om de omgeving schoon te maken.
-
Veeg daarnaast de bovenkant van de trigger schoon met een wattenstaafje.
-
-
-
Bevestig de triggerknop opnieuw op de controller.
-
Gebruik een Phillips #1 kruiskopschroevendraaier om de schroef vast te draaien waarmee de triggerknop vastzit.
-
-
-
Gebruik een Phillips #1 kruiskopschroevendraaier om de 4,0 mm schroeven weer aan de achterkant van de controller te bevestigen.
-
-










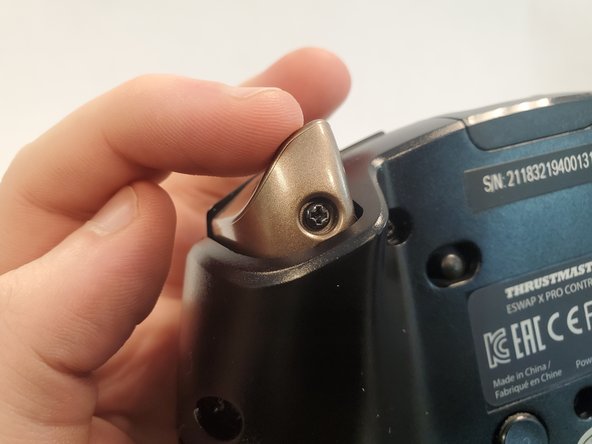
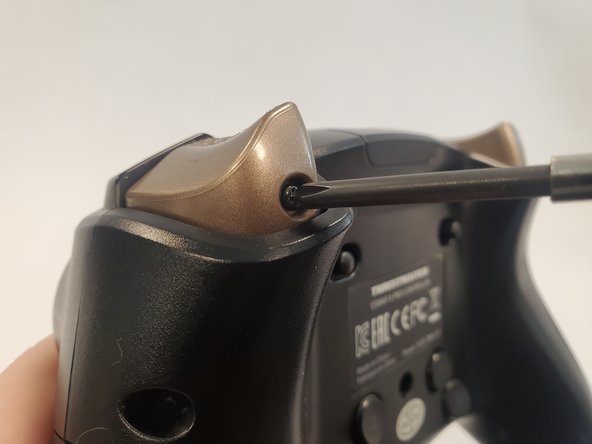


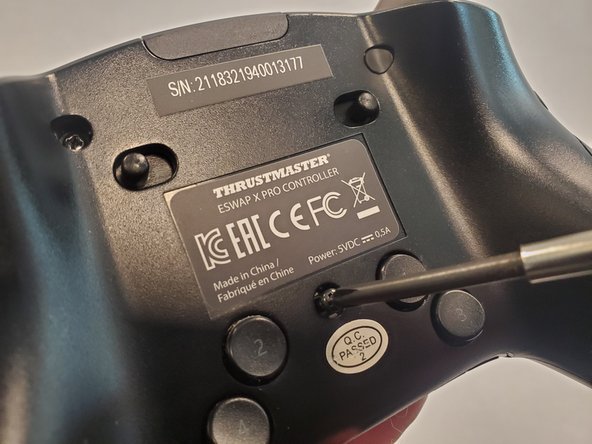


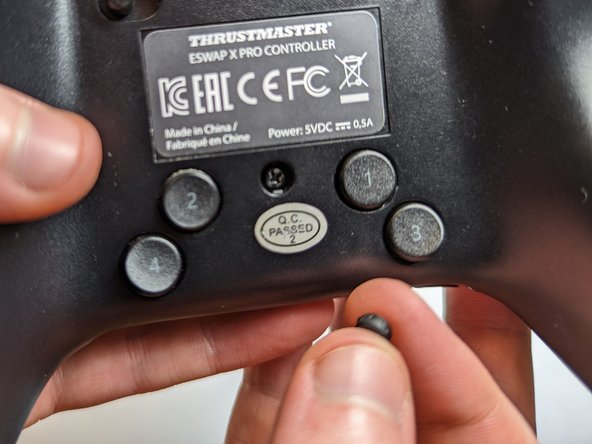





Volg deze instructies in omgekeerde volgorde om je apparaat weer in elkaar te zetten.
Annuleren: ik heb deze handleiding niet afgemaakt.
4 andere personen hebben deze handleiding voltooid.

Team

UC Davis, Team 2-3, Morris Winter 2023 Lid van UC Davis, Team 2-3, Morris Winter 2023
UCD-MORRIS-W23S2G3
2 Leden
12 handleidingen geschreven
4Gids Commentaar
The problem is it keeps happening after doing all these steps. is there any way or parts to replace the trigger sensor completely? Possibly with a nice hall effect sensor?
You can remove the lever bar that goes from the screw to the sensor (the one you see on Step 7)
Spray a small amount of WD40 on the sensor and use a prong to rotate the part on its full range of motion several times, that will clean up the contact inside and it completely fixed the jitter on mine.
hi, i made an account here just to say this worked for me but on the thrustmaster eswap S pro controller, it's almost identical aside from the cover panels
so to repair mine, I did a couple additional things :
- step 3 & 4 : I unscrewed all 7 screws (careful though some stuff can tumble it seems)
- on the image of step 7b you can see a small screw above the Q-tip, I unscrewed this ( Phillips #0 )
- removed the lever
- carefully pushed the trigger mechanism to the side to "fully open it"
- at this point I had full access to the sensor & to the spring on the rotating part of the trigger
- cleaned both
- reassembled everything ( be gentle with the screwing of the Phillips #0 screw )
DONE.
Thanks for the guide.
