Inleiding
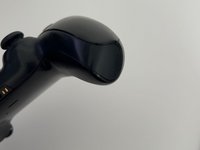
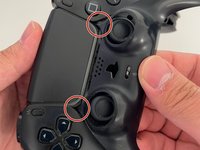
Is your controller aiming moving on its own? Did your character start to run in other directions when you tries to run straight? You may be having analog stick drift on your PS5 controller.
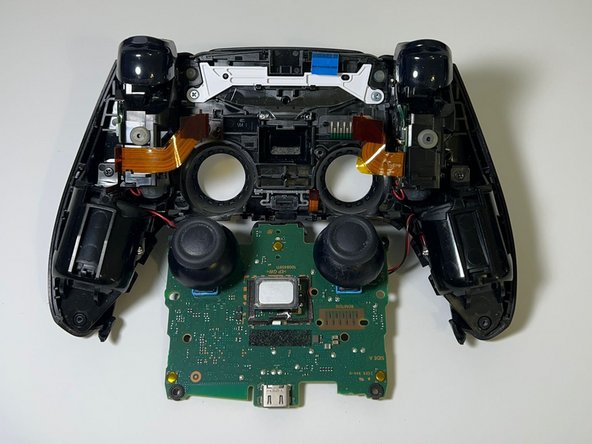
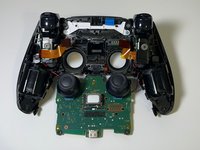
This guide details how to repair the stick drift issue in a DualSense PlayStation 5 controller.
Like all controllers, PS5 controller drifting issues are caused by physical damage, simple wear, tear due to regular use, and gunk or grease (Yes, your sweaty hands), This guide details how to fix the PlayStation 5 DualSense Controller V2 stick drift. This guide only applies to controllers with gunk or grease that causes stick drift.
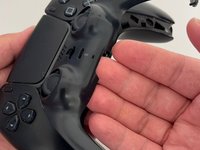
Yes, opening up a controller sounds like a drag, and it is much easier when you get a new one. However, repairing your controller not only saves you $70+ bucks but also reduces E-waste. Besides you don't need lots of knowledge to fix stick drift, my guide provided a step-by-step repair. Just follow my guide and your favorite controller can last a couple more years.
Wat je nodig hebt
-
-
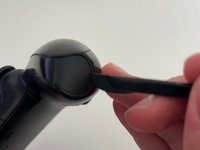
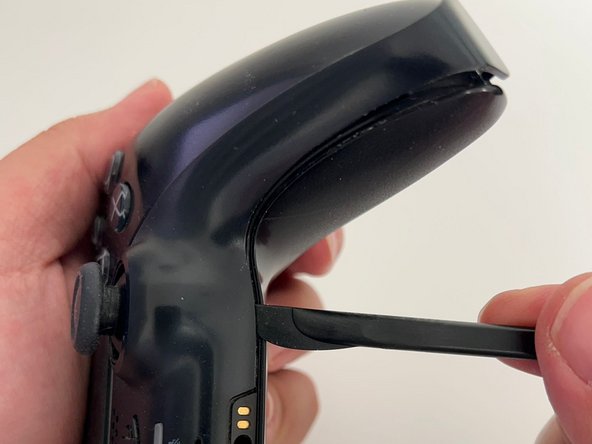
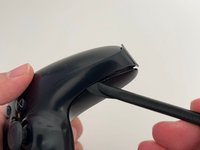
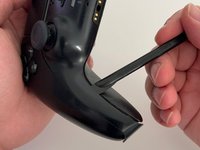
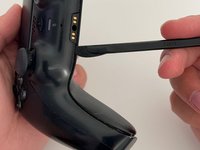
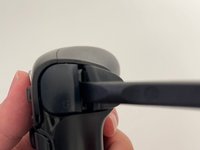
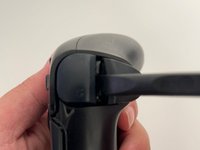
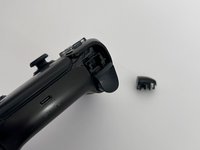
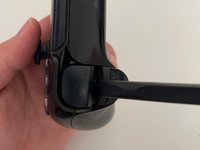
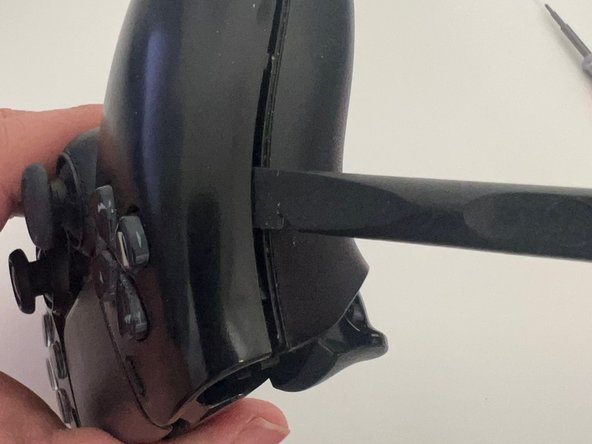
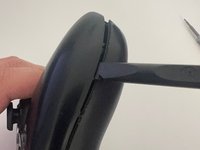
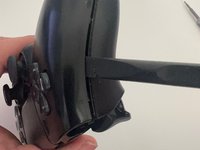
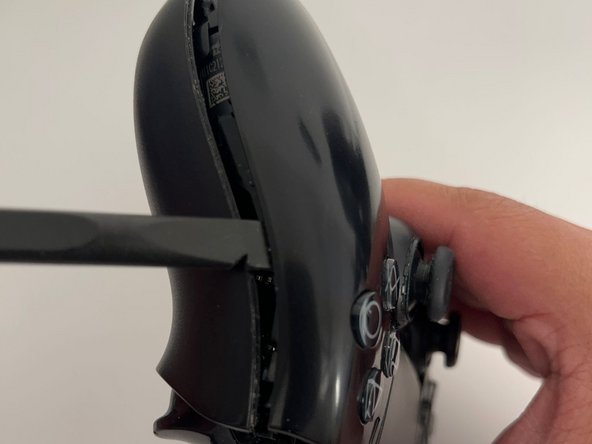
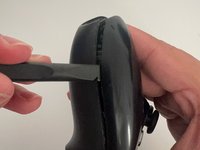
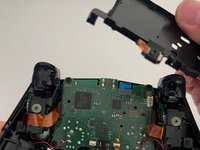
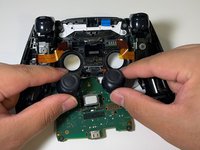
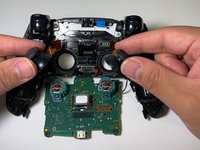
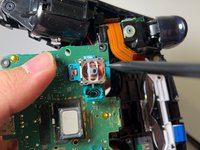
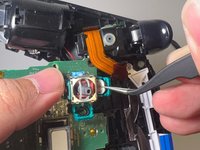
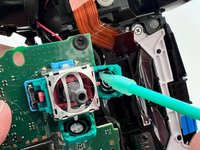
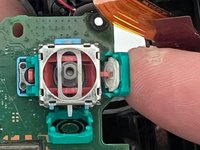
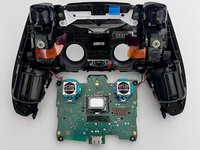
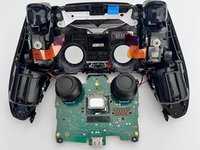
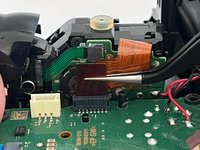
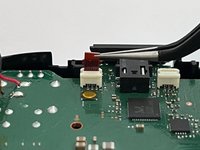
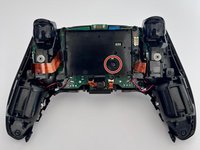
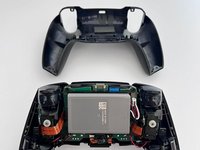
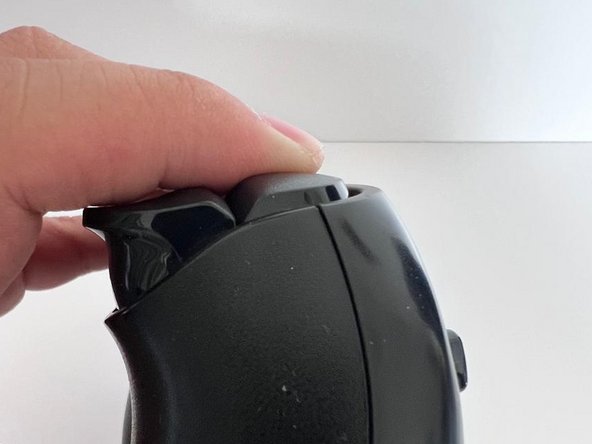
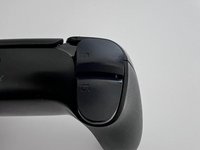
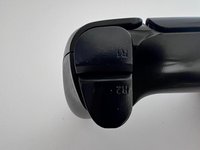
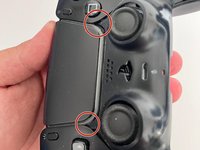
Slide the spudger along the edge to release the clips that secure the rear case.
The last clip near the top os very stiff the first time you complete this. Took me over 20 minutes of adjusting and prying to finally remove both sides. I then had trouble removing it because the two clips near the jack in Step 11 had reengaged with all the wiggling about I did.
-
-
-
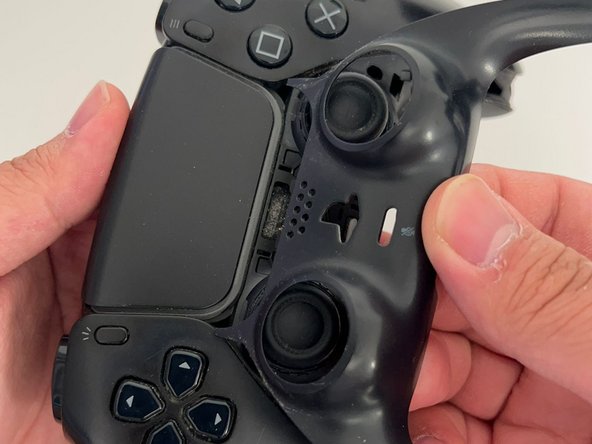
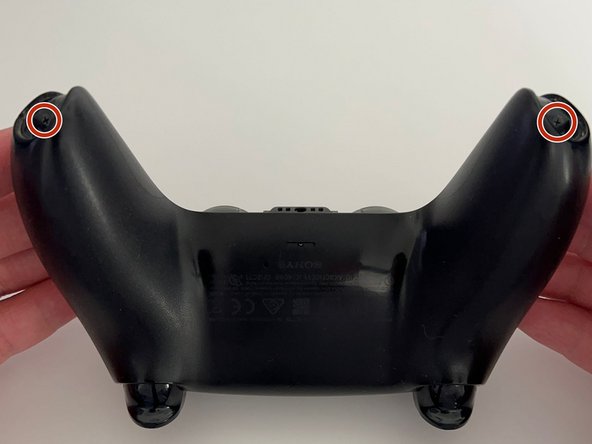
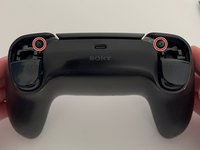
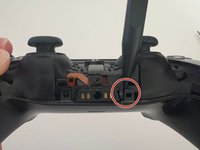
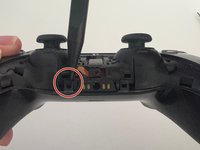
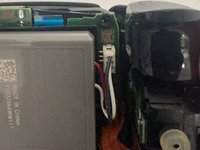
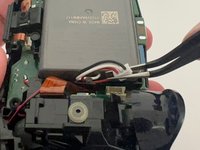
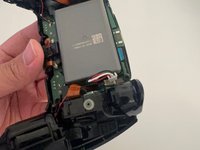
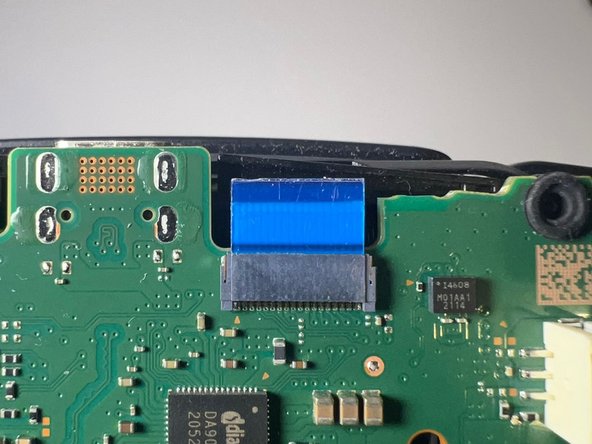
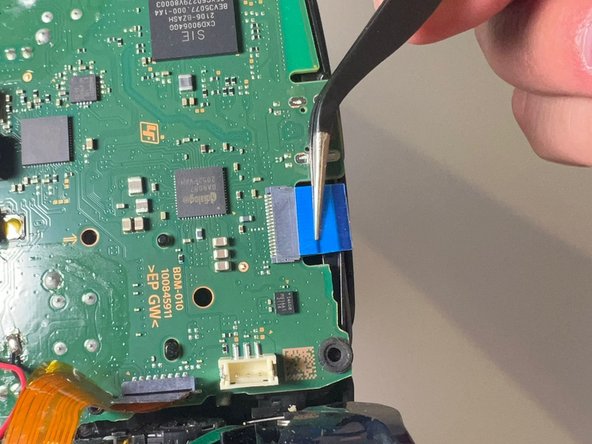
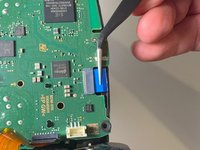
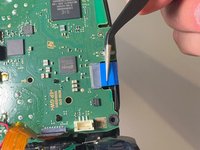
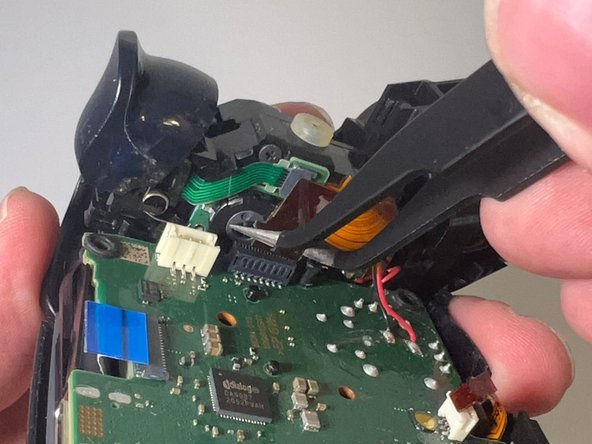
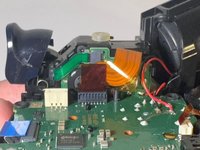
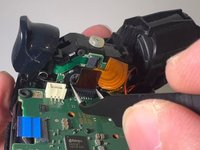
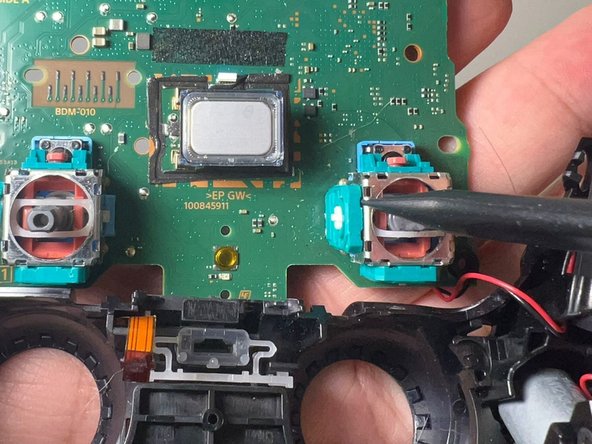
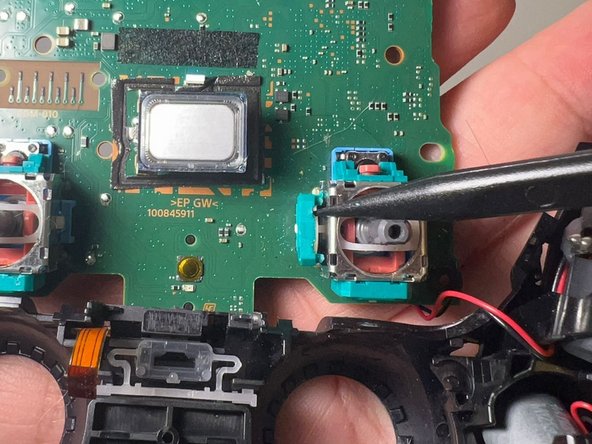
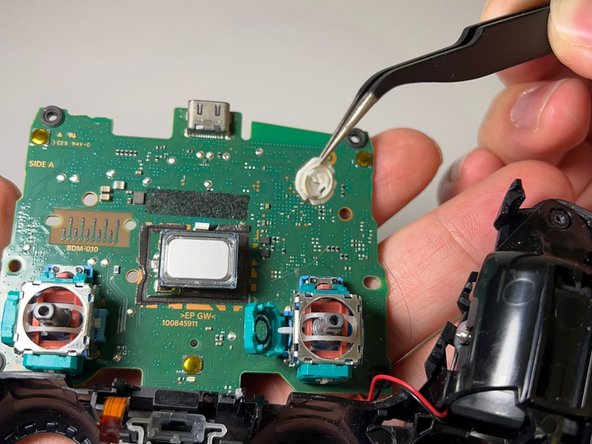
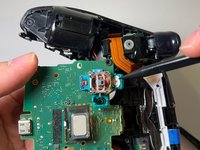
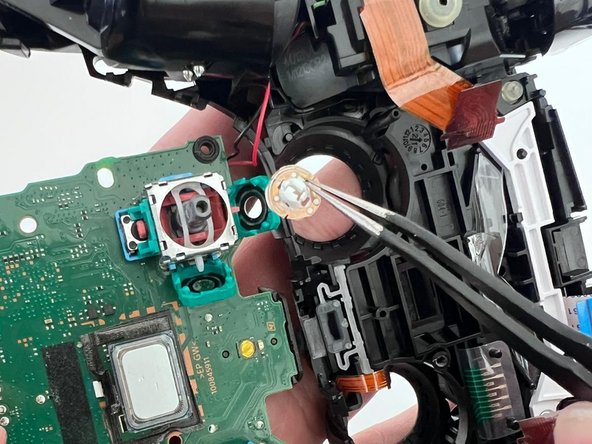
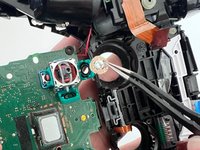
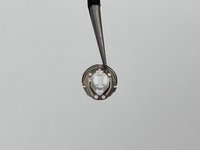
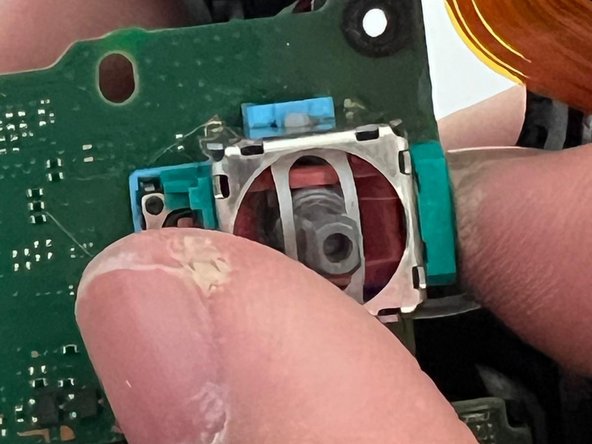
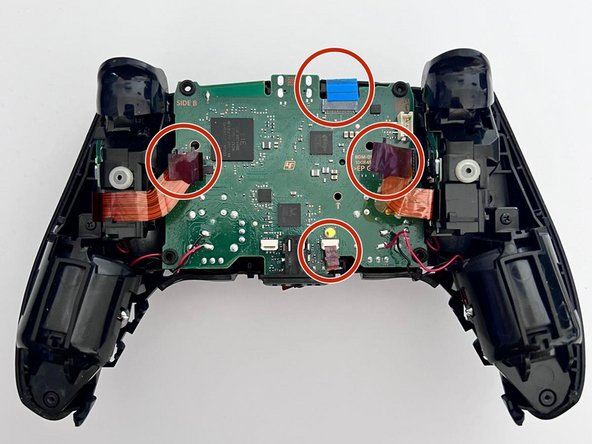
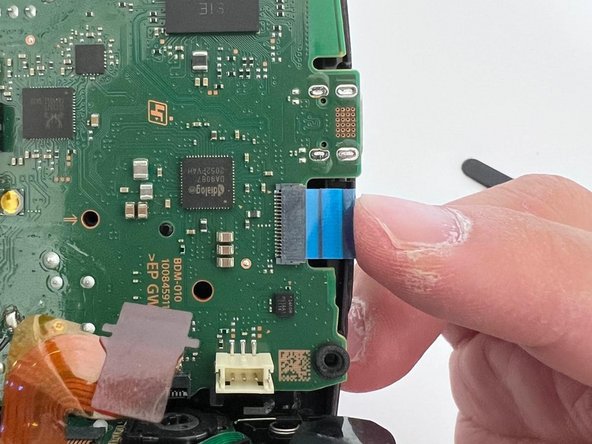
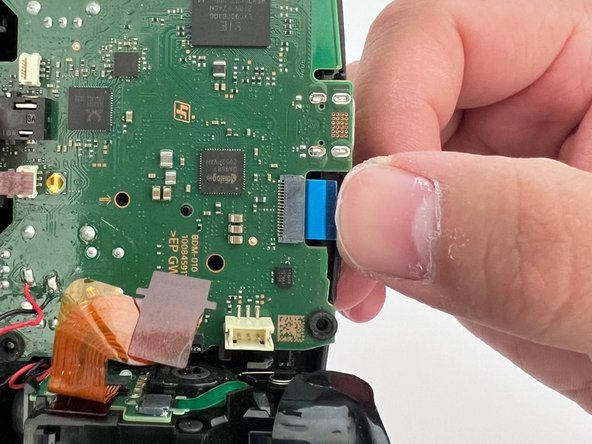
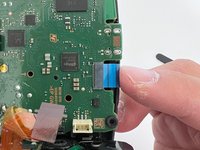
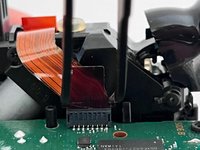
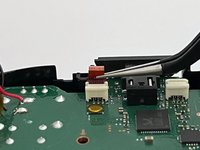
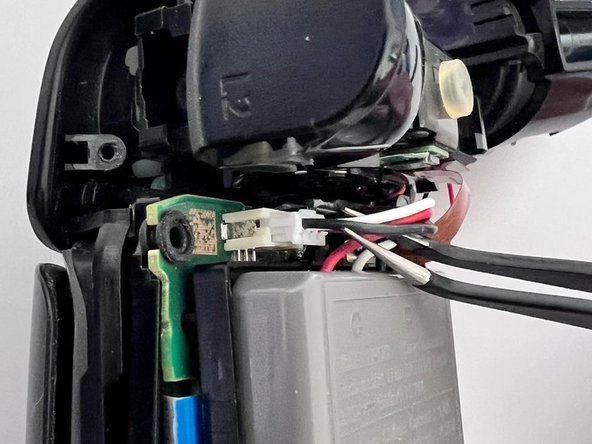
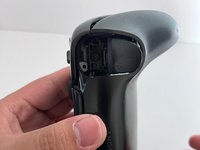
Use tweezers or your fingers to disconnect the battery from the motherboard.
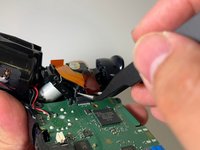
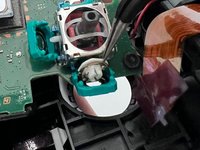
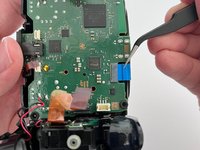
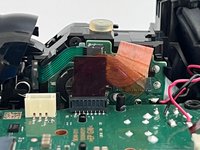
A levering or prying action works well here. Just pulling up means you can slide upwards and damage the wires.
-
-


If you are still having problems after following all the steps in this guide, your controller probably has another issue.
Please check out other iFixit repair guides, such as replacing the entire Joystick.
Hope you find this guide helpful and may your controllers last forever!
If you are still having problems after following all the steps in this guide, your controller probably has another issue.
Please check out other iFixit repair guides, such as replacing the entire Joystick.
Hope you find this guide helpful and may your controllers last forever!
Annuleren: ik heb deze handleiding niet afgemaakt.
12 andere personen hebben deze handleiding voltooid.
Team

7 opmerkingen
Great pictures, great descriptions, and a finish that wasn’t just “do everything in reverse.” Can’t ask for anything more.
Had everything on hand except a steady hand lol. After much persistence and muttered oaths I succeeded. Ifixit is the goat. Ps small intricate parts required small intricate hands hence the oaths and persistence.
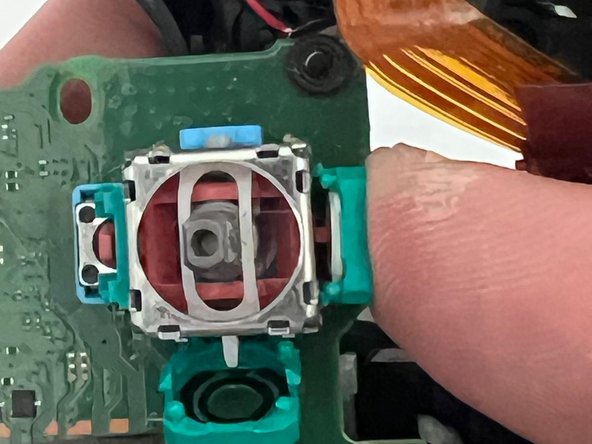
Ok the guide is good and the process works well. However I ran into a new problem following this - my right stick cannot register as being fully pushed to the left or right. In games where this controls the camera, the camera is a little slower as a result of this. Specifically in Fallout 76, in VATS you use the right stick at it's FULL left or right in order to switch between targeted areas - I can now not do that. Of course, plugging in another controller that is known to work and these issues go away. Using software to correct the sensitivity of the left and right axis of this stick corrects the speed at which the camera pan behaves, however it does not work to allow the VATS targetting.
Can anyone weigh in on what I should be looking at around the joystick potentiometer slots that could cause this? Could perhaps a very fine hair cause this issue or is it indicative of something more serious that may not be fixable by the average user?
Would the iFixit Precision Cleaning Kit work for this job?