Deze vertaling is door een computer gegenereerd en is nog niet door iemand nagekeken. Spreek je deze taal? Bekijk het hier.
Inleiding
Deze handleiding laat zien hoe je een defect anker in de Dremel MultiPro 395 vervangt.
Wat je nodig hebt
-
-
Gereedschap gebruikt in deze stap:Flathead 3/32" or 2.5 mm Screwdriver$5.49
-
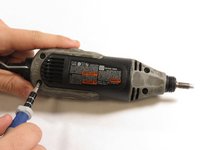
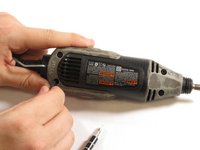
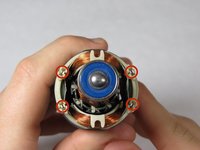
Verwijder de blauwe doppen aan weerszijden van de MultiPro met behulp van een 3 mm platte schroevendraaier.
 Vraag FixBot
-
-
-
Verwijder voorzichtig de koolborstels die aan het uiteinde van de veren zitten door voorzichtig met uw handen aan de veren te trekken.
-
-
-
Trek één kant van de hanger omhoog en trek deze vervolgens van de Multipro af totdat de andere kant eruit kan worden getrokken.
-
-
-
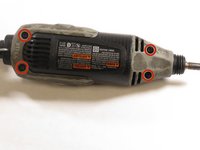
Verwijder de 4 schroeven aan de onderkant van de Multipro met een T15-schroevendraaier.
-
-
-
-
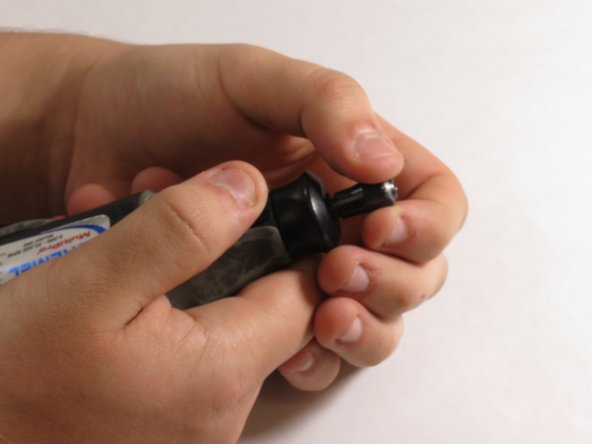
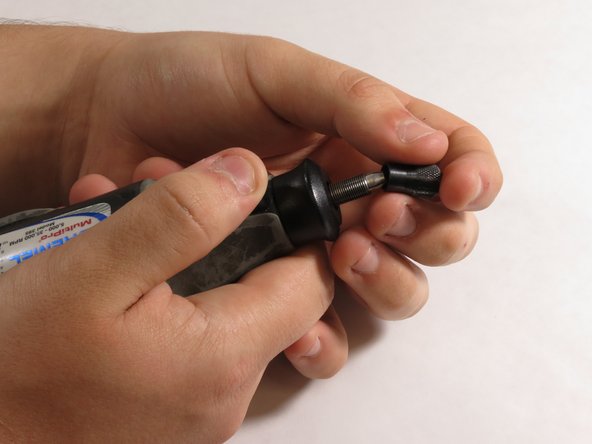
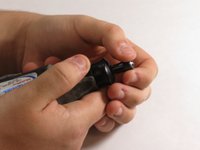
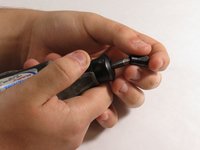
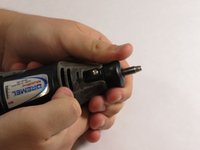
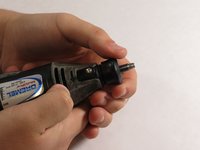
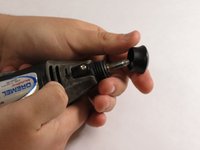
Houd de spantangvergrendeling ingedrukt en verwijder de boorhouderdop van de bovenkant van de Multipro door deze tegen de klok in los te schroeven.
-
-
-
Verwijder de zwarte behuizingskap van de Multipro die zich direct onder de boorkopkap bevindt.
-
-
-
Trek de onderkant van de behuizing omhoog om deze te verwijderen.
-
-
-
Verwijder de rubberen ring van de onderkant van het anker.
-
-
-
Trek de aan/uit-schakelaar van het 120V-veld en let daarbij goed op de contactpunten op de aan/uit-schakelaar.
-
Zorg er bij de hermontage voor dat de contactpunten de (kabel)aansluitingen op de onderkant van het 120V-veld raken.
-
-
-
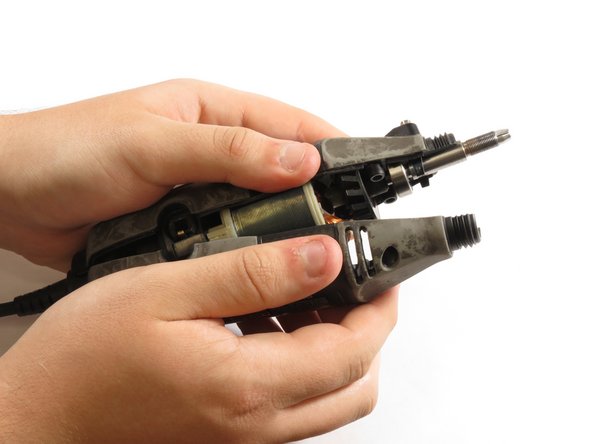
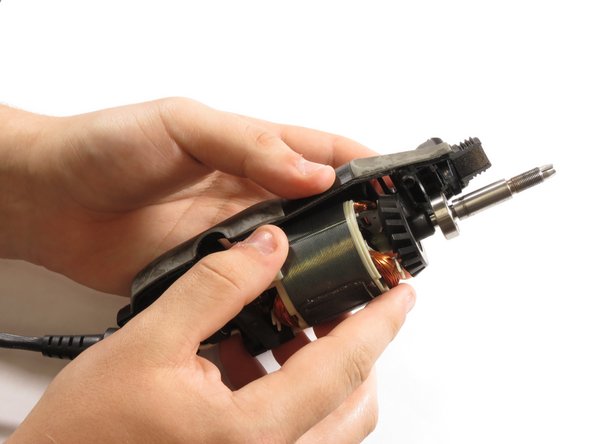
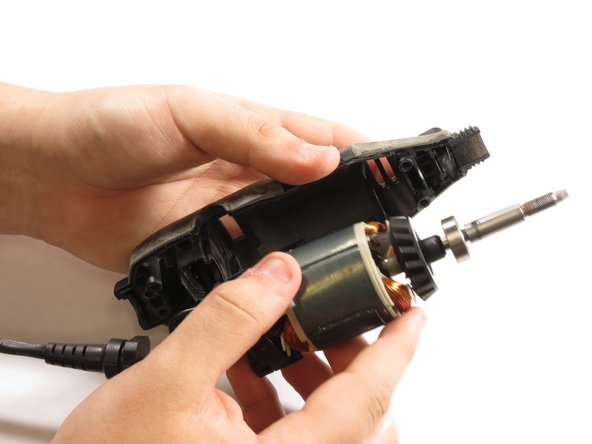
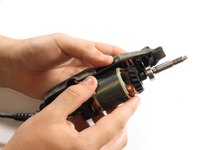
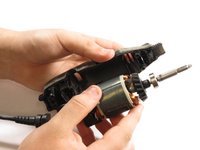
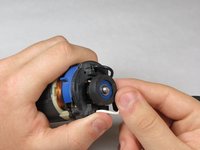
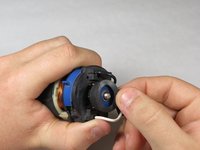
Schuif het nieuwe anker voorzichtig terug in het 120V-veld.
-
-


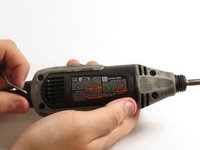
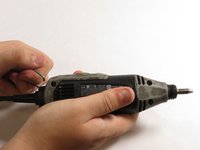










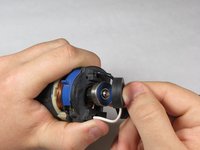

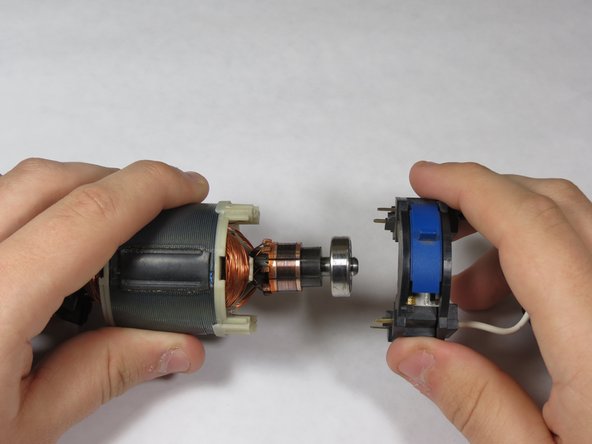

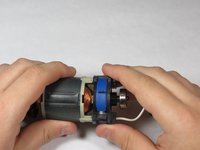
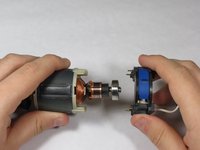

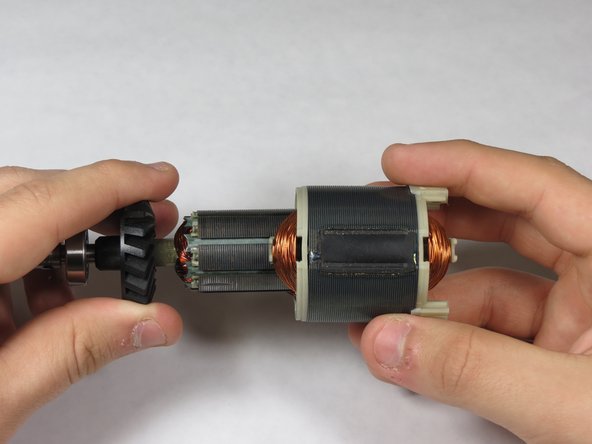
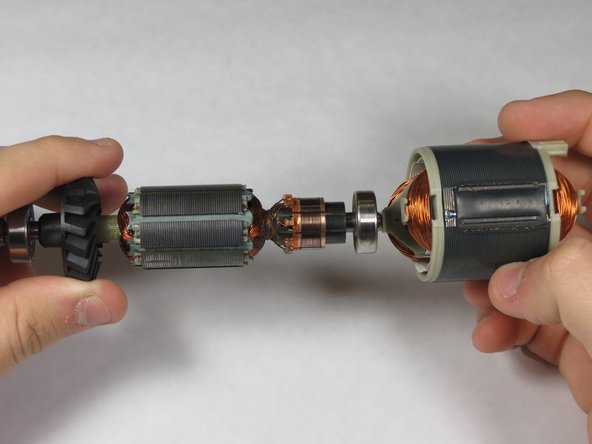
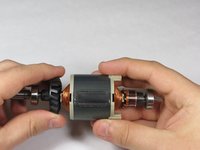
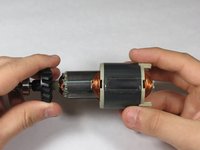
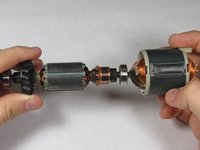

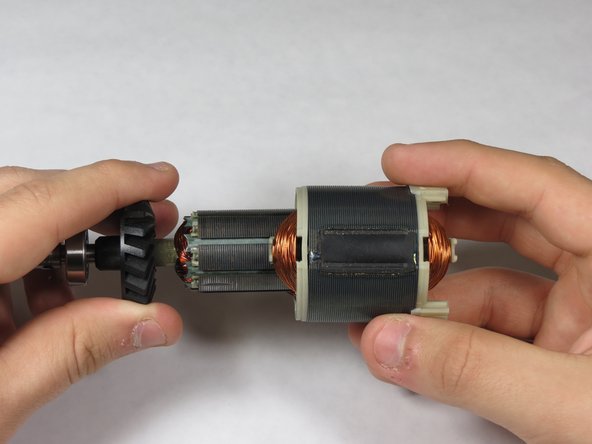
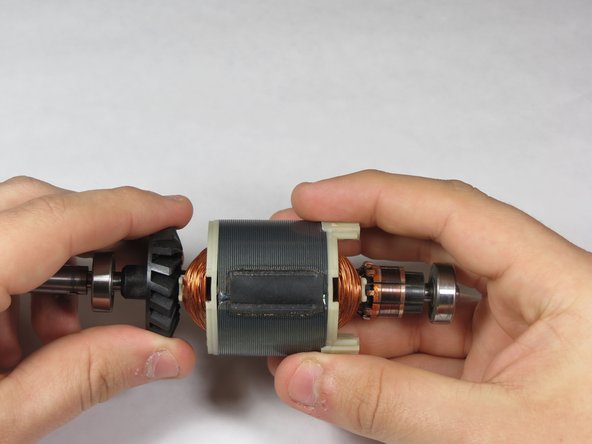
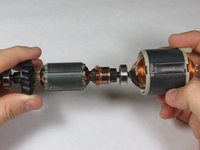
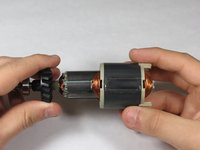
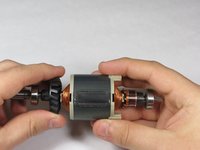
Volg deze instructies in omgekeerde volgorde om je apparaat weer in elkaar te zetten.
Annuleren: ik heb deze handleiding niet afgemaakt.
6 andere personen hebben deze handleiding voltooid.

Team

University of Kentucky Louisville, Team 1-5, Mathis Fall 2014 Lid van University of Kentucky Louisville, Team 1-5, Mathis Fall 2014
LOUISVILLE-MATHIS-F14S1G5
5 Leden
48 handleidingen geschreven
7Gids Commentaar
This part does not seem to be my problem the only thing I have left on the shaft is the copper coil the fan and whatever the part above the fan it spins freely around and it seems to be set on a device that allows it to tilt. I am struggling with this, please point me in the right direction of the removal of the copper core coil.... There has got to be an easier way to remove this.
You dont remove the armature coil, you replace the entire rotating armature assembly...why are you trying to take the coil off?!?
The article does not mention why an armature needs to be replaced. So why is it necessary to replace an armature? If there is no obviously visible problem, what could be wrong with it?
Failed front bearing. I have a 398 and the front bearing gets bathed in whatever youre cutting ... Like drywall dust, plaster, stone dust. And you cant just pull the collet mount off and replace the bearing, so you have to replace the whole armature (great design, dremel!). The good news is youll have fresh bearings and commutator (which should help the brush whine some). Youll also have a spare armature to carefully cut the collet shaft off of (hopefully in a way you can remount it...remember to rebalance the armature afterwards), then use a gear puller to take the front bearing off, and replace it with a better, more shielded one. Then youll have a replacement armature for when the first replacement front bearing jams up!
There could also be a broken fan, bent shaft, an electrical issue inside the windings...lots of reasons to need to replace the armature. Its just stupid you cant take the freaking front bearing off and have to replace the whole %#*@ assembly....
very good article, congratulations for the content
<a href="https://comodemorarpragozar.com/"> comodemorarpragozar </a>
