Ga door naar hoofdinhoud
Word lid van de reparatiegemeenschap - Account aanmaken

Disassembling IBM ThinkPad A30 Upper Case

Wat je nodig hebt

  1. Disassembling IBM ThinkPad A30 Upper Case, Battery: stap 1, afbeelding 1 van 2 Disassembling IBM ThinkPad A30 Upper Case, Battery: stap 1, afbeelding 2 van 2
    • Flip the ThinkPad over so that it is upside down.

    • Slide the highlighted tab to the left.

    • With your finger on the tab, remove the battery by lifting it upwards away from the laptop.

    Vraag FixBot
  2. Disassembling IBM ThinkPad A30 Upper Case, Hard Drive: stap 2, afbeelding 1 van 3 Disassembling IBM ThinkPad A30 Upper Case, Hard Drive: stap 2, afbeelding 2 van 3 Disassembling IBM ThinkPad A30 Upper Case, Hard Drive: stap 2, afbeelding 3 van 3
    • Remove the highlighted screw with a Phillips #1 screwdriver.

    • Pull the hard drive out.

    Vraag FixBot
  3. Disassembling IBM ThinkPad A30 Upper Case, Upper Case: stap 3, afbeelding 1 van 1
    • Make sure the laptop is upside down and oriented in the direction shown.

    • Remove the six 16.7mm screws inside the circled holes.

    Vraag FixBot
  4. Disassembling IBM ThinkPad A30 Upper Case: stap 4, afbeelding 1 van 1
    • Rotate the ThinkPad so that the hard drive bay is facing you.

    • Remove the black cover to reveal a 14.8mm screw.

    • Remove the uncovered screw with a Phillips #0 screwdriver.

    Vraag FixBot
  5. Disassembling IBM ThinkPad A30 Upper Case: stap 5, afbeelding 1 van 2 Disassembling IBM ThinkPad A30 Upper Case: stap 5, afbeelding 2 van 2
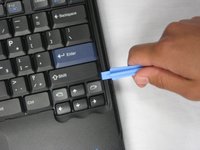
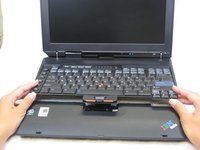
    • Flip the ThinkPad over and open the LCD panel.

    • Pry apart the keyboard with a plastic opening tool or with your fingers.

    Vraag FixBot
  6. Disassembling IBM ThinkPad A30 Upper Case: stap 6, afbeelding 1 van 3 Disassembling IBM ThinkPad A30 Upper Case: stap 6, afbeelding 2 van 3 Disassembling IBM ThinkPad A30 Upper Case: stap 6, afbeelding 3 van 3
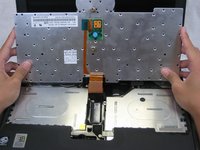
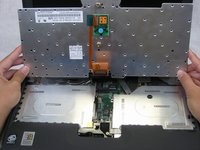
    • Be careful not to pull out the keyboard carelessly; there is a connector underneath it!

    • Lift the front end of the keyboard as shown.

    • Using your fingers, remove the black film cover.

    Vraag FixBot
  7. Disassembling IBM ThinkPad A30 Upper Case: stap 7, afbeelding 1 van 3 Disassembling IBM ThinkPad A30 Upper Case: stap 7, afbeelding 2 van 3 Disassembling IBM ThinkPad A30 Upper Case: stap 7, afbeelding 3 van 3
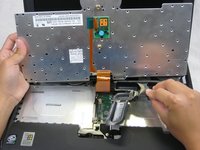
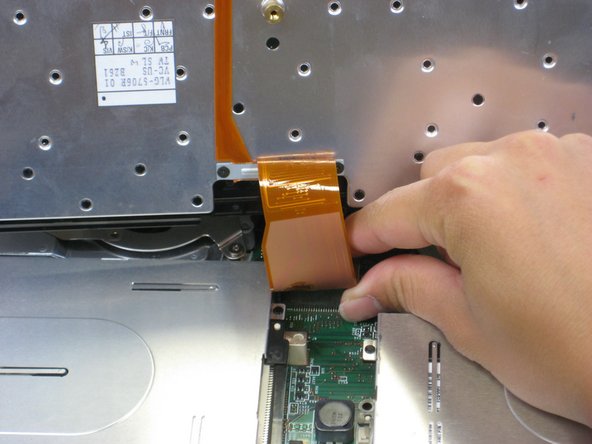
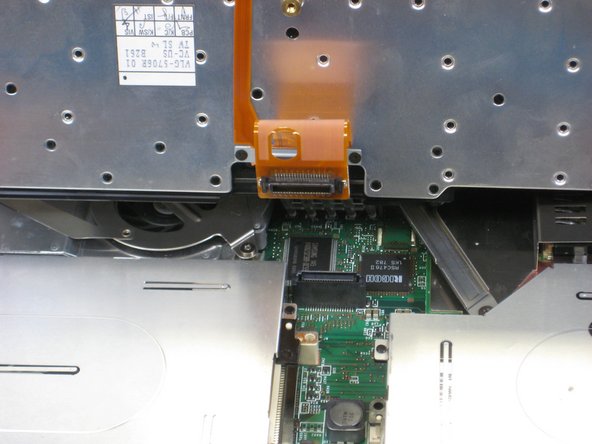
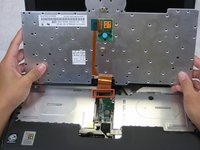
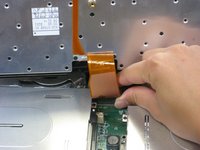
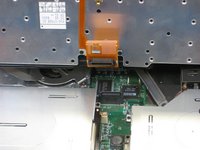
    • Locate the connector attached to the motherboard.

    • Disconnect the ribbon cable by removing the connector.

    Vraag FixBot
  8. Disassembling IBM ThinkPad A30 Upper Case: stap 8, afbeelding 1 van 2 Disassembling IBM ThinkPad A30 Upper Case: stap 8, afbeelding 2 van 2
    • Lift and remove the keyboard.

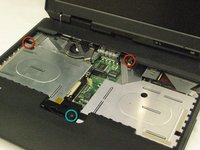
    • Remove the two 5.6mm screws.

    • Remove the 16.7mm screw.

    Vraag FixBot
  9. Disassembling IBM ThinkPad A30 Upper Case: stap 9, afbeelding 1 van 3 Disassembling IBM ThinkPad A30 Upper Case: stap 9, afbeelding 2 van 3 Disassembling IBM ThinkPad A30 Upper Case: stap 9, afbeelding 3 van 3
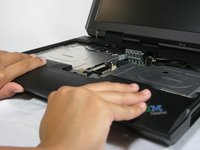
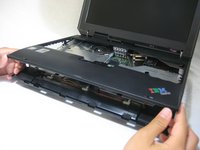
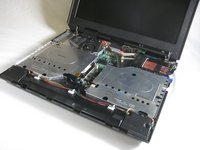
    • You will need to use a little force. Be wary of the tabs.

    • Pry off the upper case with your hands.

    Vraag FixBot
Conclusie

To reassemble your device, follow these instructions in reverse order.

Één andere persoon heeft deze handleiding voltooid.

Alan

Lid sinds: 10/07/10

380 Reputatie

6 handleidingen geschreven

Team

Cal Poly, Team 4-44, Amido Fall 2010 Lid van Cal Poly, Team 4-44, Amido Fall 2010

CPSU-AMIDO-F10S4G44

4 Leden

26 handleidingen geschreven

0Gids Commentaar

Voeg opmerking toe

Weergavestatistieken:

Afgelopen 24 uren: 2

Afgelopen 7 dagen: 16

Afgelopen 30 dagen: 89

Altijd: 2,559