Wat je nodig hebt
-
-
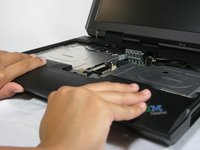
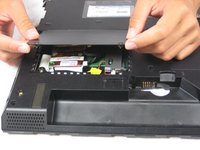
Slide the highlighted tab to the left.
-
With your finger on the tab, remove the battery by lifting it upwards away from the laptop.
 Vraag FixBot
-
-
-
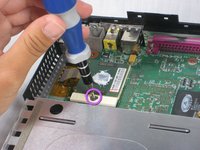
Remove the highlighted screw with a Phillips #1 screwdriver.
-
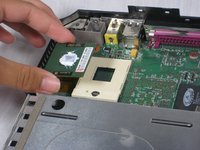
Pull the hard drive out.
-
-
-
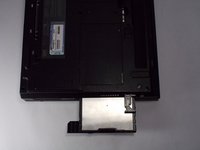
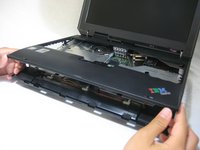
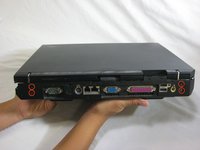
Hold the laptop in the same orientation as the picture. Then, locate the switch immediately above and to the left of the drive.
-
Slide the switch to the right. A black plastic tab will pop out.
-
Pull the plastic tab to expose the CD drive.
-
If there is a problem with your tab, whether it doesn't pop out or it doesn't expose the CD drive, please check the corresponding entry in the troubleshooting page.
-
-
-
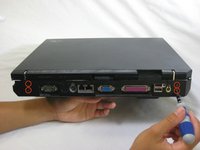
There is a switch located just above and to the right of the drive.
-
Slide the switch to the right. A small, black tab will pop out.
-
-
-
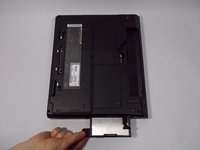
Pull the small black tab away from the computer to access the drive.
-
Gently pull the drive out from the laptop.
-
If there is a problem with your tab, whether it doesn't pop out or it doesn't expose the floppy drive, please check the corresponding entry in the troubleshooting page.
-
-
-
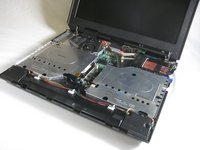
Rotate the ThinkPad so that the hard drive bay is facing you.
-
Remove the black cover to reveal a 14.8mm screw.
-
Remove the uncovered screw with a Phillips #0 screwdriver.
-
-
-
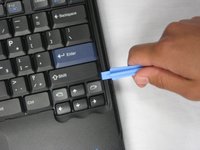
Pry apart the keyboard with a plastic opening tool or with your fingers.
-
-
-
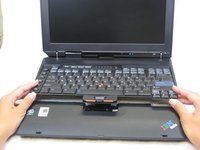
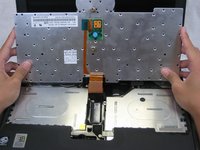
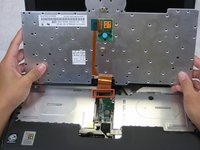
Lift the front end of the keyboard as shown.
-
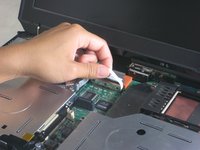
Using your fingers, remove the black film cover.
-
-
-
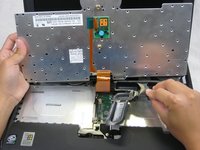
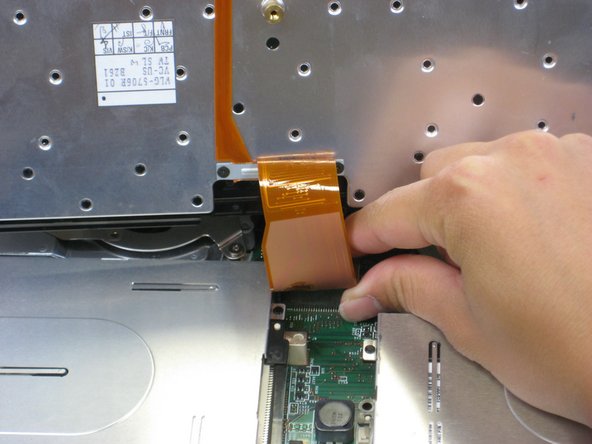
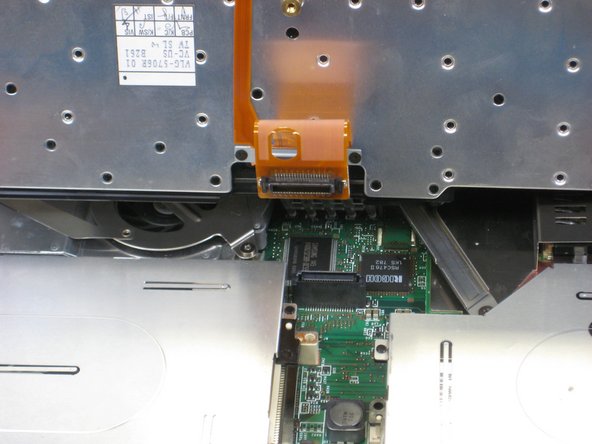
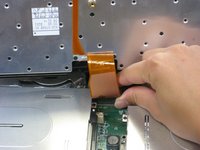
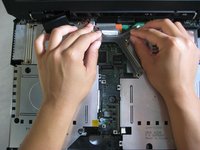
Locate the connector attached to the motherboard.
-
Disconnect the ribbon cable by removing the connector.
-
-
-
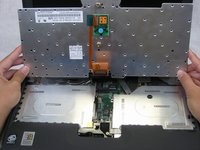
Lift and remove the keyboard.
-
Remove the two 5.6mm screws.
-
Remove the 16.7mm screw.
-
-
-
-
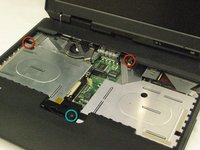
Remove the 5.6mm screw that holds the LCD to the upper case.
-
-
-
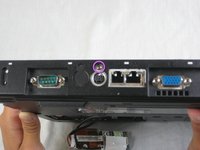
Remove the 5.6mm screw on the left side of the three-pronged connector.
-
Remove the other two 16.7mm screws.
-
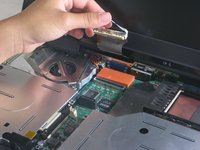
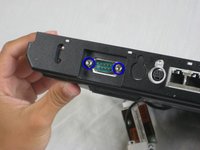
Lift and remove connector.
-
-
-
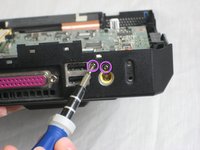
Turn the laptop so that the back is facing you.
-
Remove the four 5.6mm long screws.
-
-
-
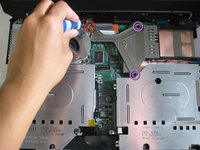
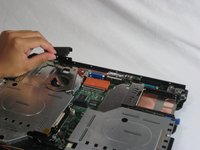
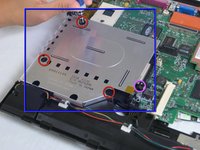
Remove the following screws from the fan retention bracket:
-
Single 5.6 mm screw.
-
Three 16.1 mm screws.
-
-
-
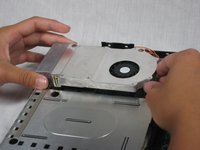
Lift the fan/heatsink assembly up.
-
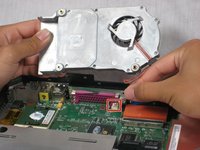
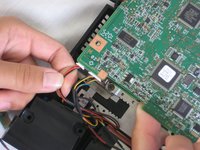
Locate the fan power cable and pull upwards near the connector.
-
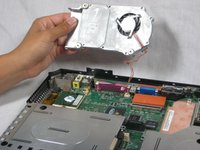
Remove the fan/heatsink assembly.
-
-
-
Use a flathead to turn the screw 180 degrees.
-
Remove the CPU by lifting it upwards.
-
-
-
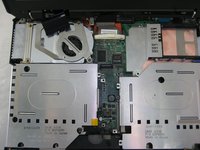
Locate the floppy drive bay.
-
Remove the four 5.6mm screws.
-
Remove the 16mm screw.
-
-
-
Turn the laptop over so that the battery is towards you.
-
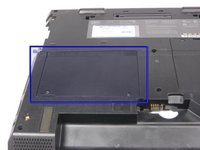
Locate the modem and ethernet card bay.
-
Remove the two 5.3mm cover screws.
-
Gently lift the cover.
-
-
-
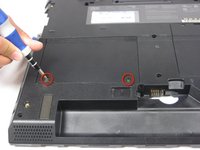
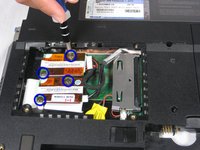
Remove the four 9.1mm screws attached to the modem and ethernet cards.
-
Gently lift the modem and ethernet cards.
-
-
-
Locate the hard drive slot.
-
Remove the 8.8mm screw with a Phillips #0 screwdriver.
-
-
-
Turn the laptop over again and orient it as shown.
-
Lift the left side of the floppy disk bay and and pull it out.
-
-
-
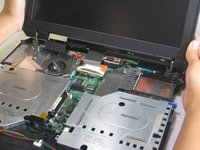
Locate the CD Drive Bay
-
Remove the three 5.6mm screws.
-
Remove the 16mm screw.
-
Lift the right side and pull the CD drive bay out.
-
-
-
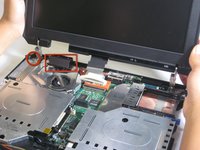
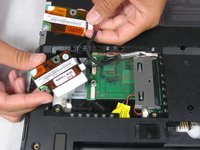
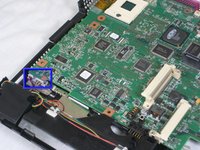
Once the CD drive bay is removed, locate the speaker data and power cables.
-
Remove the cables from the motherboard.
-
-
-
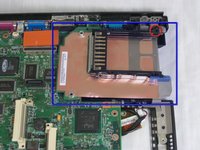
Locate the expansion bay.
-
Remove the 16mm screw.
-
Lift and remove the expansion bay.
-
-
-
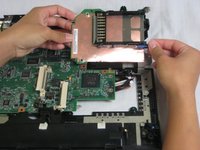
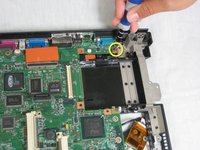
Rotate the laptop to its original position.
-
Remove the 5.6mm screw located on the upper right corner of the motherboard.
-
-
-
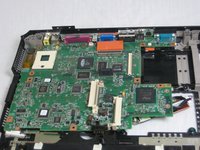
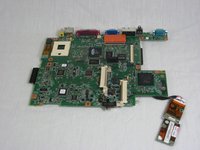
Pull out the motherboard towards you carefully.
-
Place the motherboard somewhere dry and clean.
-


To reassemble your device, follow these instructions in reverse order.
Annuleren: ik heb deze handleiding niet afgemaakt.
3 andere personen hebben deze handleiding voltooid.

Team

Cal Poly, Team 4-44, Amido Fall 2010 Lid van Cal Poly, Team 4-44, Amido Fall 2010
CPSU-AMIDO-F10S4G44
4 Leden
26 handleidingen geschreven