Deze vertaling is door een computer gegenereerd en is nog niet door iemand nagekeken. Spreek je deze taal? Bekijk het hier.
Inleiding
Deze handleiding laat zien hoe je de ventilator van je Dell B130 vervangt. De ventilator houdt de interne onderdelen van de laptop koel, zodat deze efficiënt blijft werken. Enkele problemen die ontstaan wanneer deze niet naar behoren functioneert, zijn het plotseling uitschakelen van de computer of het erg traag werken van de laptop.
Wat je nodig hebt
-
-
-
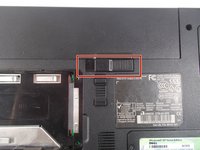
Verwijder de accu door de twee schakelaars onder de accu om te zetten en deze eruit te trekken
 Vraag FixBot
-
-
-
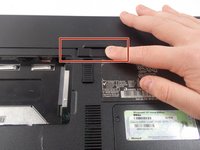
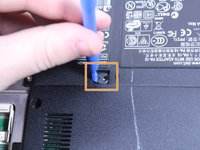
Duw het lipje op de accu naar beneden om de accu te ontgrendelen.
-
Het lipje moet zich in de positie naast het ontgrendelingsicoon bevinden.
-
-
-
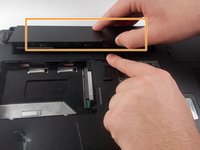
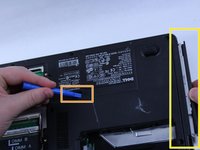
Duw nu het andere lipje (het lipje direct onder de accu) van rechts naar links.
-
De accu is nu los; til de accu op en haal hem uit de computer.
-
-
-
-
-
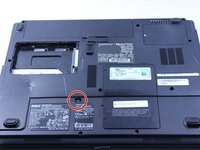
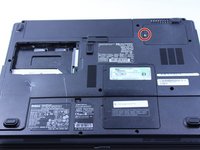
Verwijder de 8mm schroef.
-
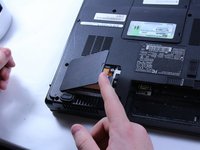
Gebruik het plastic Openingsgereedschap om de schijfstation eruit te duwen.
-
Trek de schijfstation er met de andere hand uit.
-
-
-
-
-
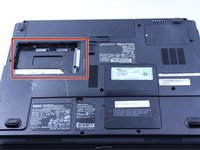
Bij deze specifieke computer ontbreekt de harde schijf.
-
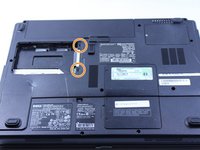
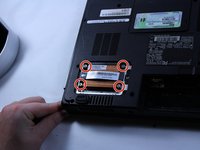
Verwijder de twee schroeven.
-
Verwijder het plastic klepje door dit bij de groef omhoog te tillen zoals aangegeven.
-
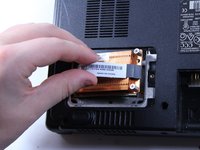
Haal de harde schijf uit de computer door deze omhoog en naar buiten te tillen.
-
-
-
-
-
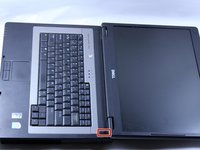
Leg de computer neer en open het scherm.
-
Er zit een lang stuk plastic onder het scherm dat je moet verwijderen.
-
-
-
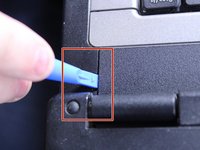
Steek het Openingsgereedschap in de kleine gleuf.
-
Til voorzichtig op en verwijder het plastic klepje.
-
-
-
Verwijder de twee schroeven van 4 mm aan de bovenkant van het toetsenbord.
-
-
-
-
Til het toetsenbord iets op zodat je de aansluiting van het toetsenbord ziet.
-
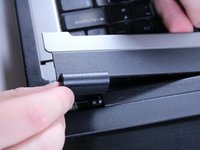
Dit zwarte treklipje moet omhoog worden getild om het toetsenbord te verwijderen.
-
Plaats je vinger onder het lipje en trek voorzichtig naar achteren zoals aangegeven.
-
Je kunt nu het toetsenbord verwijderen.
-
-
-
-
-
Maak de (kabel)aansluiting los door de twee uiteinden recht van elkaar te trekken.
-
-
-
Gebruik een kruiskopschroevendraaier (Phillips #1) om twee 6 mm schroeven te verwijderen.
-
-
-
Sluit de computer en draai deze om, zodat de achterkant naar boven wijst.
-
Verwijder de twee 6mm schroeven die zich achter elk van de scharnierpunten van het scherm bevinden met een Phillips #1 kruiskopschroevendraaier.
-
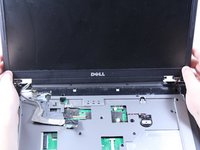
Open het scherm en til het nu op en van de computer af.
-
-
-
-
Gebruik een platte schroevendraaier om de schroef een kwartslag in de ontgrendelde stand te draaien.
-
Verwijder de CPU.
-
-
-
-
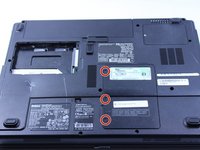
Verwijder de drie 6 mm schroeven.
-
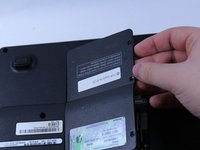
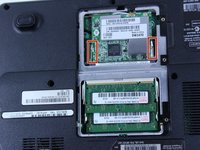
Til de plastic afdekking op om het RAM-geheugen en de draadloze module bloot te leggen.
-
-
-
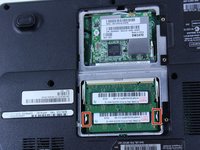
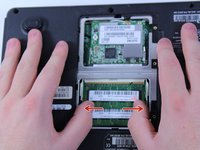
Om het RAM-geheugen te verwijderen, duwt u de metalen beugels naar buiten.
-
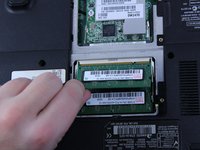
De eerste RAM-module springt omhoog, zodat u deze er gemakkelijk uit kunt trekken.
-
Herhaal de eerste stap om de tweede RAM chip te verwijderen.
-
De installatie verloopt in omgekeerde volgorde van de verwijdering.
-
-
-
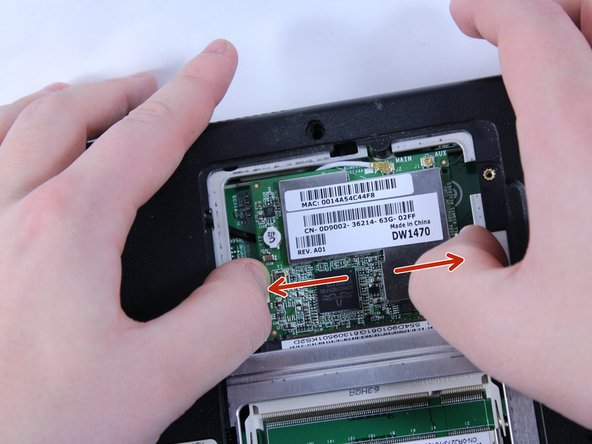
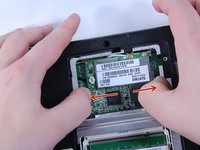
Om de draadloze chip te verwijderen, duwt u de twee metalen beugels naar buiten.
-
-
-
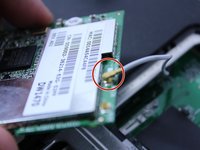
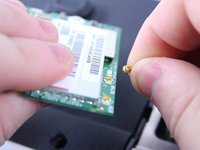
Om de bedrading te verwijderen, houdt u de draadloze chip stevig vast en trekt u de verbinding recht omhoog van de chip af.
-
-
-
-
-
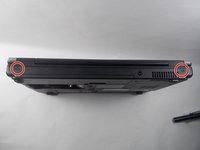
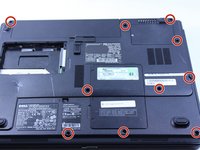
Gebruik een kruiskopschroevendraaier (Phillips #0) om de twaalf 8mm-schroeven uit de onderkant van de laptop te verwijderen.
-
-
-
Draai de laptop om zodat de kant van het toetsenbord naar boven wijst.
-
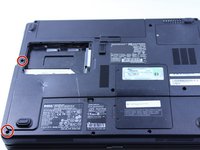
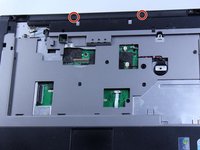
Verwijder de twee 4mm kruiskopschroeven die zich net onder de plek bevinden waar het scherm zou zitten, met behulp van een Phillips #0 schroevendraaier.
-
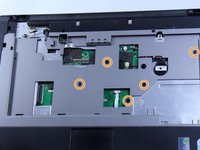
Verwijder de vijf overige 6mm schroeven.
-
-
Gereedschap gebruikt in deze stap:Tweezers$4.99
-
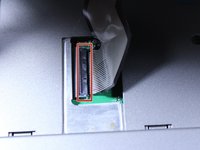
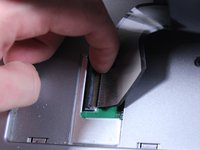
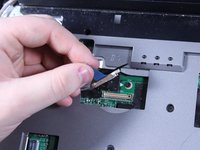
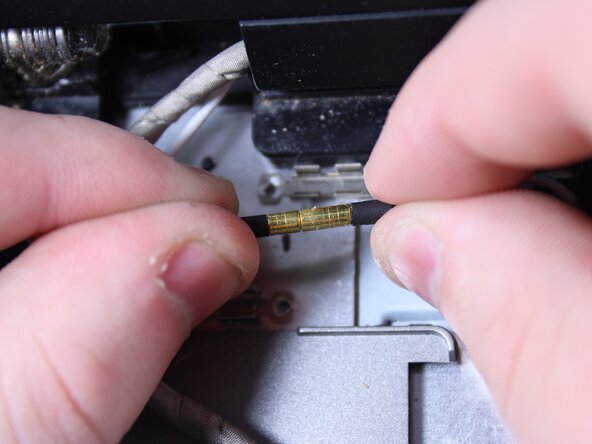
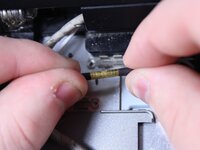
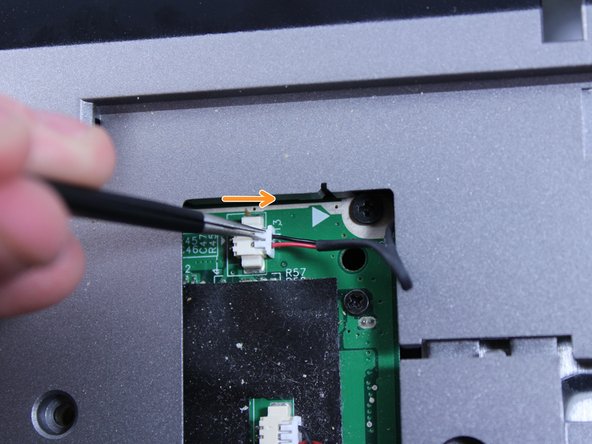
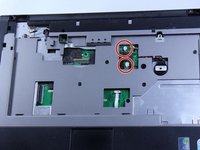
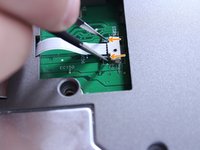
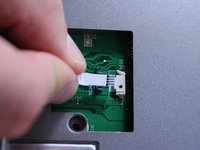
Koppel de twee aansluitingen voorzichtig los.
-
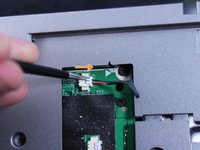
Trek niet aan de bedrading! Dit kan de aansluiting beschadigen. Gebruik een pincet om het witte plastic gedeelte vast te pakken en naar buiten te duwen.
-
-
-
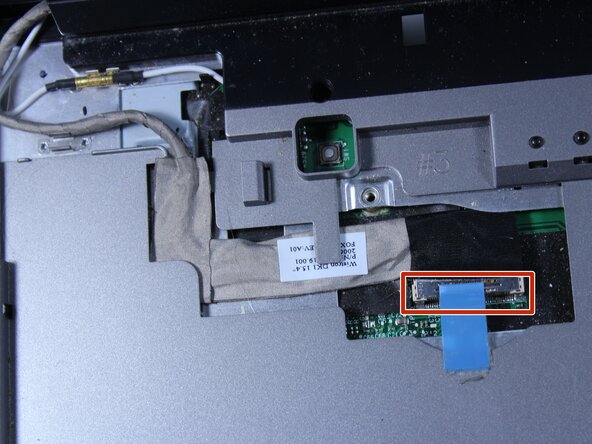
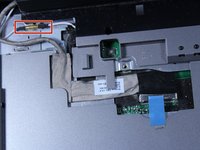
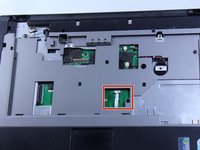
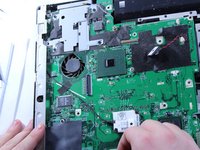
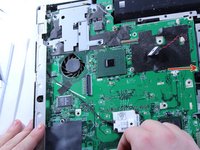
Koppel deze (kabel)aansluiting los voordat u verdergaat.
-
Gebruik een pincet om de kleine zwarte (kabel)aansluiting vast te pakken en trek deze voorzichtig recht naar achteren. Voorkom dat u direct aan de bedrading trekt, omdat dit schade aan de (kabel)aansluiting kan veroorzaken.
-
U kunt deze bedrading nu loskoppelen.
-
-
-
Til de gehele bovenste bedekking/omlijsting op en verwijder deze van de bovenkant van het moederbord. Trek voorzichtig omhoog om deze los te maken zonder overmatige kracht te gebruiken.
-
Verwijder het moederbord door het omhoog te trekken en naar rechts te schuiven. Let op dat u geen resterende (kabel)aansluitingen of componenten beschadigt. Als het moederbord vast lijkt te zitten, controleer dan nogmaals of alle schroeven en kabels zijn losgekoppeld.
-
-
-
-
-
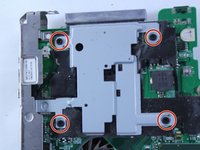
Verwijder deze vier 4 mm schroeven.
-
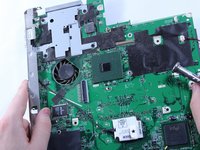
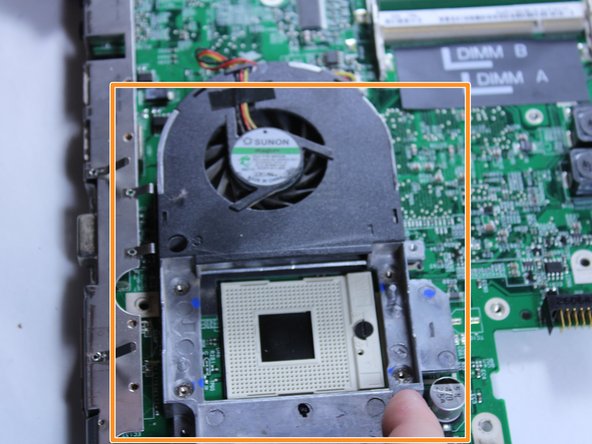
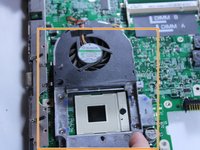
Draai het moederbord om en til de ventilator op.
-
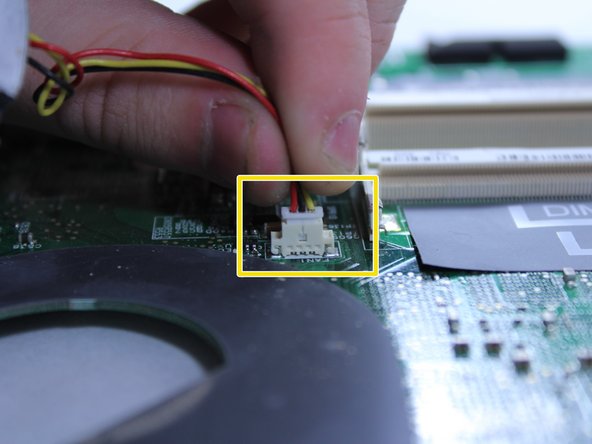
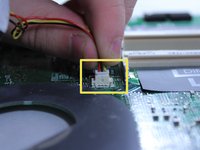
Koppel de bedrading die de ventilator met het moederbord verbindt los door voorzichtig omhoog te trekken.
-
Je kunt nu de ventilator verwijderen.
-
-




































Volg deze instructies in omgekeerde volgorde om je apparaat weer in elkaar te zetten.
Annuleren: ik heb deze handleiding niet afgemaakt.
Één andere persoon heeft deze handleiding voltooid.

Team

UMass Dartmouth, Team 1-8, Catania Fall 2016 Lid van UMass Dartmouth, Team 1-8, Catania Fall 2016
UMASSD-CATANIA-F16S1G8
3 Leden
81 handleidingen geschreven
