Ga door naar hoofdinhoud
Word lid van de reparatiegemeenschap - Account aanmaken

Corsair Katar Optical Sensor Replacement

Wat je nodig hebt

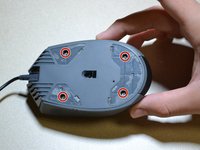
    1. Corsair Katar Optical Sensor Replacement, Corsair Katar Disassembly: stap 1, afbeelding 1 van 2 Corsair Katar Optical Sensor Replacement, Corsair Katar Disassembly: stap 1, afbeelding 2 van 2
      • Unplug your mouse before starting.

      • Flip the mouse over so the bottom is facing up.

      Vraag FixBot

      Voeg opmerking toe

    2. Corsair Katar Optical Sensor Replacement: stap 2, afbeelding 1 van 1
      • Remove the three skates on the bottom of the mouse using the plastic opening tools.

      • Skates will be very sticky.

      Vraag FixBot

      Voeg opmerking toe

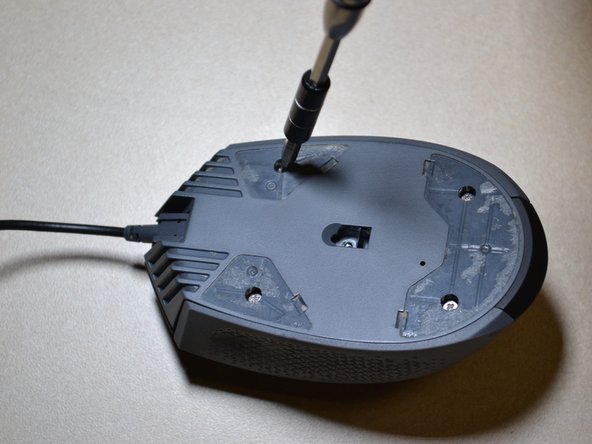
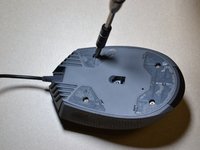
    3. Corsair Katar Optical Sensor Replacement: stap 3, afbeelding 1 van 2 Corsair Katar Optical Sensor Replacement: stap 3, afbeelding 2 van 2
      • Use the JIS 0 screwdriver to remove the four 5 mm screws on the bottom of the mouse.

      Vraag FixBot

      Voeg opmerking toe

    4. Corsair Katar Optical Sensor Replacement: stap 4, afbeelding 1 van 1
      • Detach the bottom of the mouse from the upper shell.

      • Remove the shell slowly so as not to damage the white DPI cable inside the mouse.

      • Use the plastic opening tool to detach the white DPI sensor cable from its port.

      • Alternatively, you can use your hand to remove the DPI sensor cable by wiggling it out of the port.

      Vraag FixBot

      Voeg opmerking toe

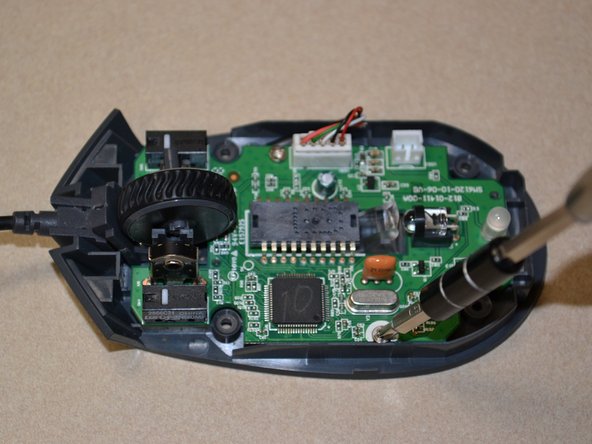
    1. Corsair Katar Optical Sensor Replacement, Scroll Wheel: stap 5, afbeelding 1 van 2 Corsair Katar Optical Sensor Replacement, Scroll Wheel: stap 5, afbeelding 2 van 2
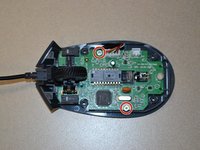
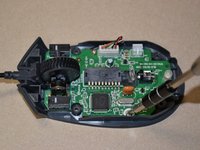
      • Use the JIS 0 screwdriver to remove the two 5mm screws on the motherboard.

      Vraag FixBot

      Voeg opmerking toe

    2. Corsair Katar Optical Sensor Replacement: stap 6, afbeelding 1 van 1
      • Use the plastic opening tool to pry the white cable jack away from the motherboard.

      • Lift the motherboard away from the bottom of the mouse.

      Vraag FixBot

      Voeg opmerking toe

    3. Corsair Katar Optical Sensor Replacement: stap 7, afbeelding 1 van 1
      • Push the scroll wheel to the right side of the motherboard as shown, then pull it away from the board to remove.

      Vraag FixBot

      Voeg opmerking toe

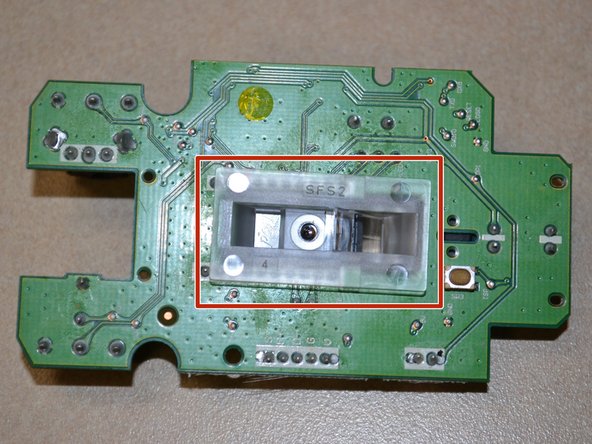
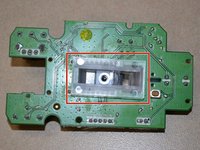
    1. Corsair Katar Optical Sensor Replacement, Optical Sensor: stap 8, afbeelding 1 van 2 Corsair Katar Optical Sensor Replacement, Optical Sensor: stap 8, afbeelding 2 van 2
      • Flip the motherboard over and remove the clear plastic cover from the bottom of the board.

      Vraag FixBot

      Voeg opmerking toe

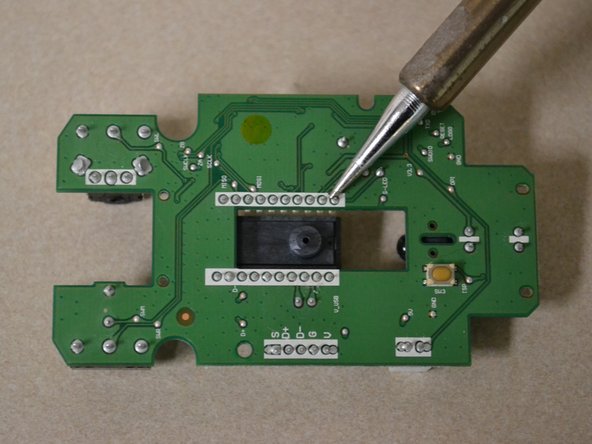
    2. Corsair Katar Optical Sensor Replacement: stap 9, afbeelding 1 van 2 Corsair Katar Optical Sensor Replacement: stap 9, afbeelding 2 van 2
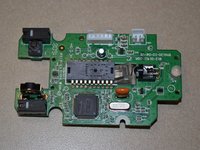
      • Desolder the 20 connecting pins to remove the optical sensor.

      Vraag FixBot

      Voeg opmerking toe

Conclusie

To reassemble your device, follow these instructions in reverse order.

Annuleren: ik heb deze handleiding niet afgemaakt.

Margaret Loughren

Lid sinds: 07/12/18

594 Reputatie

5 handleidingen geschreven

Team

UW Tacoma, Team S1-G3, Cardinal Summer 2018 Lid van UW Tacoma, Team S1-G3, Cardinal Summer 2018

UWT-CARDINAL-SU18S1G3

3 Leden

13 handleidingen geschreven

0Gids Commentaar

Voeg opmerking toe

Weergavestatistieken:

Afgelopen 24 uren: 0

Afgelopen 7 dagen: 4

Afgelopen 30 dagen: 33

Altijd: 1,543