Ga door naar hoofdinhoud
Word lid van de reparatiegemeenschap - Account aanmaken

Contour Roam2 Lens Unit Replacement

Wat je nodig hebt

  1. Contour Roam2 Lens Unit Replacement, Record Slider: stap 1, afbeelding 1 van 1
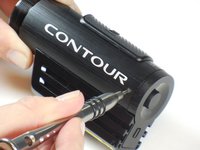
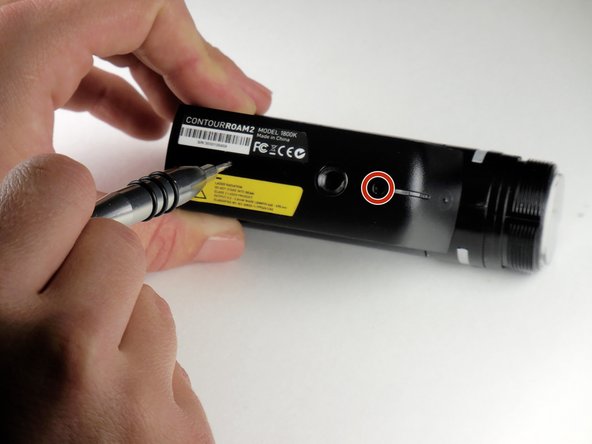
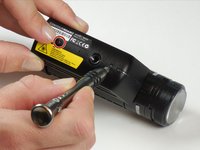
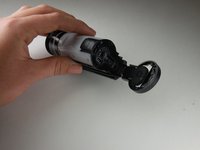
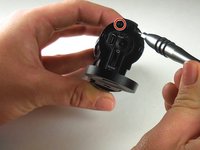
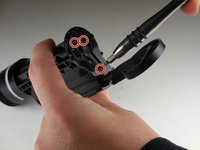
    • Using the phillips head screwdriver (PH000) locate and remove the 4.45mm (.175in) screw by the 180 degree graphic on the metal ring.

    • The screws in the camera are very small and can strip very easily. Apply consistent pressure when removing screws.

    Vraag FixBot
  2. Contour Roam2 Lens Unit Replacement: stap 2, afbeelding 1 van 2 Contour Roam2 Lens Unit Replacement: stap 2, afbeelding 2 van 2
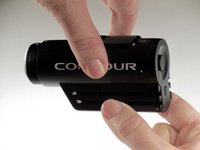
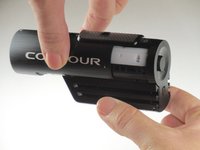
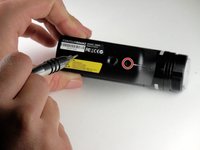
    • Rotate the metal ring counterclockwise until completely removed.

    Vraag FixBot
  3. Contour Roam2 Lens Unit Replacement: stap 3, afbeelding 1 van 2 Contour Roam2 Lens Unit Replacement: stap 3, afbeelding 2 van 2
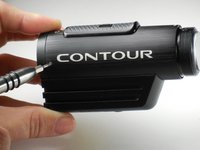
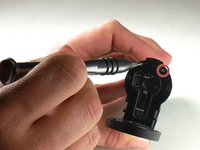
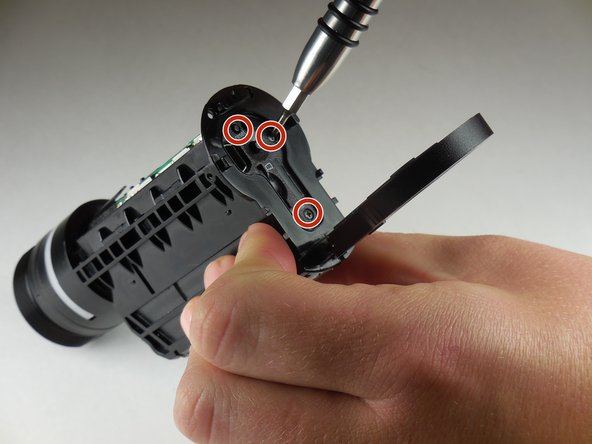
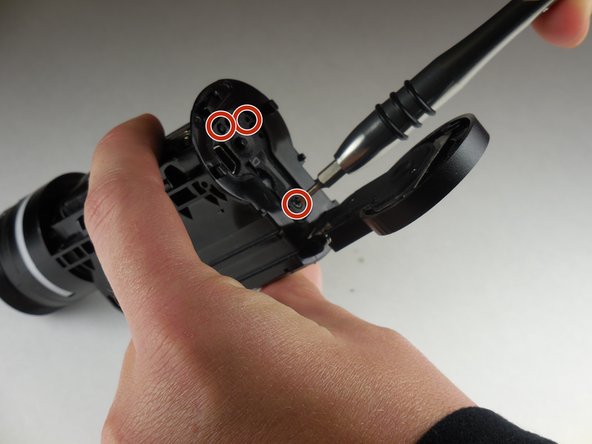
    • Using the phillips head screwdriver (PH000) remove the two 4.46mm (.175in) screws on each side near the back of the camera.

    Vraag FixBot
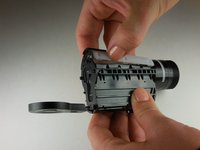
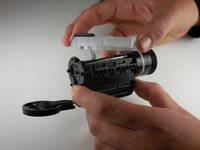
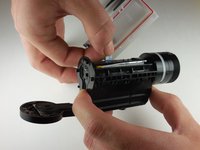
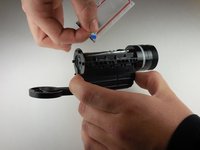
  4. Contour Roam2 Lens Unit Replacement: stap 4, afbeelding 1 van 3 Contour Roam2 Lens Unit Replacement: stap 4, afbeelding 2 van 3 Contour Roam2 Lens Unit Replacement: stap 4, afbeelding 3 van 3
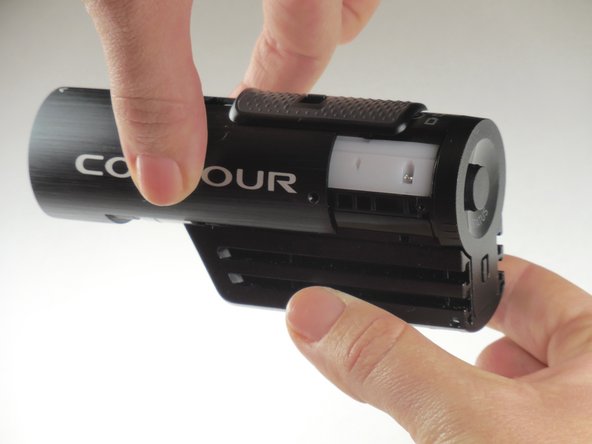
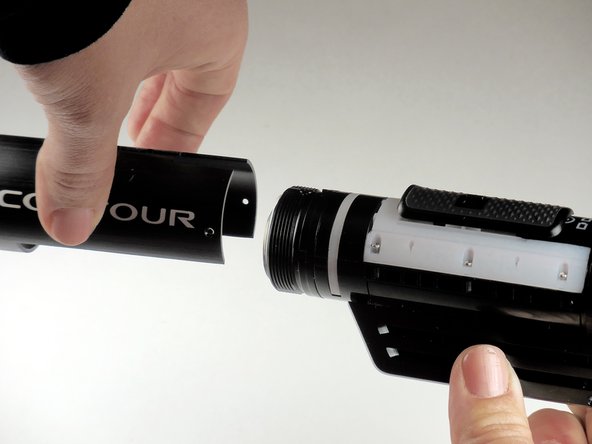
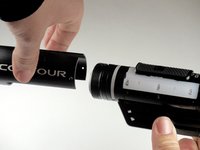
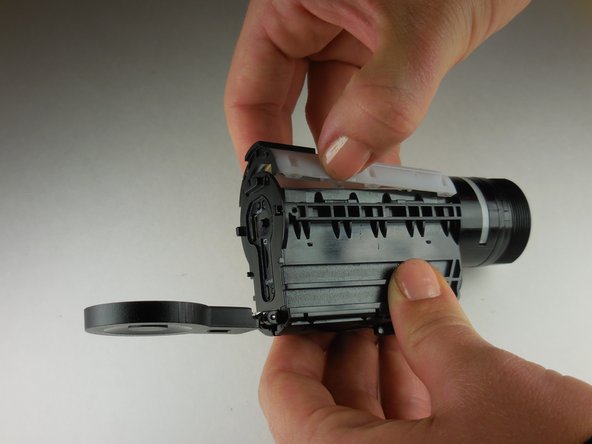
    • Grab the camera on both sides and slide the outer shell forward until completely removed.

    Vraag FixBot
  5. Contour Roam2 Lens Unit Replacement: stap 5, afbeelding 1 van 1
    • Lift the record slider out.

    • The record slider should come out easily no matter the position (forward or backward).

    Vraag FixBot
  6. Contour Roam2 Lens Unit Replacement, Mounting Piece: stap 6, afbeelding 1 van 2 Contour Roam2 Lens Unit Replacement, Mounting Piece: stap 6, afbeelding 2 van 2
    • Using the phillips head screwdriver (PH000) remove the two 3.82mm (0.150in) screws on the bottom of mounting piece near the tripod screw-in.

    • The screws in the camera are very small and can strip very easily. Apply consistent pressure when removing screws.

    Vraag FixBot
  7. Contour Roam2 Lens Unit Replacement: stap 7, afbeelding 1 van 2 Contour Roam2 Lens Unit Replacement: stap 7, afbeelding 2 van 2
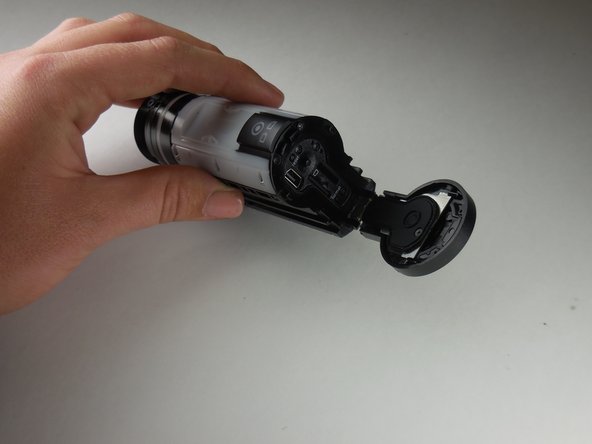
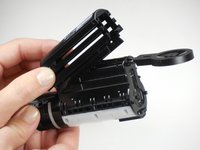
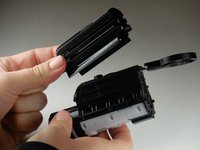
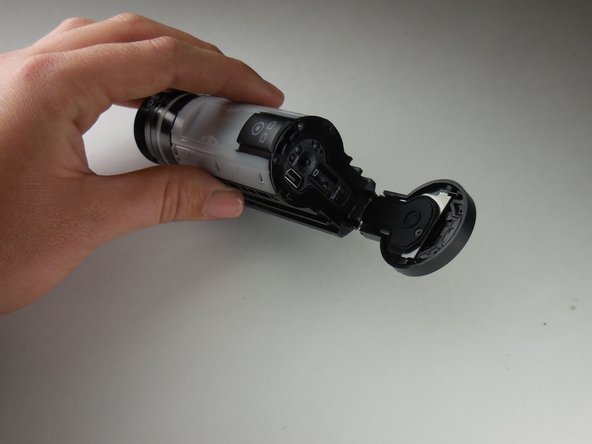
    • Open the back door by your thumb and index finger on sides of back door and pull upward.

    Vraag FixBot
  8. Contour Roam2 Lens Unit Replacement: stap 8, afbeelding 1 van 1
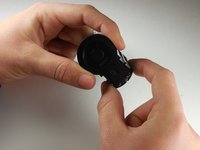
    • Using your thumb, pry sides outward on back of mount piece.

    • This will loosen mount piece for removal in proceeding step.

    • Side can be hard to pry outward. Using a flat tool such as a metal spudger, may help if your thumb is insufficient.

    Vraag FixBot
  9. Contour Roam2 Lens Unit Replacement: stap 9, afbeelding 1 van 2 Contour Roam2 Lens Unit Replacement: stap 9, afbeelding 2 van 2
    • Remove and replace mount piece.

    Vraag FixBot
  10. Contour Roam2 Lens Unit Replacement, Lens Unit: stap 10, afbeelding 1 van 2 Contour Roam2 Lens Unit Replacement, Lens Unit: stap 10, afbeelding 2 van 2
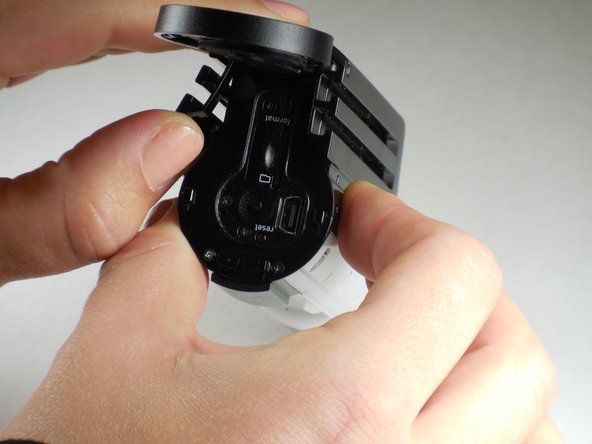
    • Open the back door by your thumb and index finger on sides of back door and pull upward.

    Vraag FixBot
  11. Contour Roam2 Lens Unit Replacement: stap 11, afbeelding 1 van 2 Contour Roam2 Lens Unit Replacement: stap 11, afbeelding 2 van 2
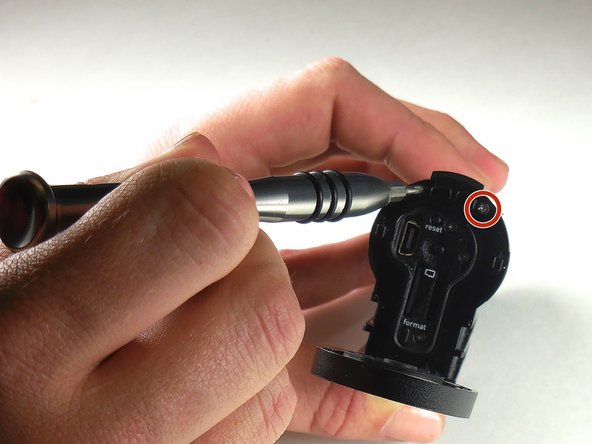
    • With the phillips head screwdriver (PH000) remove the two 3.31mm (.130inch) screws located at the top, above the reset button.

    Vraag FixBot
  12. Contour Roam2 Lens Unit Replacement: stap 12, afbeelding 1 van 1
    • Also with phillips head screwdriver (PH000) remove the six 6.07mm (0.239in) screws along sides of large white piece.

    • The screws in the camera are very small and can strip very easily. Apply consistent pressure when removing screws.

    Vraag FixBot
  13. Contour Roam2 Lens Unit Replacement: stap 13, afbeelding 1 van 1
    • Locate notch on side of large white plastic piece.

    Vraag FixBot
  14. Contour Roam2 Lens Unit Replacement: stap 14, afbeelding 1 van 3 Contour Roam2 Lens Unit Replacement: stap 14, afbeelding 2 van 3 Contour Roam2 Lens Unit Replacement: stap 14, afbeelding 3 van 3
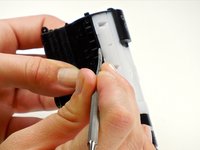
    • Remove white piece by pressing a fingernail in notch (located in previous step) and lifting up on white piece.

    Vraag FixBot
  15. Contour Roam2 Lens Unit Replacement: stap 15, afbeelding 1 van 2 Contour Roam2 Lens Unit Replacement: stap 15, afbeelding 2 van 2
    • The white piece is connected to logic board of camera by a ribbon connector.

    • To remove the white piece completely give a gentle pull on ribbon connector.

    Vraag FixBot
  16. Contour Roam2 Lens Unit Replacement: stap 16, afbeelding 1 van 1
    • With a phillips head screwdriver (PH 000), remove the 5.54 mm (0.218 in) screw located next to the tripod screw-in.

    Vraag FixBot
  17. Contour Roam2 Lens Unit Replacement: stap 17, afbeelding 1 van 3 Contour Roam2 Lens Unit Replacement: stap 17, afbeelding 2 van 3 Contour Roam2 Lens Unit Replacement: stap 17, afbeelding 3 van 3
    • Using the phillips head screwdriver (PH 000), remove the remaining three 3.78 mm (0.1445 in) screws located on the back panel of the camera.

    • If you have not done so already, remove the microSD card.

    Vraag FixBot
  18. Contour Roam2 Lens Unit Replacement: stap 18, afbeelding 1 van 1
    • Using the phillips head size PH000 screwdriver remove 3.67mm (0.1445 inch) screw located on the side of logic board within the body of the camera.

    Vraag FixBot
  19. Contour Roam2 Lens Unit Replacement: stap 19, afbeelding 1 van 3 Contour Roam2 Lens Unit Replacement: stap 19, afbeelding 2 van 3 Contour Roam2 Lens Unit Replacement: stap 19, afbeelding 3 van 3
    Gereedschap gebruikt in deze stap:
    Tweezers
    $4.99
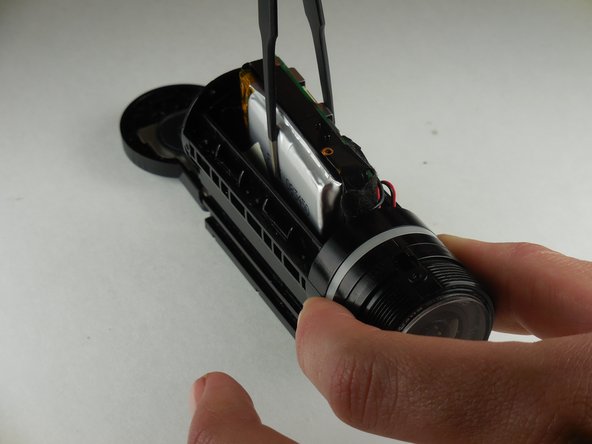
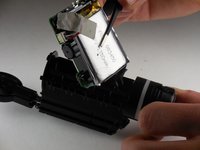
    • Using flathead tweezers, remove the logic board and the battery from the camera.

    Vraag FixBot
  20. Contour Roam2 Lens Unit Replacement: stap 20, afbeelding 1 van 2 Contour Roam2 Lens Unit Replacement: stap 20, afbeelding 2 van 2
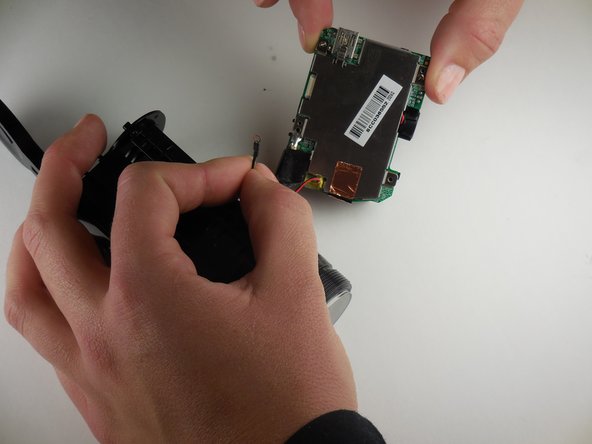
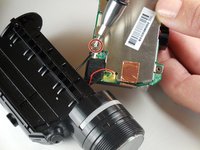
    • Using a phillips head screwdriver (PH 000), remove the screw connecting the lens unit to the logic board.

    Vraag FixBot
  21. Contour Roam2 Lens Unit Replacement: stap 21, afbeelding 1 van 2 Contour Roam2 Lens Unit Replacement: stap 21, afbeelding 2 van 2
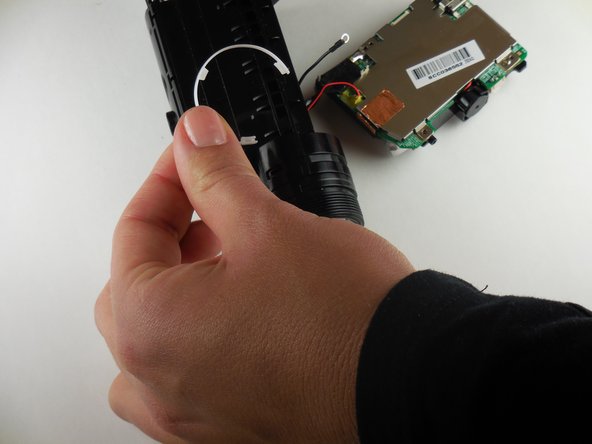
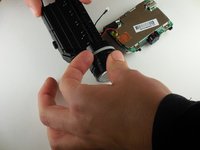
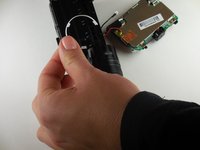
    • Remove the semicircular white plastic strip near the lens unit.

    Vraag FixBot
  22. Contour Roam2 Lens Unit Replacement: stap 22, afbeelding 1 van 2 Contour Roam2 Lens Unit Replacement: stap 22, afbeelding 2 van 2
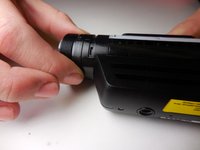
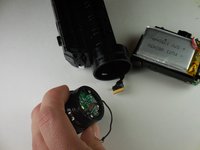
    • Twist lens unit until able to easily remove

    Vraag FixBot
  23. Contour Roam2 Lens Unit Replacement: stap 23, afbeelding 1 van 2 Contour Roam2 Lens Unit Replacement: stap 23, afbeelding 2 van 2
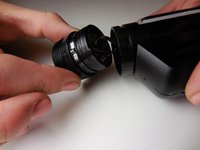
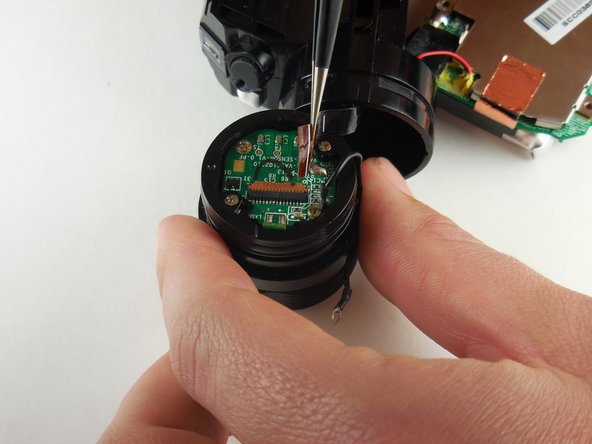
    • Disconnect the ribbon connector connecting the lens unit to the logic board.

    Vraag FixBot
  24. Contour Roam2 Lens Unit Replacement: stap 24, afbeelding 1 van 2 Contour Roam2 Lens Unit Replacement: stap 24, afbeelding 2 van 2
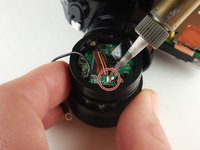
    • Remove the ribbon connecter from the lens unit by soldering.

    Vraag FixBot
Conclusie

To reassemble your device, follow these instructions in reverse order.

2 andere personen hebben deze handleiding voltooid.

Jamie Maple

Lid sinds: 03/11/15

310 Reputatie

2 handleidingen geschreven

Team

Colorado Springs, Team 4-5, Panko Spring 2015 Lid van Colorado Springs, Team 4-5, Panko Spring 2015

UCCS-PANKO-S15S4G5

3 Leden

10 handleidingen geschreven

3Gids Commentaar

hola amigos soy de venezuela, hace aproximadamente compre una -contour roam- y se me daño el flex del lente, pero aqui en venezuela no se encuentra ese repuesto y he buscado por internet y no encuentro, ustedes me podrian ayudar de alguna manera con ese problema? mi correo es luiswichin@gmail.com por favor se les agradece alguna respuesta.

luis gerardo - Antwoord Deel

hello friends I'm from Venezuela, does about buying a -contour roam- and hurt me flex the lens, but here in Venezuela is not the parts and I have searched the internet and can not find, you could help me somehow with that problem? my email is luiswichin@gmail.com are thanked please any response.

luis gerardo - Antwoord Deel

Hello! Where can we find the ribbon connector with 10 pins? Is to short to contain all code on the connector is vissible only JI-HAW AWM E1180… more is missing. I searched many days… I removed it gentle, but when I push it back the head of the band just separated from plastic and broke…

Ilie lucian - Antwoord Deel

Voeg opmerking toe

Weergavestatistieken:

Afgelopen 24 uren: 0

Afgelopen 7 dagen: 12

Afgelopen 30 dagen: 66

Altijd: 2,630