Ga door naar hoofdinhoud
Word lid van de reparatiegemeenschap - Account aanmaken

Casio MH-10M Battery Replacement

Wat je nodig hebt

    1. Casio MH-10M Battery Replacement, BATTERY: stap 1, afbeelding 1 van 1
      • This is the calculator in question.

      • Features a black and white dot matrix screen.

      Vraag FixBot

      Voeg opmerking toe

    2. Casio MH-10M Battery Replacement: stap 2, afbeelding 1 van 2 Casio MH-10M Battery Replacement: stap 2, afbeelding 2 van 2
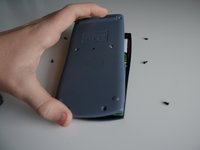
      • Turn the calculator over.

      • Locate the six screws on the rear of the device.

      • These are Philips #00 screws.

      • Keep the screws you remove in a safe place so they don't get lost.

      Vraag FixBot

      Voeg opmerking toe

    3. Casio MH-10M Battery Replacement: stap 3, afbeelding 1 van 2 Casio MH-10M Battery Replacement: stap 3, afbeelding 2 van 2
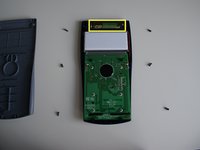
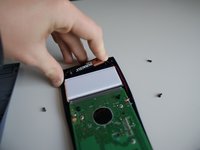
      • Once the screws are removed, carefully lift the back panel off, lifting the top end first.

      • Place the panel to one side.

      • You can now see the battery.

      Vraag FixBot

      Voeg opmerking toe

    4. Casio MH-10M Battery Replacement: stap 4, afbeelding 1 van 1
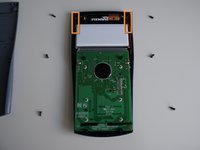
      • Remove the battery

      • Lift it up from the right hand side to avoid damaging the spring.

      • You may find this easier to do by prying it out with the screwdriver.

      Vraag FixBot

      Voeg opmerking toe

    5. Casio MH-10M Battery Replacement: stap 5, afbeelding 1 van 2 Casio MH-10M Battery Replacement: stap 5, afbeelding 2 van 2
      • Now you can insert the new battery

      • Ensure you place it in spring-first.

      • Congratulations! You have replaced the battery.

      • When reassembling, take care not to trap the red or black wires in the screws as this would sever them, making the calculator unusable.

      • Once reassembled, the calculator will be turned on. Turn it off to save battery by pressing Shift --> AC.

      Vraag FixBot

      Voeg opmerking toe

Conclusie

To reassemble your device, follow these instructions in reverse order, noting the two reassembly instructions in the last step.

Annuleren: ik heb deze handleiding niet afgemaakt.

26 andere personen hebben deze handleiding voltooid.

Sam

Lid sinds: 09/23/12

977 Reputatie

1 Handleiding geschreven

3Gids Commentaar

For some reason the two top screws made the calculator unstable, but removing them made it stable. Only occurred after removing the battery

Mida Galbraith - Antwoord Deel

what battery size is it? R03?

Humerdom - Antwoord Deel

Voeg opmerking toe

Weergavestatistieken:

Afgelopen 24 uren: 2

Afgelopen 7 dagen: 17

Afgelopen 30 dagen: 58

Altijd: 50,115