Deze vertaling is door een computer gegenereerd en is nog niet door iemand nagekeken. Spreek je deze taal? Bekijk het hier.
Inleiding
Gebruik deze handleiding om een kapotte flitsmodule uit je Canon PowerShot SD870 IS te verwijderen.
Wat je nodig hebt
-
-
-
Verwijder de polsband, indien aanwezig.
-
Verwijder de lithium-ionaccu.
 Vraag FixBot
-
-
-
Verwijder de twee 4 mm Phillips #00-schroeven aan de onderkant van de camera.
-
Verwijder de schroef naast de bevestiging voor de polsriem.
-
Trek het klepje van de “A/V OUT DIGITAL” omhoog en verwijder de schroef boven de USB-poort.
-
-
-
Trek de voorkant van de camera door voorzichtig opwaartse druk uit te oefenen.
-
-
-
Verwijder de twee Phillips #00-kruiskopschroeven van de platte kant van de camera.
-
Verwijder de zwarte L-vormige zijkap.
-
Verwijder de zilveren U-vormige bevestigingsplaat.
-
-
-
-
-
-
De eerste schroef die moet worden verwijderd, bevindt zich aan de onderkant van de camera, aan de linkerkant.
-
Gebruik een kruiskopschroevendraaier #00 om de zilverkleurige kruiskopschroef van 3,4 mm aan de linkeronderkant te verwijderen.
-
-
-
De tweede schroef die moet worden verwijderd, bevindt zich aan de bovenkant van de camera.
-
Verwijder de laatste zilverkleurige kruiskopschroef van 3,4 mm met dezelfde kruiskopschroevendraaier.
-
Hiermee komt een zilverkleurig U-vormig onderdeel los dat het lcd-scherm op zijn plek hield. Verwijder het onderdeel en leg het opzij.
-
-
-
Het lcd-scherm hoort nu alleen nog vast te zitten met de lcd-datakabel.
-
Til het scherm aan de rechterkant op en gebruik een kleine schroevendraaier of ander klein openingstooltje om het zwarte deel van de kabelaansluiting omhoog te wippen en te ontgrendelen.
-
Schuif de datakabel voorzichtig uit de kabelaansluiting.
-
Het lcd-scherm moet nu nog verbonden zijn met de kabel van de achtergrondverlichting.
-
-
-
Gebruik een ander klein openingsgereedschap om de kabel van de achtergrondverlichting te ontgrendelen om deze te verwijderen.
-
Schuif de kabel van de achtergrondverlichting er voorzichtig uit.
-
Het LCD-scherm moet nu volledig van de camerabehuizing losgekoppeld zijn.
-
-
-
De behuizing van het LCD-scherm is verbonden door 4 klemmen die zich aan de boven- en onderkant aan de linker- en rechterzijde bevinden.
-
Maak de klemmen voorzichtig los door ze één voor één rustig open te wippen.
-
Zodra de klemmen los zijn, zit de achterkant van de behuizing nog steeds vast aan de behuizing aan de voorzijde door de kabel van de achtergrondverlichting.
-
Pel de kabel van de achtergrondverlichting voorzichtig van de behuizing.
-
-
-
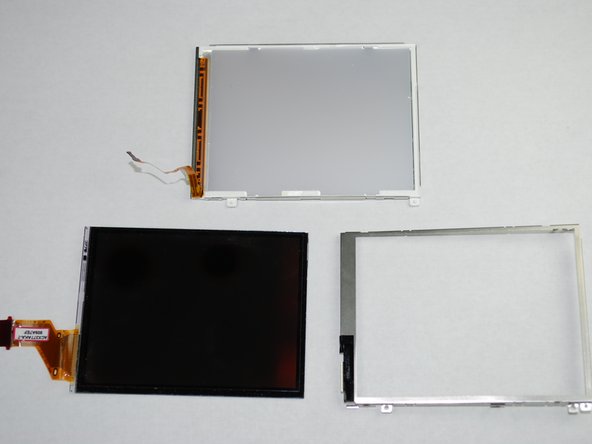
Het LCD-scherm en de behuizing zouden nu uit drie delen moeten bestaan:
-
LCD-scherm
-
LCD-schermomlijsting
-
LCD-schermachterbehuizing
-
Het LCD-scherm zelf kan nu worden verwijderd en gerepareerd/vervangen.
-
-
-
-
-
Met de behuizing en het lcd-scherm verwijderd, ben je klaar om de ontgrendelingsknop te verwijderen.
-
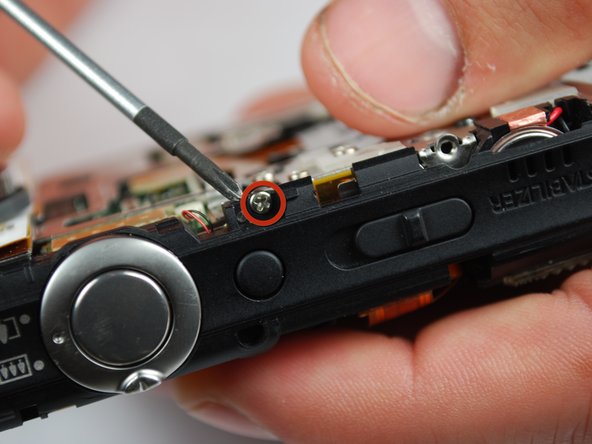
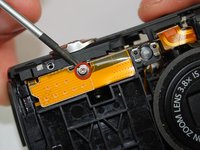
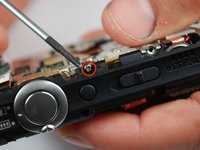
Begin door met de Philips #00-schroevendraaier twee zilveren schroeven van 4 mm aan de boven- en voorkant van de camera te verwijderen.
-
-
-
Het bovenste plastic onderdeel dat de ontgrendelingsknop vasthoudt, zou alleen nog verbonden moeten zijn via een rood-zwarte kabelaansluiting met het logic board.
-
Verwijder de kabelaansluiting van het logic board en maak de behuizing van de ontgrendelingsknop los van de camera.
-
-
-
Nadat de plastic behuizing voor de ontgrendelingsknop van de camera is verwijderd, gebruik je de Philips #00-schroevendraaier om twee zilveren schroeven van 0,090 inch te verwijderen.
-
De ontgrendelingsknop kan nu worden verwijderd en gerepareerd of vervangen.
-
-
-
-
-
Begin door twee zilveren schroeven van 2,03 mm aan de linkerkant van de camera te verwijderen.
-
-
-
Met de behuizing, het lcd-scherm en de behuizing van de ontspanknop verwijderd, kan de defecte flitser worden verwijderd en vervangen.
-
Begin door de loshangende flitser/luidsprekerunit los te koppelen van de (kabel)aansluiting boven op de camera.
-
-
-
Maak vervolgens voorzichtig het plastic onderdeel boven op de flitser/luidsprekerbedrading los door de klemmetjes aan beide kanten open te wippen.
-
De flitsereenheid kan nu worden verwijderd en vervangen.
-
-


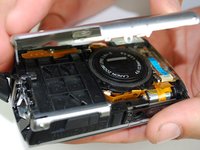
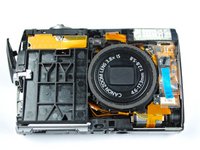


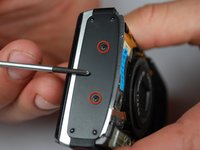
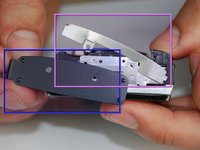


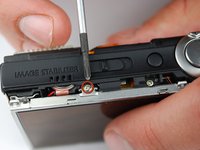
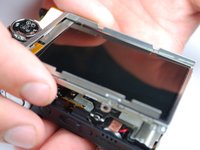


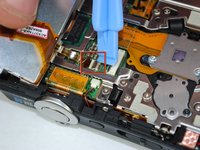
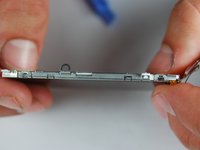




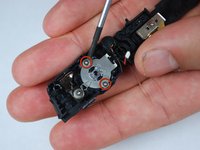
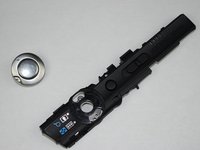


Volg deze instructies in omgekeerde volgorde om je apparaat weer in elkaar te zetten.

Team

Cal Poly, Team 10-45, Garner Spring 2010 Lid van Cal Poly, Team 10-45, Garner Spring 2010
CPSU-GARNER-S10S10G45
4 Leden
72 handleidingen geschreven
