Deze vertaling is door een computer gegenereerd en is nog niet door iemand nagekeken. Spreek je deze taal? Bekijk het hier.
Inleiding
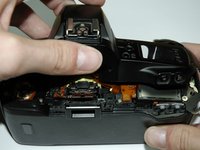
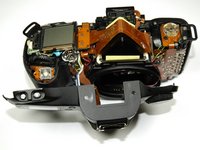
Deze handleiding laat zien hoe je het achterpaneel van je camera verwijdert.
Wat je nodig hebt
-
-
-
Verwijder met een Phillips-schroevendraaier #00 de drie kruiskopschroeven van 4,4 mm, zoals aangegeven door de rode cirkels.
 Vraag FixBot
-
-
-
Gebruik je vinger om de grip met textuur los te trekken zodat de onderdelen gescheiden zijn.
-
-
-
Gebruik de platte kant van een spudger om de verbinding tussen het voorpaneel en het apparaat los te maken.
-
Verwijder het voorpaneel met uw handen.
-
-
-
-
-
Draai de camera om.
-
Gebruik een #00 Phillips-schroevendraaier om de twee kruiskopschroeven van 4,9 mm aan weerszijden van de zoeker los te draaien.
-
-
-
-
Draai met een Phillips #00-schroevendraaier de ene kruiskopschroef van 5,7 mm los die zich naast het lcd-scherm bevindt.
-
-
-
Leg de camera op de achterkant.
-
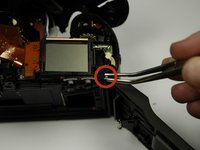
Soldeer de flitsverbinding los van het moederbord, zoals aangegeven door de blauwe cirkel.
-
-
-
Verwijder het bovenpaneel door het aan de achterkant op te tillen, naar voren te duwen over de camera vooraan en het naar beneden te laten draaien vóór de camera vooraan.
-
-
-
-
-
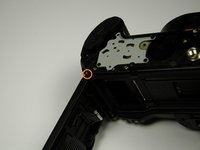
Gebruik een #00 Phillips-schroevendraaier om de 6,8 mm kruiskopschroef los te draaien die de riembevestiging vasthoudt, zoals aangegeven door de rode cirkel.
-
Verwijder de riembevestiging.
-
-
-
Maak het achterpaneel los.
-
Gebruik een #00 Phillips-schroevendraaier om de zes schroeven aan de onderkant van de camera los te draaien.
-
Eén kruiskopschroef van 7,4 mm
-
Twee kruiskopschroeven van 6,0 mm
-
Twee kruiskopschroeven van 4,4 mm
-
Eén kruiskopschroef van 3,9 mm
-
-
Gereedschap gebruikt in deze stap:Tweezers$4.99
-
Duw de scharnierpen vanaf de onderkant van de camera met uw vinger naar binnen.
-
Zet de camera weer in de rechtopstaande positie.
-
Gebruik een tang (of pincet) om de pen aan de bovenkant eruit te trekken.
-
-


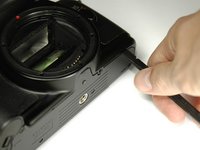
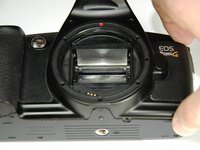
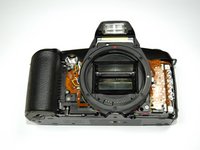


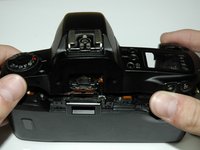


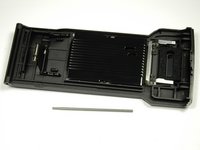
Volg deze instructies in omgekeerde volgorde om je apparaat weer in elkaar te zetten.

Team

Cal Poly, Team 14-9, Forte Spring 2012 Lid van Cal Poly, Team 14-9, Forte Spring 2012
CPSU-FORTE-S12S14G9
5 Leden
144 handleidingen geschreven
